How to Clean up After Painting With Kids: Tips and Tricks
Cleaning up after a painting session with kids requires a structured and engaging approach. Assign specific tasks and use visual cleanup charts to keep the process organized and efficient. Incorporate timers and fun games to make the activity enjoyable. To instill a sense of responsibility and respect for materials, follow these practical tips and tricks for a smooth and educational cleanup process.
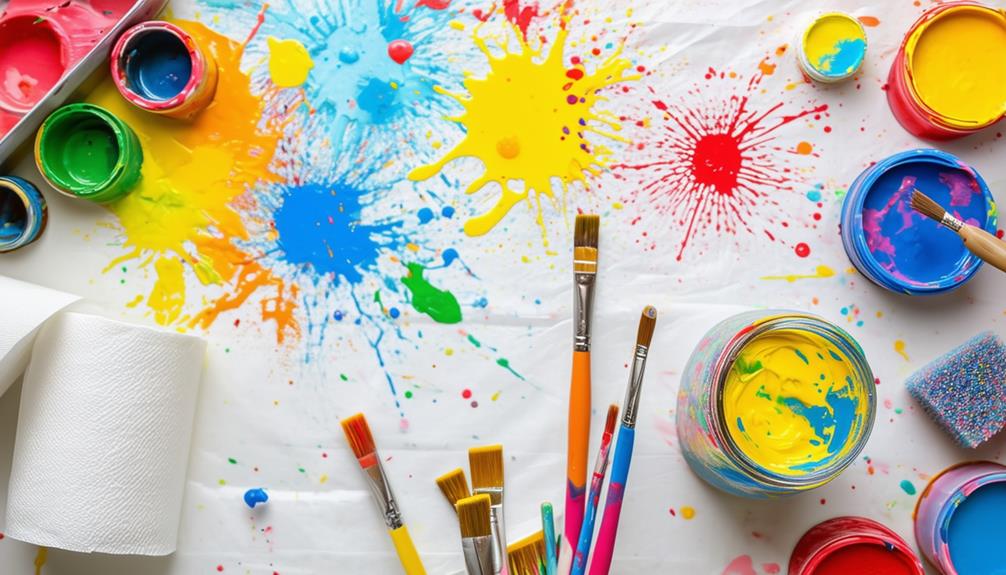
Organize Painting Supplies
Start by using transparent bins and baskets to store painting supplies, making them easily visible and organized. Categorize supplies into groups like brushes, paints, and palettes to ensure everything has a designated spot. This method simplifies finding items and streamlines the cleaning process after an enjoyable painting session.
Implement visual labels on the containers to promote independence and help children quickly locate and return supplies. Labeled shelves or drawers add an additional layer of organization, making everything more accessible. When tidying up, these visual cues make it easy to see where each item belongs.
Encourage your children to participate in organizing their painting supplies. This involvement fosters a sense of responsibility and ownership, making them more inclined to keep things tidy. By teaching them to categorize and store their materials properly, you're instilling good cleaning habits that will benefit them in the long term. A well-organized art space ensures a smoother, faster cleanup process each time.
Use Protective Smocks
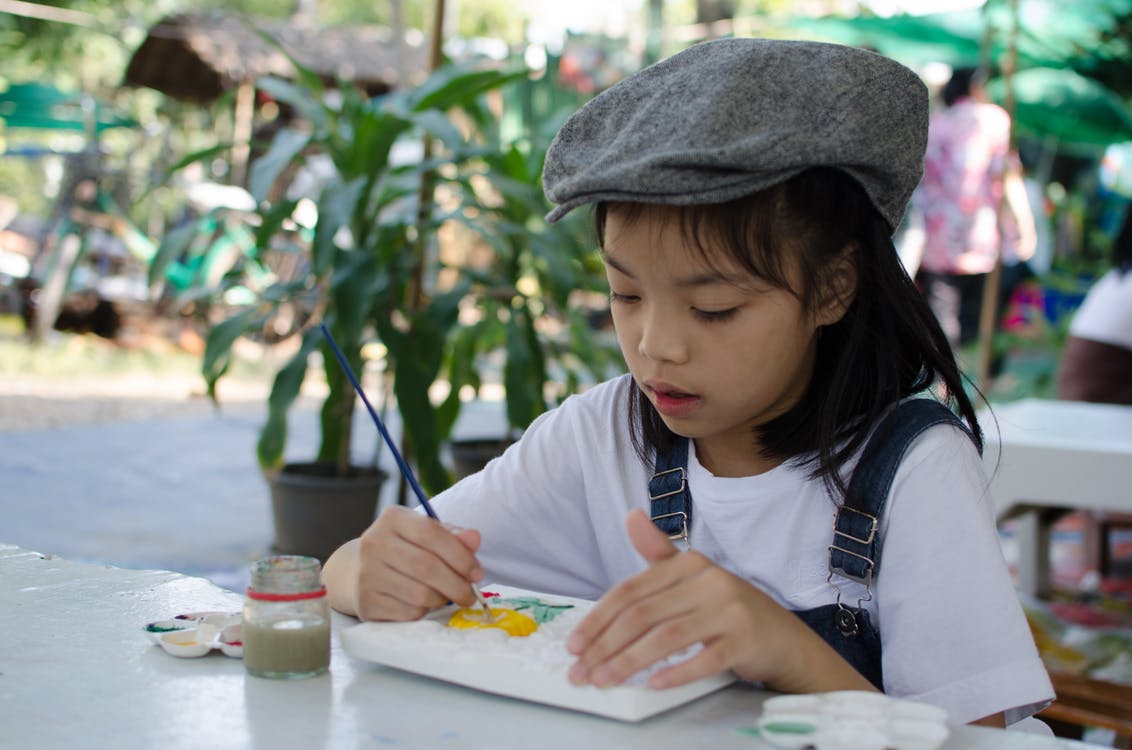
When painting with kids, using protective smocks can save their clothes from stubborn paint stains. These handy garments provide a vital barrier between your child's clothing and the paint, ensuring less mess and fewer cleaning headaches later on. After the painting session, smocks can be easily washed or wiped clean, keeping the post-painting cleanup quick and simple.
Encouraging your kids to wear smocks not only protects their clothes but also teaches them about independence and responsibility. By putting on their own smocks, children learn to take care of their belongings and understand the importance of keeping things tidy. If you're looking for a cost-effective option, using old t-shirts as smocks can be just as effective and won't break the bank.
Incorporating smocks into your painting routine can significantly reduce the chances of paint stains on clothing, making the overall cleaning process smoother. Remember, the goal is to minimize mess and optimize fun. So, before the next painting adventure, make sure everyone is geared up with protective smocks. You'll save time on cleaning and keep your kids' clothes looking fresh, allowing you to focus more on the creative process and less on the cleanup.
Easy Paint Storage

For effective paint storage, consider using stackable containers like plastic boxes with lids to keep your supplies organized and fresh. For storing small amounts of paint, ice cube trays with lids or dampened egg cartons work well to prevent drying. These child-friendly options simplify cleanup and ensure your paint remains ready for the next creative session.
Stackable Storage Solutions
Keeping your kids' paint supplies organized and fresh is easy with stackable storage solutions such as plastic lidded boxes and trays. These containers are ideal for preventing paint from drying out and can be stacked to save valuable space. Storing different paint colors in separate containers allows your kids to quickly find what they need for their next masterpiece.
Stackable trays are another excellent option for maintaining organization and accessibility. When your kids are done painting, simply slide the trays back into their designated spots to avoid clutter from paint tubes and brushes. These trays are also perfect for holding palettes and brushes in addition to paint.
For smaller paint quantities, ice cube trays with lids offer a smart solution. They allow for easy access and can be neatly stacked with other supplies. Additionally, covering paint trays with plastic trash bags over weekends helps keep the paint fresh for the next session. By utilizing these storage solutions, you'll create an organized and efficient art space for your young artists.
Overnight Paint Preservation
To keep your children's paint fresh overnight and ready for their next creative session, use simple and effective storage techniques. Here are some easy tips to ensure your paint remains usable and clean-up is hassle-free:
- Plastic lidded containers: Ideal for overnight storage, they prevent paint from drying out and make clean-up easier.
- Stacked paint trays: Organize and maintain the freshness of multiple colors without taking up too much space by stacking the trays.
- Plastic garbage bags: Draping a plastic garbage bag over your paint trays preserves the paint for extended periods and simplifies clean-up.
- Ice cube trays with lids: Perfect for smaller amounts of paint, these trays allow for easy storage and keep the paint from drying out between sessions.
Child-Friendly Storage Options
Organizing children's paint supplies in clear bins and baskets keeps everything tidy and makes it easier for them to find what they need. Clear containers allow kids to see all their supplies at a glance, promoting independence and reducing the chaos that often comes with creative activities. By adding picture labels to the containers, you simplify the process for children to locate and return items, maintaining a clean space.
Encourage your children to categorize their paint supplies based on their own logic. This method fosters creativity and gives them a sense of ownership over their art materials. Letting them organize things their way can not only make cleanup easier but also enhance their creative process.
Dividing supplies into categories like brushes, paints, and paper helps kids access what they need more efficiently. A little chaos in their organization system can actually encourage exploration and creativity. Art is about freedom and creativity, not rigid rules. By implementing these child-friendly storage options, you're creating an environment that is both clean and supportive of artistic expression.
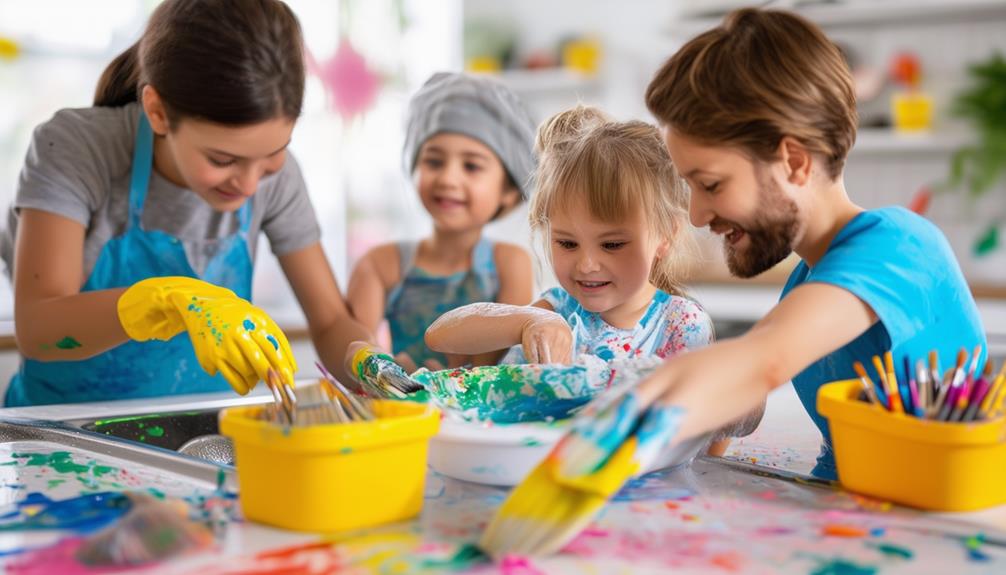
Manage Cleanup Tasks
To manage cleanup tasks efficiently, assign specific responsibilities to each child to ensure everything gets done. Utilize visual clean-up charts to guide them and a timer to keep everyone on track. This method not only teaches responsibility but also makes the process more structured and enjoyable.
Delegate Cleaning Responsibilities
Assigning specific cleaning tasks to each student ensures that everyone takes responsibility for their own mess. By delegating cleaning responsibilities, you facilitate a quicker and more efficient cleanup while teaching valuable lessons in accountability and teamwork. Start by numbering palettes and brushes for each student. This way, they will know exactly which tools they need to clean and put away, making the process smoother for everyone.
Here are a few tips to help you delegate cleaning responsibilities effectively:
- Numbered Tools: Assign numbers to palettes and brushes so students can easily identify and take care of their own materials.
- Disposable Palettes: Use disposable palettes to simplify cleanup and reduce the amount of washing required.
- Peer Checks: Encourage students to check each other's cleaning tasks to ensure thoroughness and promote teamwork.
- Clear Instructions: Provide clear, step-by-step instructions for cleaning tasks to avoid confusion.
Visual Clean-Up Charts
Creating visual clean-up charts simplifies the process for kids to understand and remember their cleaning tasks. By breaking down steps into simple, visual cues, you can help children manage their responsibilities more effectively. These charts are particularly useful after activities like messy painting sessions, providing a clear, step-by-step guide for tidying up.
You can customize these charts with pictures or words that match your child's reading level and interests. For instance, including images of cleaning tools such as sponges, cloths, and buckets, along with short, descriptive phrases, allows kids to follow the instructions independently without needing constant assistance.
Visual clean-up charts also promote responsibility and organizational skills. When children see their tasks laid out visually, they are more likely to feel a sense of ownership and accomplishment. Additionally, these charts can be laminated for durability, enabling reuse after every session. With practice, your kids will become more efficient and independent in their cleanup efforts, making the entire process smoother for everyone involved.
Efficient Time Management
Efficiently managing cleanup tasks begins with assigning specific time slots for different activities, ensuring effective use of time. Breaking down the cleanup process into manageable segments helps prevent disorder and ensures every task is completed properly. Prioritize high-traffic areas first to prevent the spread of messes to other parts of the room.
Visual cues like timers or countdowns can be highly effective, keeping everyone on track and adding an element of fun to the cleanup process. Implementing a rotation system for cleaning duties ensures tasks are evenly distributed, allowing everyone to contribute and fostering a sense of responsibility and community.
Here are some practical tips for efficient cleanup management:
- Assign specific time slots: Allocate time for each cleanup task to ensure efficient use of time.
- Use timers or countdowns: Visual cues help keep everyone focused and on schedule.
- Rotate cleaning duties: A rotation system ensures tasks are fairly distributed.
- Prioritize high-traffic areas: Clean these areas first to prevent messes from spreading.
Encouraging teamwork and collaboration speeds up the process and makes it an enjoyable and educational experience for everyone involved.
Fun Cleanup Games
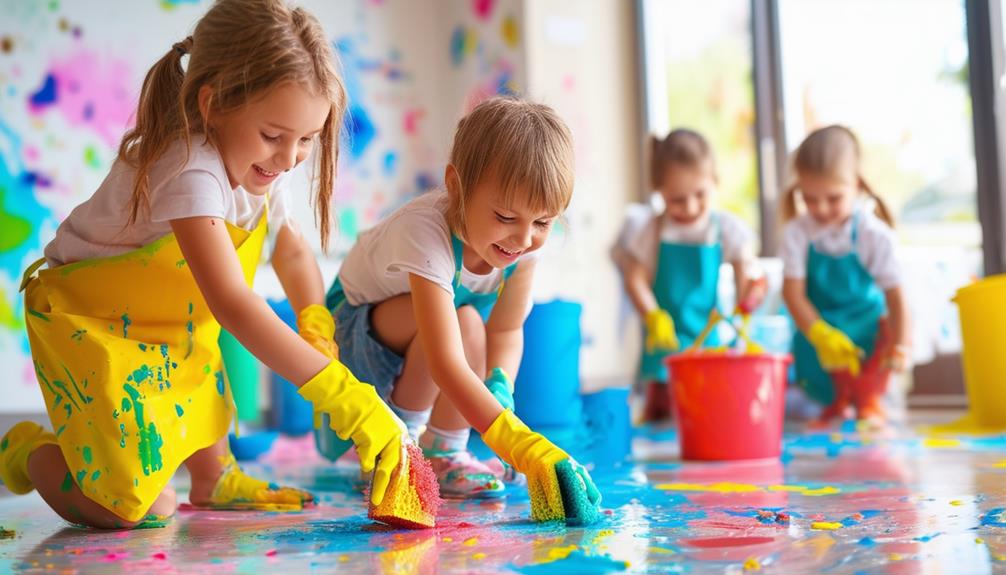
Transform cleanup time into an engaging and enjoyable experience by incorporating games and songs. By turning this task into a playful activity, you can keep your kids interested and motivated. Fun cleanup games can range from a timed race to see who can pick up the most items the fastest, to a scavenger hunt where kids search for specific colored items to clean.
Change your cleaning strategies frequently to maintain enthusiasm. For example, you can dance to their favorite music while cleaning, making the process enjoyable and lively. Assign specific tasks to each child to make the cleanup process more manageable and organized. This not only eases the workload but also instills a sense of responsibility.
To make cleanup time even more exciting, introduce a cleaning song that everyone sings together. This creates a routine that kids can look forward to and participate in willingly. Always remember to clean before moving on to the next activity, reinforcing the importance of tidying up as part of the day's fun.
Here are some fun cleanup games:
| Game Name | Description |
|---|---|
| Timed Race | Race to pick up the most items quickly |
| Scavenger Hunt | Find and clean items of specific colors |
| Dance and Clean | Dance to music while cleaning |
| Cleaning Song | Sing a special song while tidying up |
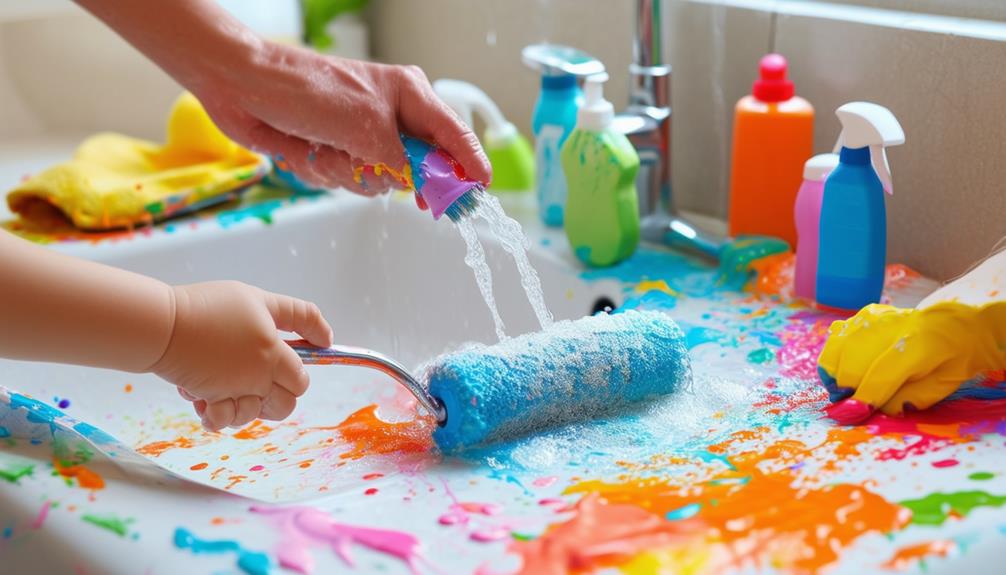
Effective Brush Cleaning
To clean paint brushes effectively, start by using warm water and a mild detergent to remove paint residue. If the paint has dried, soak the brushes to loosen it. Use a 5-in-1 painter's tool to remove any remaining paint from the bristles. After thoroughly rinsing, spin the brush handle between your palms to remove excess water and keep the bristles straight.
Proper Rinsing Techniques
To effectively clean your paint brushes, begin by rinsing them under warm water to remove excess paint. This initial step dislodges most of the paint, simplifying the subsequent cleaning process. Hold each brush under the tap, using your fingers to gently work the paint out of the bristles.
Next, soak the brushes in a container of warm water. This helps loosen any dried paint, making it easier to rinse out. Move the brush back and forth in the water to dislodge any remaining paint.
To ensure your brushes are thoroughly cleaned, follow these steps:
- Rinse thoroughly: Continuously rinse the brushes under running water until the water runs clear.
- Spin the brush: Hold the brush handle between your palms and spin it to expel water and paint residue.
- Use soap if needed: If paint remains, apply a small amount of mild soap or brush cleaner and repeat the rinsing process.
- Inspect the bristles: Ensure no paint is left in the bristles, especially near the ferrule, where paint can harden and damage the brush.
Bristle Care Tips
After thoroughly rinsing your paint brushes, focus on proper bristle care to maintain their quality and longevity. Clean the bristles immediately after use to prevent paint from drying and hardening. Use warm water and mild soap to gently clean the bristles. Avoid hot water, as it can damage the bristles and compromise the brush's effectiveness.
After washing, gently shake the brushes to remove excess water, then reshape the bristles to their original form. Properly shaped bristles ensure optimal performance in future painting sessions.
Store your brushes correctly by laying them flat or hanging them bristle-side down to dry. This prevents water from seeping into the ferrule, which can loosen the bristles over time. Consistent, proper brush maintenance not only prolongs the life of your paintbrushes but also ensures they perform at their best, making your painting projects smoother and more enjoyable.
Quick Roller Maintenance
Maintaining paint rollers can be time-consuming, but Mauro Henrique offers a practical solution: store wet rollers in plastic bags to keep them functional. This method keeps the paint moist, preventing it from drying out and making the rollers easier to reuse. Before storing, remove excess paint using paper towels. This minimizes mess and ensures the paint doesn't clump.
Here's a quick guide to keep your rollers in top shape:
- Use a 5-in-1 painter's tool: This versatile tool effectively scrapes off excess paint, speeding up the cleaning process.
- Wrap in a plastic bag: After scraping, immediately wrap the roller in a plastic bag and seal it tightly to keep it moist between uses.
- Label the bag: If you're using different colors, label the bags to avoid confusion later.
- Store in a cool place: Keep the wrapped rollers in a cool, dry area to prevent mold or mildew.
Proper Paint Disposal
Proper disposal of leftover paint is essential to avoid environmental harm and comply with local regulations. You can't simply discard liquid paint into the trash; it needs to be dried and hardened first. Adding kitty litter to the paint cans is an effective way to speed up this process. Simply mix the kitty litter into the paint and wait for it to solidify, ensuring the paint is safe for disposal.
Always consult your local authorities for specific guidelines on paint disposal in your area. Regulations can vary, so it's crucial to research and follow the rules. Some municipalities offer special paint disposal events or facilities where you can drop off your dried paint cans.
Proper disposal of paint cans prevents harmful chemicals from seeping into the ground and water supplies, protecting the environment. Taking these extra steps to dispose of paint responsibly makes a significant difference. Educate your children on these practices to instill environmental responsibility from a young age. This way, you're not only cleaning up but also teaching valuable lessons.
Handy Cleanup Tools
Cleaning up after a painting session with kids can be easy when you use the right tools. Here are some essential items to keep on hand for a smooth and efficient cleanup:
- Paper Plates: These serve as excellent paint palettes. They can hold multiple colors, don't require rinsing, and can be disposed of after use, eliminating the need for extra washing.
- Lint Rollers: Great for picking up glitter spills and small paint splatters. They are quick, effective, and ensure no tiny mess is left behind.
- Plastic Bags for Pails: Perfect for collecting paper scraps and other disposable items. The plastic lining prevents drips and makes it easy to empty the pail with minimal hassle.
- Smocks: Essential for protecting kids' clothes from paint stains, saving you from dealing with stubborn stains later. They are a must-have for any painting session.
These tools will help make your post-painting cleanup efficient and stress-free.
Encourage Responsibility
Instilling a sense of responsibility in kids during clean-up time can transform a potentially chaotic task into a valuable learning opportunity. By encouraging responsibility, you're promoting both independence and accountability. Start by assigning specific clean-up tasks to each child. This helps them understand their role in maintaining a tidy art space and fosters a sense of ownership.
Teaching children to clean up after painting also instills respect for the art materials they use. Show them the proper way to handle brushes, paints, and other supplies. Providing visual examples and clear guidelines can reinforce the importance of responsibility in art activities. Create a step-by-step chart or use labeled storage bins to simplify and engage them in the process.
Demonstrating proper clean-up techniques is essential. When you show kids how to wash brushes or wipe down surfaces, you empower them to take ownership of their art projects. This practice not only promotes good habits but also makes clean-up time more efficient. The goal is to make kids feel capable and responsible, turning clean-up into an extension of their creative process rather than a chore.