Playdough Clean-Up Tips and Tricks
Cleaning up Play-Doh can be straightforward with a few smart strategies. Start by using a larger piece of Play-Doh to pick up smaller bits, avoiding soap or water, which can worsen the mess. Store Play-Doh in airtight containers to keep it fresh and moldable for future play. For carpet messes, specific techniques can help, and involving kids in the clean-up process can be both effective and educational.
Efficient Playtime Clean-Up
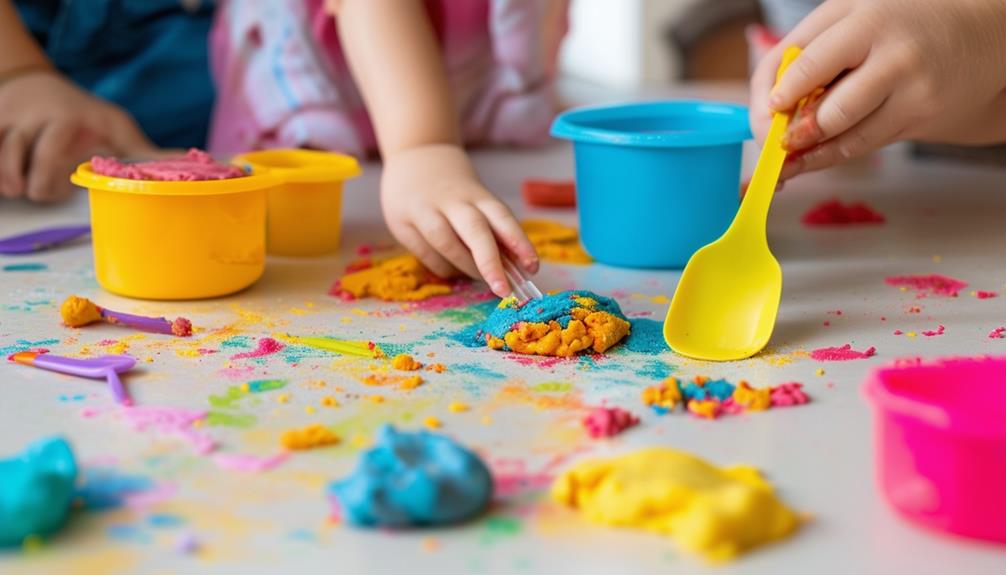
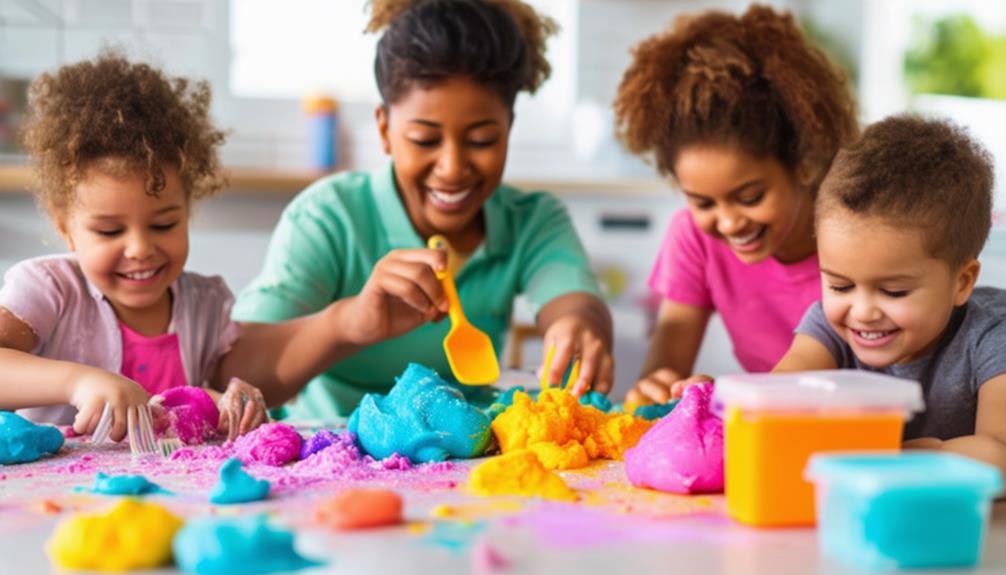
When it's time to tidy up after playtime, use a larger piece of Play-Doh to collect the smaller bits efficiently. This technique is especially useful after sensory play sessions where tiny pieces often scatter. By pressing the larger piece against the smaller bits, you can quickly gather them without creating a bigger mess, simplifying the entire process.
After activities like creating Play-Doh animals or food shapes, avoid using soap and water to clean up dried pieces. Water can dissolve the Play-Doh, turning it into a sticky mess. Instead, gently press a larger piece of Play-Doh onto the dried bits to lift them off surfaces. This method keeps your cleanup effective and your surfaces mess-free.
Always store Play-Doh properly after cleanup to prevent it from drying out and crumbling. Keeping it in airtight containers ensures it's ready for the next creative play session. By following these simple steps, you'll find that cleaning up after sensory play is straightforward and hassle-free, allowing more time for fun and less time worrying about the mess.
Handling Carpet Messes
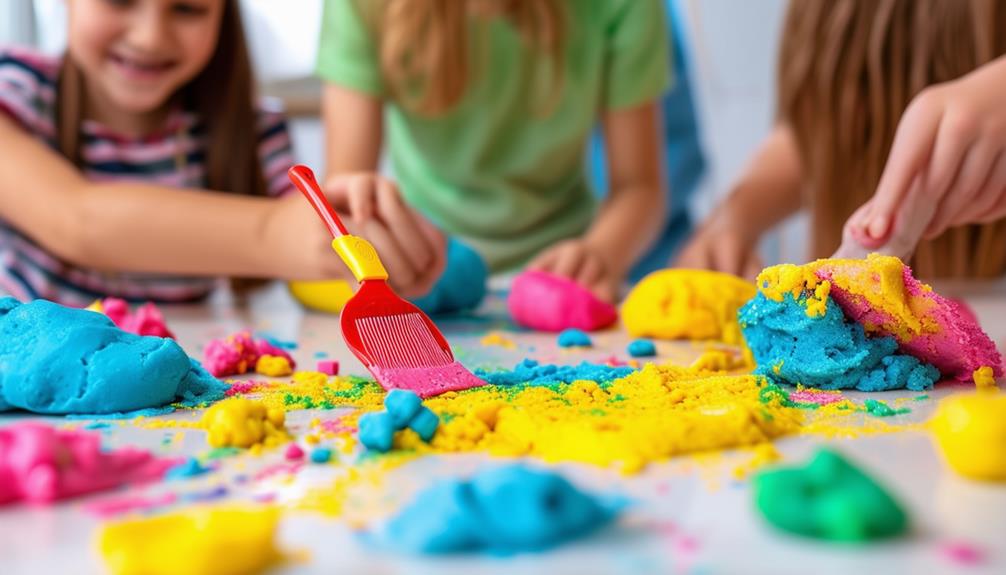
To effectively address Play-Doh mishaps on carpets, allow the Play-Doh to dry completely before removal. This approach prevents smearing and simplifies the clean-up process. Once the Play-Doh is dry, gently use a stiff brush to loosen the small pieces from the carpet fibers, taking care not to damage the carpet, especially if it has a delicate texture.
Avoid using water or cleaning solutions, as they can cause the Play-Doh to spread and the food coloring to stain. Instead, stick to dry methods. Carefully pick up the loosened Play-Doh by hand. For any remaining bits, a vacuum can effectively lift the small pieces without driving them deeper into the fibers.
Maintaining the integrity and appearance of your carpet is essential. Following these steps prevents further damage and keeps your carpet looking its best. Patience is key—allowing the Play-Doh to dry fully and using the right tools ensures a smoother clean-up process. With these tips, you can manage any Play-Doh disaster on your carpet like a pro.
Storing Play-Doh Properly
Keeping Play-Doh Soft and Ready for Fun
Proper storage is essential to ensure your Play-Doh stays soft and moldable for future play sessions. Here's how you can keep it in perfect condition:
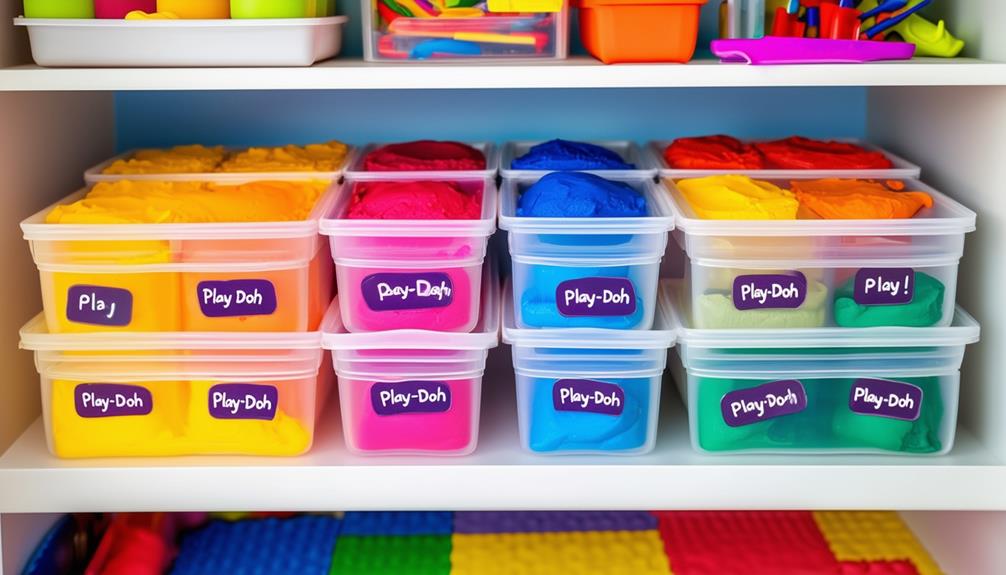
- Use Airtight Containers: Store your Play-Doh in containers with secure lids to prevent it from drying out.
- Seal It Tightly: Always close the container when the Play-Doh is not in use to maintain its consistency.
- Revive When Necessary: If your Play-Doh starts to dry out, add a few drops of water and knead it until it becomes soft again.
- Extend Shelf Life: Proper storage practices extend the life of your Play-Doh, ensuring it's always ready for creative play.
Follow these tips to keep your Play-Doh fresh and enjoyable for endless hours of fun!
Preserving Play-Doh Art
To preserve your Play-Doh masterpieces, take high-quality photos before they dry and crack. Share these images on social media to showcase your creativity and keep memories alive. This way, you can continue to enjoy and cherish your unique creations long after they've been cleaned up.
Photograph Your Creations
Capture your child's Play-Doh masterpieces with high-quality photos to preserve their artistic expressions for years to come. Creative photography allows you to highlight the intricate details and vibrant colors of their creations, transforming them into lasting memories. By focusing on artistic documentation, you can create a visual storytelling experience that showcases their imagination and creativity.
Here are some tips to make the most out of photographing your child's Play-Doh art:
- Lighting: Use natural light whenever possible to bring out the true colors and details of the Play-Doh. Avoid harsh shadows by positioning the creation near a window or in a well-lit room.
- Angles: Experiment with different angles to find the most flattering perspective. Get down to the child's level or try overhead shots to capture the full layout of the creation.
- Background: Choose a simple, uncluttered background to make the Play-Doh art stand out. A plain sheet of white paper or a neutral-colored table works well.
- Close-Ups: Take close-up shots to highlight special details and textures. This adds depth to your visual storytelling and preserves the finer aspects of their artistry.
Share on Social Media
Capture and share photos of your child's Play-Doh creations on social media to celebrate their artistic achievements with friends and family. A digital showcase preserves these colorful memories and provides a platform to display your child's work creatively. Sharing online also connects you with other parents and art enthusiasts who appreciate the intricate details of Play-Doh masterpieces.
Utilize various social media platforms to build a digital gallery that not only keeps the memories alive but also publicly recognizes your child's efforts. Here are some tips for diversifying your online sharing experience:
| Social Media Platform | Best Practices for Sharing Play-Doh Art |
|---|---|
| Use creative hashtags and tag art communities. | |
| Share in parenting and craft groups. | |
| Create a board dedicated to Play-Doh creations. |
Engaging Kids in Clean-Up
Engaging kids in Play-Doh clean-up can transform a mundane task into a fun and educational activity. By incorporating a reward system and cleaning games, you can make the process both exciting and engaging. Here's how you can make clean-up time enjoyable while teaching valuable life skills:
- Reward System and Cleaning Games: Turn clean-up into a game where kids earn points or small rewards for picking up different colors or types of Play-Doh. This not only makes the task fun but also motivates them to keep going.
- Creative Incentives and Teamwork: Offer creative incentives like extra playtime or a small treat to encourage participation. Working together fosters a sense of cooperation and shared responsibility.
- Interactive Cleanup: Make the cleanup interactive by playing music or singing songs. Assign specific tasks to each child, like gathering all the red Play-Doh or putting lids back on containers. This transforms the task into an enjoyable activity rather than a chore.
- Positive Reinforcement: Praise your kids for their efforts and celebrate the completion of the task. This reinforces good habits and makes them feel proud of their contribution.
Cleaning Techniques for Messes
When dealing with stubborn paint stains on playdough creations, rubbing alcohol can work wonders. For those pesky bits of glitter and confetti, use tape and a vacuum to pick them up efficiently. These techniques ensure your clean-up process is quick and hassle-free.
Handling Stubborn Paint Stains
To effectively tackle stubborn paint stains, start by applying a mixture of rubbing alcohol and a small amount of dish soap to the affected area. This combination acts as a powerful paint removal method, making it easier to lift the stain. Paint stains can be one of the most persistent cleanup challenges, but with the right approach, you'll have a spotless surface in no time.
Here are four steps to help you conquer those stubborn paint stains:
- Prepare the Area: Ensure there are no other materials, such as Play-Doh, in the vicinity that could interfere with the cleaning process. This prevents additional messes.
- Apply the Mixture: Mix rubbing alcohol with a small amount of dish soap and apply it directly to the stain. Avoid using water first, as it can spread the paint and make the stain worse.
- Scrub Gently: Use a soft cloth or sponge to gently scrub the stained area. Patience and gentle scrubbing are key to avoiding damage to the surface.
- Rinse and Dry: Once the stain is lifted, rinse the area thoroughly with clean water and dry it completely to prevent any residue from lingering.
Removing Glitter and Confetti
Removing glitter and confetti from surfaces can be challenging, but with the right techniques, you can efficiently tackle these messes. Start by gently scraping off larger pieces with a card or spatula, ensuring you remove the bulk without spreading it further. For effective glitter removal, use tape: press the sticky side onto the glitter to lift it off the surface. This method is especially useful for small areas where glitter clings stubbornly.
For confetti, a vacuum cleaner is ideal. Use the hose attachment to suck up bits of confetti from carpets and floors, making sure to go over the area multiple times to catch every piece. If you're dealing with a mix of glitter and confetti, use the tape method first for the glitter, then vacuum the confetti. Avoid using water or cleaning solutions, as they can cause the glitter to smear and the confetti to stick. To ensure thorough cleanup, check all surfaces and clothing to prevent any remaining bits from spreading.
Spill Management Strategies
Effective spill management begins promptly by addressing both liquids and solids to prevent staining. Immediate action is crucial to avoid long-lasting damage. Here's how to efficiently manage spills:
- Dab and Scrape: As soon as a spill occurs, use paper towels to dab liquids. For solids, gently scrape them off with a plastic spatula or a similar tool. This initial step is essential for minimizing stains.
- Clean and Wipe: After dabbing and scraping, use a damp cloth to clean the affected area. Follow up with a spray cleaner to remove any remaining residue. Thorough wiping ensures that no remnants are left behind, preventing further issues.
- Air Dry: Allow the cleaned area to air dry completely. This step ensures that all residues are eradicated and helps maintain the surface's integrity.
- Keep Supplies Ready: Always have cleaning supplies like paper towels, spray cleaner, and disposal bags easily accessible. Being prepared enables swift action and reduces the likelihood of stains setting in.
Toy Cleaning Tips
Maintaining your child's toys clean is crucial for their health and well-being. Here's how to ensure they remain spotless and safe:
- Plastic Toys: Wash them in warm, soapy water to remove surface dirt and grime effectively. Rinse thoroughly and let them air dry.
- Electronic Toys: Use a cloth dampened with a mixture of water and mild dish soap or a child-friendly disinfectant. Avoid soaking or immersing these toys to prevent damage to electronic components.
- Stuffed Animals: Most can be machine washed. Use a gentle cycle with mild detergent and ensure they are thoroughly dried to prevent mold. For stubborn stains, blot with a cloth, apply a stain remover, and launder promptly.
- Regular Cleaning Rotation: Rotate toys to clean them regularly. This practice prevents dirt buildup and maintains a healthier play environment.
- Professional Cleaning: For tough stains that home methods can't handle, consider professional cleaning services to preserve the quality of your child's toys.
Establishing Clean-Up Routines
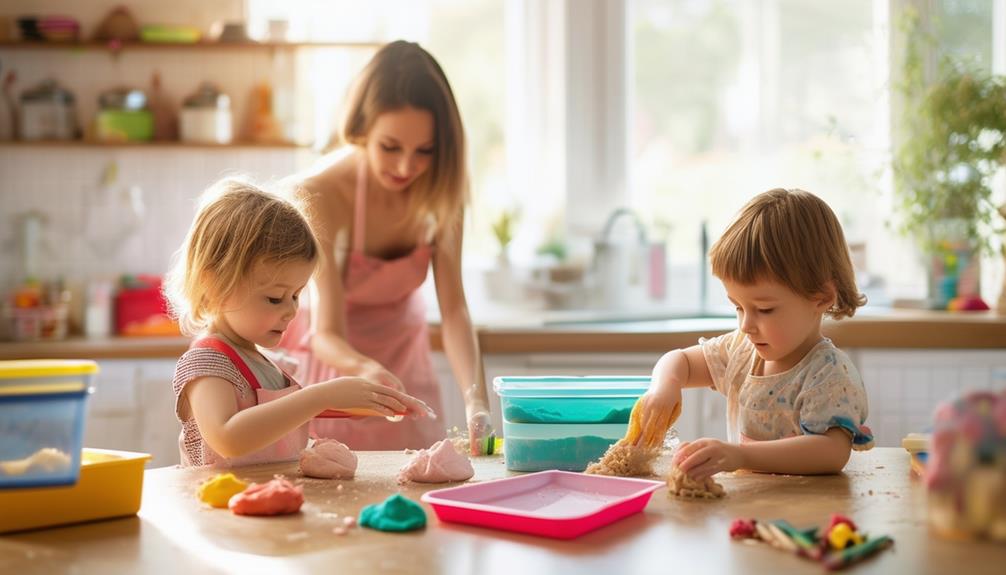
Establishing clean-up routines for Play-Doh activities is vital for maintaining order and instilling responsibility. Make clean-up enjoyable and engaging by involving your children and providing accessible storage solutions. Consistently following a routine will help your kids develop good habits and keep the play area neat.
Consistent Cleanup Schedule
Consistent cleanup schedules are essential for teaching children responsibility and maintaining tidy play areas. By establishing a regular routine, you not only manage clutter but also instill the importance of organization in your children. Involving them in these routines can make a significant difference.
Setting designated times for cleanup after play sessions reduces mess accumulation and ensures that toys and materials are promptly put away. This practice maintains orderly play areas, which is beneficial for everyone.
A consistent cleanup schedule introduces structure and discipline into playtime activities. Children thrive on routine, and knowing there is a specific time for cleanup makes the process smoother. Key benefits of establishing cleanup routines include:
- Sense of Responsibility: Children learn that cleaning up is an integral part of playtime.
- Reduced Stress: A clutter-free environment reduces stress for the entire family.
- Positive Habits: Regular routines help children develop good organizational skills.
- Clean and Safe Environment: A tidy play area minimizes the risk of accidents and creates a more pleasant space.
Child Participation Strategies
Engaging children in cleanup routines fosters a sense of responsibility and makes the process more enjoyable. Assign tasks based on each child's maturity level to ensure effective participation without causing overwhelm. Younger children can handle simple tasks like gathering Playdough pieces, while older children can manage putting away tools and organizing supplies.
To maintain high energy and enthusiasm, consider using motivational rewards. Offer small incentives such as stickers or extra playtime for completing tasks. These rewards can turn a routine chore into an activity they anticipate.
Incorporating interactive cleanup games can also make tidying up fun. Create a timed challenge where children race against the clock to see who can clean up the fastest. Alternatively, play their favorite song and turn cleanup into a dance party. This approach not only speeds up the process but also makes it more enjoyable.
Accessible Storage Solutions
To streamline clean-up time, designate a specific storage area for Playdough and related tools, ensuring everything has its place. This not only speeds up the process but also teaches kids the importance of organization. Playdough storage can be both fun and practical with a few creative solutions. Consider incorporating storage hacks and DIY options to make the process more engaging for your children.
Here are some ideas to get you started:
- Clear Containers with Labels: Use clear containers with labels for easy identification. This helps your child know exactly where each tool and Playdough color belongs.
- Decorative Baskets: Opt for decorative baskets that match your home decor. This keeps everything tidy while adding a stylish touch to your storage area.
- Rolling Carts: A rolling cart is a game-changer. It's mobile, allowing you to move it around the house, and offers multiple levels of storage for Playdough and tools.
- DIY Shelves: Build simple DIY shelves at a child-friendly height. This encourages kids to put things back on their own, fostering independence and responsibility.
Managing Messy Play
Cleaning up after messy play can be straightforward with the right strategies. Effective playdough storage is key: keep it in airtight containers to prevent it from drying out and crumbling. This not only helps maintain cleanliness but also preserves your kids' creative projects.
For glitter mixed into playdough, use tape and a vacuum to manage the mess. If playdough gets stuck in carpets, let it dry completely before removal. Avoid carpet cleaners, as they can worsen the situation. Once the playdough is dry, break it into smaller pieces and vacuum them up.
Slime residue can be tackled effectively with vinegar. Apply vinegar to the affected area, let it sit, then follow up with a cold water wash. For grease paint stains, use Dawn dish soap to scrub the stain, then rinse thoroughly.