How to Dye Playdough With Natural Ingredients
Crafting playdough with natural pigments begins with selecting and preparing vibrant, eco-friendly ingredients such as raspberries, beetroot, and turmeric. These ingredients need to be simmered to extract their colors, which are then mixed into the playdough base. To ensure the colors remain vivid and the playdough retains a smooth texture, it's crucial to understand each step, from pigment extraction to dough kneading. Let's explore each stage in detail to help you master this process.
Extracting Natural Dyes
Extracting natural dyes from common plants and kitchen ingredients is simpler than you might think. Begin by boiling your chosen natural ingredients, such as raspberries, rose petals, beetroot, blueberries, turmeric, or oak tree bark, with water. Simmer the mixture to allow the water to draw out the vibrant colors from these natural sources. Once the desired hue is reached, let the mixture cool before straining it to remove any solid particles.
Each ingredient will have different preparation steps and simmering times. For instance, turmeric might require less time compared to oak tree bark. The result is a range of beautiful, homemade natural dyes perfect for coloring playdough.
These dyes are eco-friendly, safe, and non-toxic, making them ideal for homemade crafting projects. Enhance the experience by adding a few drops of essential oils to the dye, giving your playdough a pleasant scent. This method for extracting natural dyes can transform everyday kitchen items into vibrant colors for your crafting needs.
Gathering Ingredients
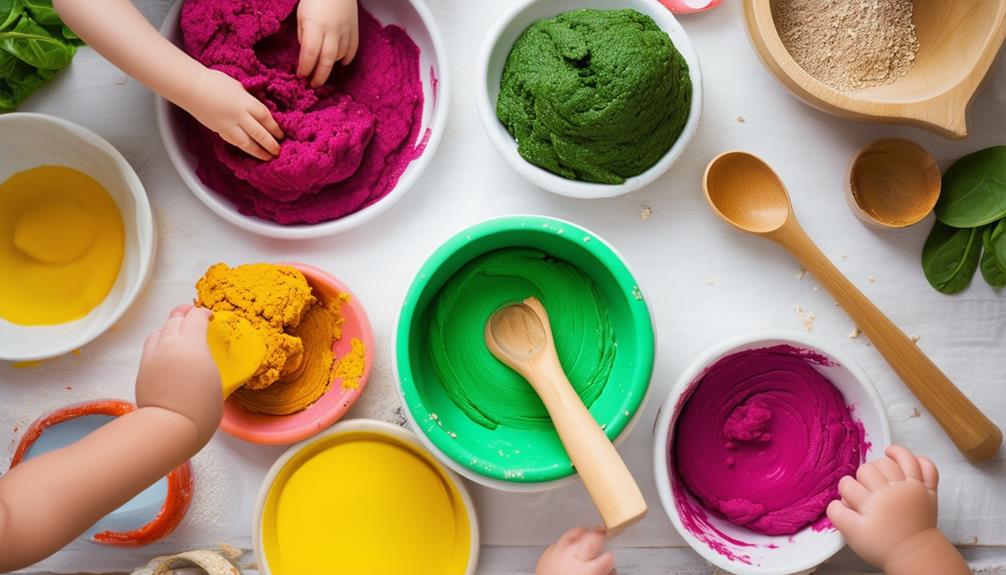
To color your playdough naturally, gather ingredients like raspberries, rose petals, beetroot, blueberries, turmeric, and oak tree bark. These natural elements will provide vibrant colors for your playdough, making it both fun and eco-friendly.
Ensure you have the necessary tools: a mixing bowl, wooden spoon, and mason jars for storing your colored dough. You'll also need flour, salt, cream of tartar, cooking oil, and colored water from your natural dyes. Set up a clean work surface covered with Kraft paper to keep things tidy while you mix and knead your playdough.
Use your gathered ingredients to extract the natural dyes. The colored water from these dyes is essential for achieving the desired hues in your playdough. Follow measurements and instructions carefully to impact the vibrancy and consistency of your natural-colored playdough. By preparing these ingredients meticulously, you're setting the stage for a successful and creative playdough-making session.
Making Playdough
To start making your playdough, gather key ingredients: flour, salt, cream of tartar, oil, water, and natural dye. Combine the dry ingredients in a pan, then add the wet ingredients. Heat and stir the mixture until it forms a cohesive ball. Once slightly cooled, knead it on a floured surface until smooth.
Gathering Key Ingredients
Start by gathering the necessary ingredients for your homemade playdough. Having everything prepared ahead of time will make the process smoother and more enjoyable. Here's what you'll need:
- Flour: A half cup forms the base of your playdough.
- Dyed Water: Use a half cup of water dyed with natural ingredients like purple cabbage for vibrant colors.
- Salt: A quarter cup helps preserve the playdough and improves texture.
- Cream of Tartar: Half a tablespoon ensures your playdough stays soft and pliable.
- Cooking Oil: A half tablespoon adds moisture and helps achieve the perfect consistency.
Consider adding a few drops of essential oil for a pleasant scent. Experimenting with natural dyes, such as purple cabbage, can result in beautiful, safe, and non-toxic colors. The right quantities and combination of these ingredients are essential for successfully making playdough. With everything ready and measured, you're prepared to create colorful, homemade playdough that's fun and safe for kids.
Heating and Mixing
Begin by combining all the ingredients in a pan, ensuring to stir them thoroughly without sifting the flour. Gradually add boiling water while stirring to achieve a uniform mixture. The heat helps blend the ingredients smoothly, resulting in a velvety consistency. You will notice the mixture starting to thicken and form clumps.
Continue heating the mixture over medium heat, stirring constantly to prevent the playdough from sticking to the pan. As you stir, the dough will gradually come together, forming a cohesive ball. This process typically takes a few minutes but may vary depending on your stove's heat.
Once the dough forms a ball and detaches from the sides of the pan, remove it from the heat. Allow the dough to cool for a few minutes to prevent burns and to aid in solidifying the dough, making it easier to knead in the next step for the ideal texture.
Kneading for Smoothness
After the dough has cooled slightly, start kneading it on a floured surface to achieve a smooth and even texture. This critical step ensures the play dough becomes uniform and pliable. You'll need to fold, press, and stretch the dough repeatedly, which helps distribute the ingredients evenly, making the dough cohesive and elastic.
Keep these tips in mind to make kneading easier:
- Floured surface: Sprinkle a little flour on your work surface to prevent sticking.
- Consistent pressure: Apply steady, even pressure to work the dough.
- Fold and push: Fold the dough in half, then push it down and out with the heel of your hand.
- Rotate: Turn the dough 90 degrees after each fold and push to ensure even kneading.
- Adjust moisture: If the dough feels too sticky, add a little flour; if it's too dry, add a few drops of water.
Proper kneading will make the play dough smooth and free from lumps or air pockets, ensuring it's easy to shape and mold. This step activates the gluten in the flour, giving the dough its elasticity and cohesive structure.
Kneading the Dough
Kneading the dough thoroughly ensures that the natural colors are evenly distributed and the texture is smooth. To achieve a consistent color and texture, press and fold the dough repeatedly. This step is crucial for eliminating lumps and bumps, resulting in a final product that looks and feels perfect.
Begin by pressing and folding the dough until the color is uniformly spread throughout. This process may take a bit of time, so be patient. Kneading also helps incorporate any remaining bits of dye, giving your playdough a cohesive appearance.
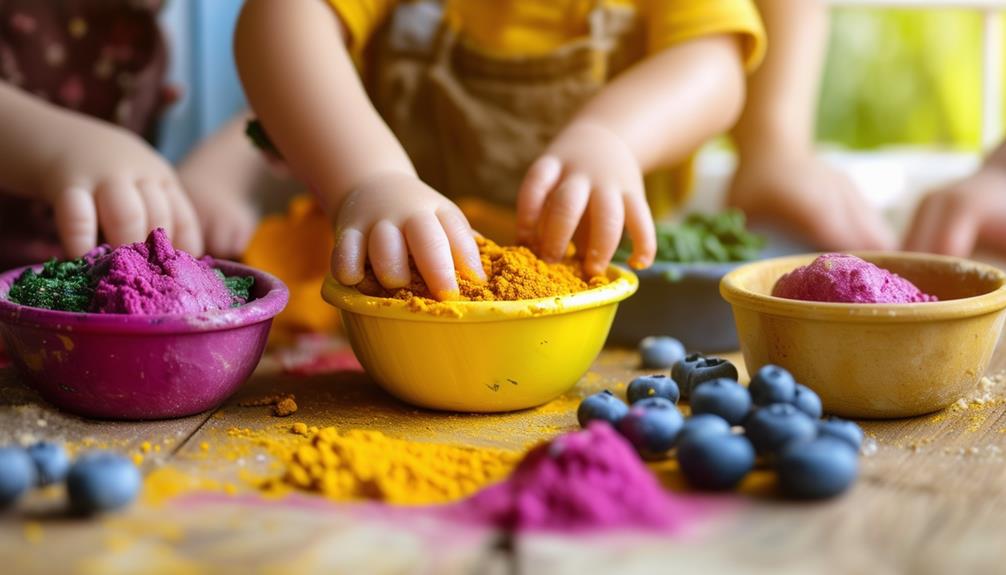
Involving children in this activity can make it a fun and sensory experience. They can enjoy the tactile sensation while observing how the color changes and spreads. Encourage them to use their hands to press and roll the dough, turning it into an educational and enjoyable process.
Dye Color Options
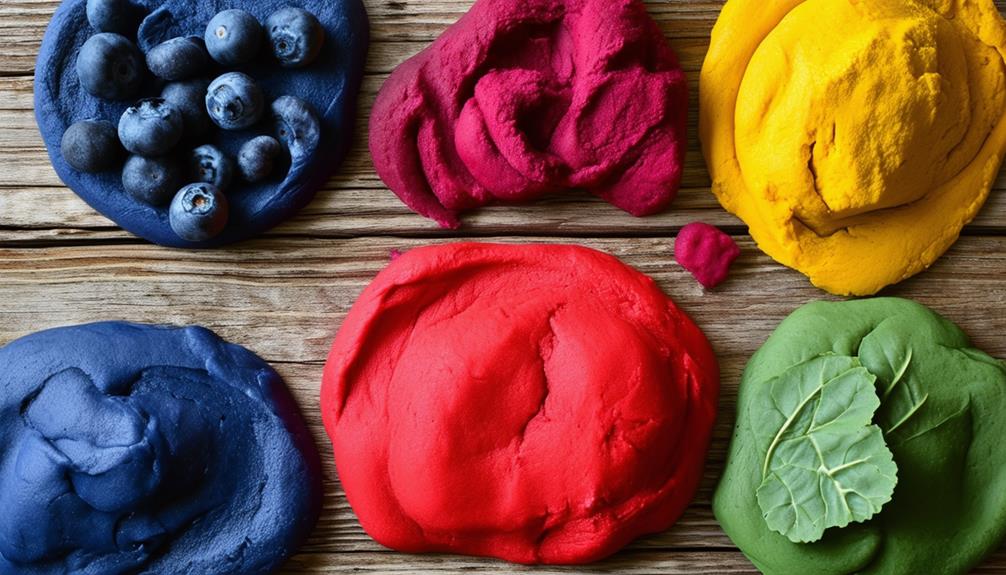
For dye color options, you have an array of plant-based sources available. Simmering blueberries or boiling spinach can yield deep purples and greens, while turmeric and beet powder provide vibrant yellows and soft pinks. Additionally, coffee can be used to achieve a rich brown hue, offering variety to your playdough colors.
Plant-Based Dye Sources
Create vibrant and natural colors for your playdough using plant-based dyes like blueberries, turmeric, and spinach. These ingredients provide beautiful hues and are safe and eco-friendly. Here are some plant-based dye sources:
- Blueberries: Crush them to create a stunning purple dye.
- Red cabbage: Boil the leaves to extract a juice that turns playdough blue.
- Turmeric: This spice achieves a bright yellow hue.
- Spinach: Blend the leaves to obtain a natural green dye.
- Beets or strawberries: Use these to make a pink dye.
These natural dyes are not only effective but also ensure your playdough remains non-toxic and environmentally friendly.
Natural Color Extraction
To extract vibrant natural dyes for your playdough, start by boiling your selected plant-based components with water and then straining the mixture. This simple and effective dye extraction process creates a range of beautiful, natural hues for your homemade playdough.
Each natural component requires a specific method for optimal outcomes. For example, raspberries and rose petals need to be boiled and then simmered for approximately 10 minutes, while beetroot should be boiled until the water turns deep red. Blueberries produce a soft pink/purple dye, and turmeric creates a striking yellow. Even avocado stones can be boiled to produce a gentle peachy shade. Allow the mixtures to cool before sieving to ensure the colors are properly extracted.
You can also use items like coffee, cocoa powder, and matcha green tea powder. These alternatives offer rich browns and greens, expanding the range of plant-based hues available for your homemade playdough. By using natural components for dye extraction, you're not only creating visually appealing playdough but also educating children about the abundant sources of plant-based colors.
Storing Playdough
To keep your homemade playdough fresh and pliable, store it in airtight containers. Proper storage is essential for maintaining the texture and vibrant colors achieved with natural ingredients. Whether you used dyed water or oils, preserving its quality is crucial.
Here are some tips to ensure your playdough stays in top condition:
- Use airtight containers: These prevent air from drying out the playdough.
- Label with dates: Track freshness by writing the creation date on the container.
- Avoid extreme temperatures: Keep the playdough away from heat sources and freezing temperatures.
- Store in a cool, dry place: Humidity can negatively affect the consistency and longevity.
- Check regularly: Periodically inspect the playdough for signs of drying or spoilage.