Watercolor Painting Projects for Kids

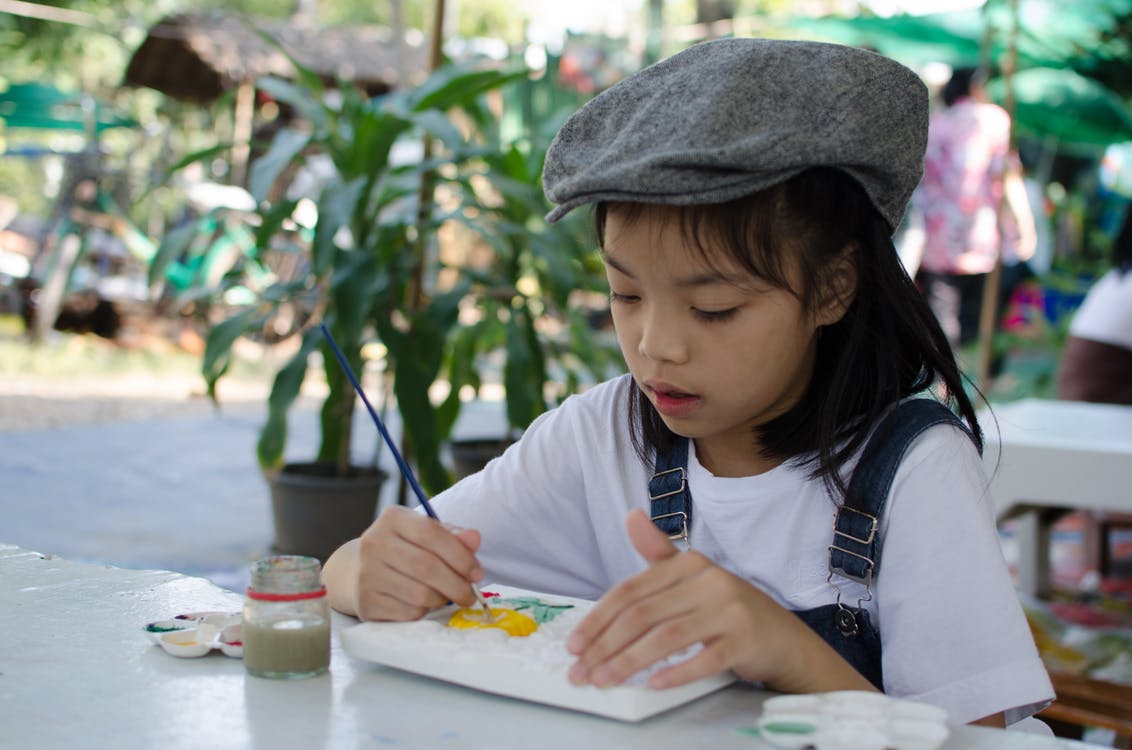
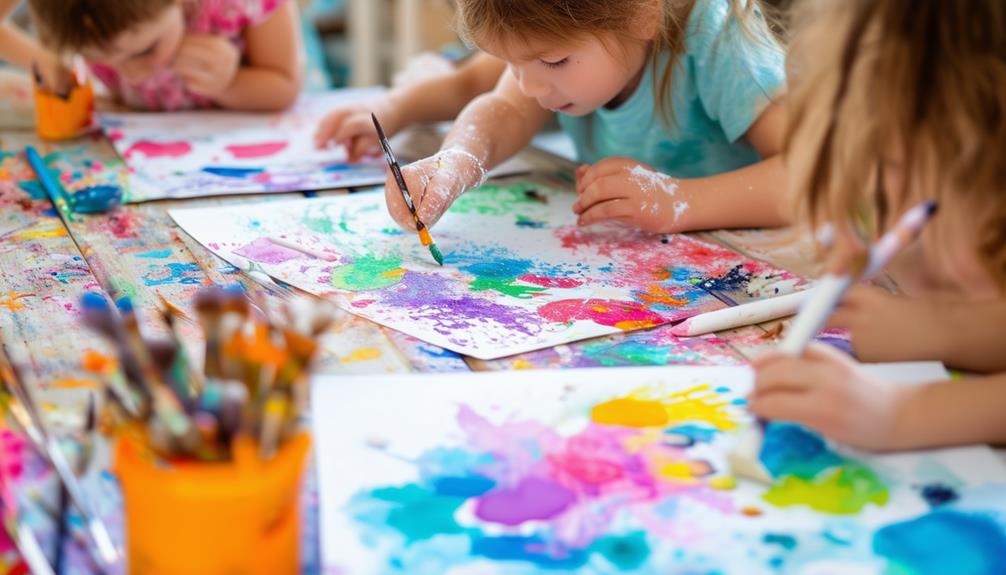
Introducing kids to watercolor painting projects opens a door to creativity and educational growth. Techniques like watercolor dot art and relaxing scribble art help children explore colors and patterns in an engaging way. These activities not only enhance fine motor skills but also nurture patience and focus. Imagine your child creating a starry night sky or intricate doodle flowers with their own hands. Curious about how these projects benefit your child's development and artistic expression? Let's explore the possibilities together.
Watercolor Dot Art
Creating intricate dot art using cotton swabs and watercolor paint offers a fun, pointillism-inspired activity suitable for kids. This engaging craft allows for experimentation with various designs such as flowers, butterflies, cars, or abstract patterns. The process involves dabbing small dots of watercolor paint onto paper to create a beautiful, pointillism-inspired effect.
Watercolor dot art encourages creativity with diverse shapes and patterns. Cotton swabs enable precise control over the size and placement of each dot, enhancing artistic skills and attention to detail. Whether crafting dot-to-dot pictures or more abstract designs, the possibilities are endless.
Additionally, this activity provides a soothing and calming experience due to the repetitive motion of dabbing watercolor dots. Ideal for quiet afternoons, it combines creativity with relaxation. The vibrant colors and unique textures achievable with watercolor paint will make your artwork distinctive. Immerse yourself in watercolor dot art and watch simple dots transform into intricate, colorful masterpieces.
Relaxing Scribble Art
After exploring the intricate designs of watercolor dot art, let's transition to the soothing and imaginative world of calming doodle art. This activity allows you to create expansive, swirling doodles using crayons or oil pastels, making it perfect for kids to unwind and tap into their creativity.
Begin by drawing large, free-form doodles on a sheet of paper. These swirls and strokes will form sections that you can fill in with vibrant colors. Use crayons or oil pastels to color some sections, adding bursts of life to your artwork. Next, take your watercolors and paint the remaining areas to create a unique and colorful composition.
To enhance the relaxing experience, consider listening to an audiobook while working on your art. Encourage kids to experiment with various color combinations and patterns, ensuring each piece of art is truly unique. Follow this quick guide to get started:
| Step | Description |
|---|---|
| 1. Doodle | Create large swirling doodles with crayons or pastels |
| 2. Fill Sections | Color some sections with crayons or pastels |
| 3. Paint | Use watercolors to fill the remaining areas |
| 4. Listen | Enjoy an audiobook while creating |
| 5. Experiment | Try different color combinations and patterns |
With this method, kids can craft stunning watercolor art while enjoying a relaxing and imaginative experience.
Doodle Flowers
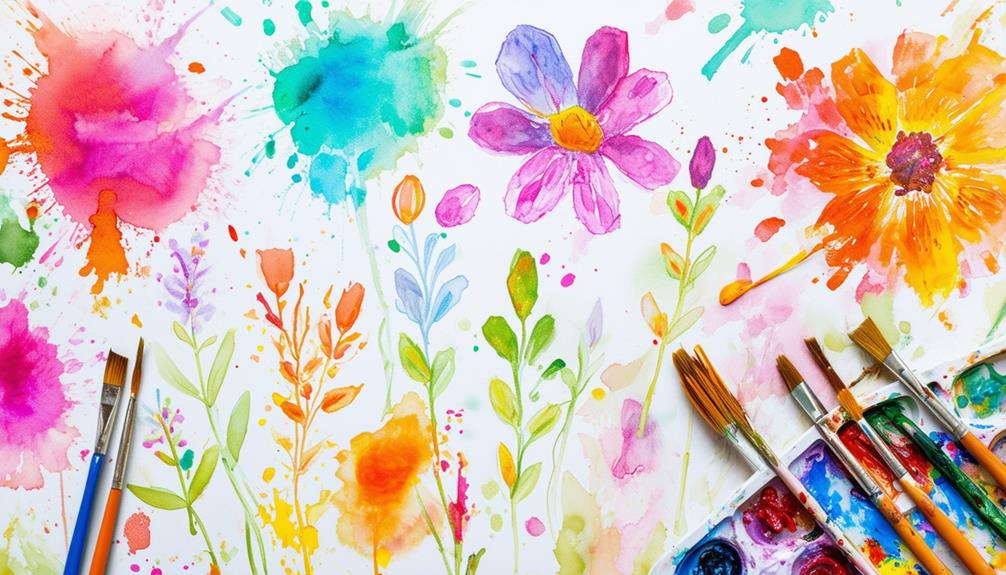
When you're ready to dive into creating doodle flowers, start by painting a series of colorful watercolor dots on your paper. These dots will serve as the base for your imaginative flower shapes. Use a variety of bright, cheerful colors to make your artwork stand out. Once the watercolor dots have dried, it's time to add playful designs and patterns.
Begin by outlining each dot with a thin black marker or pen. Transform these simple dots into intricate flowers by drawing petals, stems, and leaves. Experiment with different flower shapes and sizes to create a garden of unique blooms. Feel free to mix and match patterns like stripes, polka dots, and swirls to give each flower its own character.
For an added layer of fun, consider cutting out your flower designs once they're complete. You can use these cut-outs as stickers or enjoy them as standalone art pieces. By combining various colors and patterns, you'll create a vibrant, eye-catching collection of doodle flowers. This project not only fosters creativity but also helps develop fine motor skills and an appreciation for the beauty of nature.
Starry Night Sky Effect
To create a magical starry night sky, begin by applying dark watercolor shades such as deep blues and purples. While the paint is still wet, sprinkle salt on it and observe as it creates a stunning, textured effect. Experiment with varying amounts of salt to see how it alters the appearance of your sky.
Salt Texture Techniques
Sprinkling salt on wet watercolor paintings creates a captivating starry night sky effect with unique textures. This salt painting technique is straightforward and perfect for kids to explore. Begin by applying a wash of watercolor paint to your paper. While the paint is still wet, sprinkle salt over the surface. Experiment with different salt densities to achieve varied patterns and effects.
As the salt interacts with the watercolor, it absorbs the paint and forms intricate, star-like patterns. This reaction adds depth and dimension to your artwork, enhancing night sky scenes. The resulting textures differ based on the type of salt used: coarse salt produces larger, more pronounced patterns, while fine salt results in subtler textures.
Encourage kids to experiment with these techniques and observe how the salt alters their paintings. This interaction between salt and watercolor not only enhances the visual appeal but also offers a fun and educational experience. Incorporating salt texture techniques adds a visually striking finish to watercolor projects, making them stand out.
Night Sky Colors
Creating a captivating night sky with watercolors involves selecting deep, rich hues like navy blue, indigo, and violet, which set the perfect backdrop for a starlit sky. Follow these steps to achieve a stunning night sky effect:
- Prepare Your Paper: Moisten your watercolor paper thoroughly to allow the colors to blend smoothly.
- Apply Colors: Layer navy blue, indigo, and violet, blending them to mimic the natural gradient of the night sky.
- Add Texture with Salt: While the paint is still wet, sprinkle salt onto the surface. The salt will absorb some of the watercolor, creating unique textures and patterns that resemble a starry night sky.
- Finish Up: Let the painting dry completely before brushing off the salt to reveal the textured night sky.
Experiment with different densities of salt to see how it affects the appearance of your starlit sky. This technique will add a mystical and enchanting quality to your watercolor painting.
Watercolor Resist Technique
The watercolor resist technique, which involves sketching with crayons or oil pastels before painting over them with watercolors, enables children to create vibrant and unique pieces of art. Begin by encouraging your child to draw patterns, shapes, or even simple doodles using oil pastels. The waxy texture of the pastels will repel the watercolor paint, creating striking contrasts and making the drawings stand out.
Experimenting with different color combinations is crucial to maximizing the potential of this method. For example, pairing vibrant yellow oil pastels with blue watercolors can produce a vivid and attention-grabbing effect. Allow your child to explore various combinations to discover their preferences. Layering is another enjoyable aspect; by overlapping different hues of oil pastels and watercolors, children can observe how the colors interact and repel each other.
This method not only results in beautiful artworks but also fosters creativity and discovery. Children can experiment with diverse patterns and designs, from abstract shapes to more defined images. The watercolor resist technique is simple enough for younger children yet offers endless possibilities for more intricate and detailed designs as they grow older. Engage in this captivating painting technique and watch your child's imagination flourish.
Butterfly Symmetry Prints
After exploring the watercolor resist technique, you can further nurture creativity with butterfly symmetry prints, a fun and educational project that introduces the concepts of balance and design. This activity is perfect for kids as it merges art with lessons in symmetry, providing both entertainment and learning.
Step-by-Step Guide to Creating Butterfly Symmetry Prints:
- Fold the Paper: Begin by folding a piece of paper in half. This fold will ensure symmetrical butterfly wings when the paper is opened.
- Draw the Butterfly: Using crayons, sketch the butterfly's body and wings. This step allows for adding intricate details that will serve as the foundation for your unique watercolor butterfly prints.
- Paint One Side: Now comes the exciting part—painting! Apply watercolors to one side of the butterfly. Select vibrant colors and patterns to make your butterfly stand out.
- Create the Symmetrical Print: Fold the paper along the crease again and press it down firmly. When you open the paper, you will reveal a beautiful, symmetrical butterfly print.
This project not only offers enjoyment but also enhances your understanding of symmetry and balance in art. Here's a quick recap:
- Fold the paper to create symmetrical butterfly wings.
- Sketch the butterfly's body and wings using crayons.
- Paint one side with watercolors and press to create prints.
- Experiment with different shapes and colors for unique designs.
Enjoy creating your own vibrant and symmetrical watercolor butterfly prints!