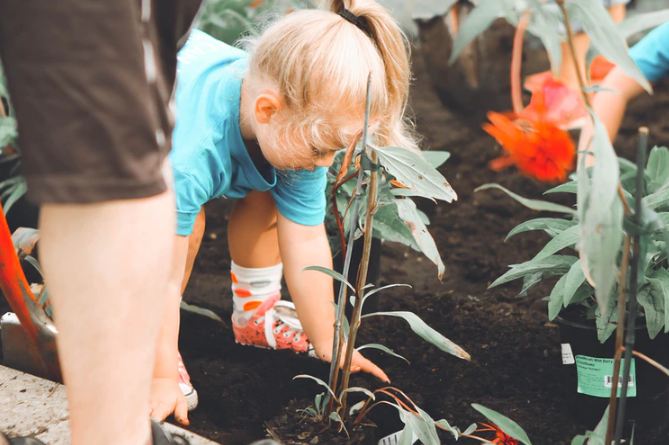
Playdough Science Experiments for Curious Kids
Playdough isn't just for molding shapes; it can also be a gateway to exciting scientific discoveries for kids. Imagine using Squishy Circuits to explore electricity or conducting a Sink or Float experiment to teach density. These hands-on activities make learning fun while nurturing creativity and critical thinking. Have you ever considered how magnetic playdough could explain magnetism or how mixing colors can introduce basic chemistry concepts? There's a whole world of science waiting to be uncovered through these playful experiments. Are you ready to embark on this educational adventure?
Squishy Circuits
Curious about how electricity works? Squishy Circuits offer a hands-on way to explore electrical circuits using simple materials like LED lights, batteries, and conductive play dough. This activity is perfect for engaging children in science experiments. By using Squishy Circuits, you can create various circuit shapes, sparking creativity and curiosity.
To begin, mold play dough into your desired shapes. Connect LED lights and batteries to your creations, and observe how electricity flows through the play dough, illuminating the LEDs when the circuit is complete. This method effectively demonstrates concepts like conductivity and the flow of electricity.
As you experiment, you'll identify which parts of the play dough conduct electricity and how to shape your circuits for optimal performance. This approach makes learning about electricity both enjoyable and educational, helping you grasp fundamental principles of circuitry. Squishy Circuits transform abstract concepts into tangible experiences, making science accessible and engaging for all ages.
Sink or Float
After exploring the wonders of electricity with Squishy Circuits, it's time to dive into the captivating world of Sink or Float experiments using playdough. This hands-on science activity allows kids to explore the concepts of density and buoyancy in an engaging and interactive manner. By experimenting with various playdough shapes, children can observe which ones sink and which ones float, making complex scientific principles both accessible and fun.
To begin, shape your playdough into different forms—such as balls, flat discs, and elongated cylinders. Drop each shape into a container of water and observe the results. You'll notice that some shapes float while others sink. This simple yet fascinating experiment helps kids understand density: objects denser than water will sink, while those less dense will float.
Encourage kids to predict the outcomes before testing. Ask them to guess which shapes will float or sink and then see if their hypotheses hold true. Through these observations, they will learn about the properties of materials and how shape influences their interaction with water. This engaging activity transforms scientific exploration into a playful adventure.
Magnetic Play-Dough
Magnetic play-dough provides an engaging way for children to explore magnetism through hands-on activities. By incorporating iron filings into standard play-dough, you create a substance that responds to magnets, offering an interactive and educational experience. This type of play-dough enables kids to experiment with various magnets and investigate different magnetic properties.
Children can mold shapes and structures with magnetic play-dough, which enhances their creativity and problem-solving abilities. This fun and interactive method helps them grasp the concept of magnetism, fostering a curiosity and interest in science that can lead to further scientific exploration.
Here's a quick guide to get you started:
| Material | Purpose |
|---|---|
| Standard play-dough | Base material |
| Iron filings | Makes the play-dough magnetic |
| Magnets | Test and explore magnetic properties |
| Creativity | Enhances engagement and learning |
This concise guide ensures semantic accuracy, completeness, consistency, and relevance, making it a trustworthy resource for both educational and recreational purposes.
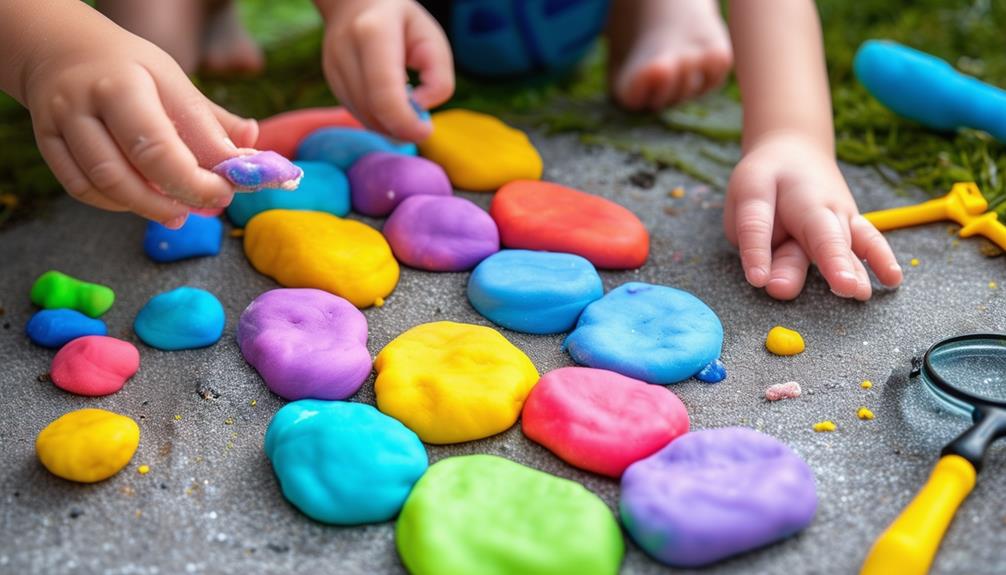
Color Mixing
Color mixing with playdough is an excellent way for children to explore primary and secondary colors through hands-on experimentation. By blending different colored playdough, they can observe how new colors emerge, making it both an educational and enjoyable activity. This not only introduces them to the basics of color theory but also encourages creative expression through playful experimentation.
To enhance this activity, you can create custom playdough colors using food coloring. Simply mix a few drops of food coloring into plain playdough to watch the colors transform. Additionally, you can add an element of surprise by creating small volcanoes with playdough. Add food coloring to baking soda and pour vinegar over it to produce colorful eruptions.
- Blend primary colors (red, blue, and yellow): Combine them to create secondary colors like green, orange, and purple.
- Use white and black playdough: Experiment with shades and tints to understand how colors can be lightened or darkened.
- Document the process: Encourage children to note which colors they mix and the results they observe.
This activity is sure to captivate curious minds, making learning a delightful experience.
Stepping Stones
With the Stepping Stones experiment, you'll explore how various shapes and sizes of play-dough react to pressure. This hands-on activity allows you to observe the deformation and weight distribution of your creations, making physics concepts tangible. Get creative and test how your play-dough stones withstand different pressures!
Pressure and Material Exploration
Children can explore the Stepping Stones experiment to observe how play-dough reacts to varying pressures and different materials. This engaging science activity helps them understand material properties by observing deformation and strength. By pressing various objects into play-dough, they can see firsthand how pressure affects it. Here's how to guide them through this educational experiment:
Start by having the kids create several play-dough stepping stones. Once their stones are ready, encourage them to apply different pressures using diverse objects. They can use their hands, books, or even their feet to exert force on the play-dough. This hands-on approach makes scientific exploration both fun and memorable.
Ask the children to note their observations:
- Pressure Variations: What happens when they apply gentle versus heavy pressure?
- Different Materials: How do different objects, like a feather versus a rock, affect the play-dough?
- Deformation Patterns: What shapes and indentations are formed under pressure?
This will help them understand the relationship between pressure, material properties, and deformation.
Hands-On Physics Learning
Through the Stepping Stones experiment, children gain a hands-on understanding of fundamental physics concepts such as deformation, material strength, and elasticity. By creating play-dough stones and subjecting them to various pressures, kids learn significant scientific principles in an engaging and fun manner.
As they press and stretch the play-dough, children explore elasticity, observing whether the play-dough returns to its original shape or not. This tactile experience helps them understand how different materials respond to stress.
Resistance is another key concept covered. When children apply varying levels of force to their play-dough creations, they can feel the resistance and see how much pressure the dough can withstand before deforming. This simple activity makes the abstract concept of resistance tangible and relatable.
Durability is also a focal point of the Stepping Stones experiment. Kids can compare different types of play-dough or added materials like sand or glitter to see how these affect the durability of their creations. By repeatedly applying pressure, they observe which combinations hold up best, providing insights into what makes materials strong or weak. This hands-on approach not only makes learning fun but also deeply engaging, encouraging curiosity and scientific thinking.
Stepping Stone Creativity
Imagine the excitement when children realize they can transform simple play-dough into unique, colorful stepping stones. This hands-on activity not only engages their creativity but also introduces them to fundamental scientific concepts. By applying pressure and shaping the material, kids can observe how different materials respond to pressure and deformation.
Through innovative designs and diverse learning, children can explore concepts of strength and resistance. This activity encourages them to experiment with various shapes and pressures, providing a rich avenue for artistic expression and imaginative thinking. They'll learn how play-dough behaves under different conditions, enhancing their understanding of material properties.
Consider these benefits of the Stepping Stone activity:
- Sensory discovery: Engage children's senses through tactile experiences, making learning more immersive.
- Physical play: Combine science with physical activity, ensuring kids remain active while learning.
- Hands-on learning: Foster a deeper understanding of scientific concepts through direct manipulation and observation.
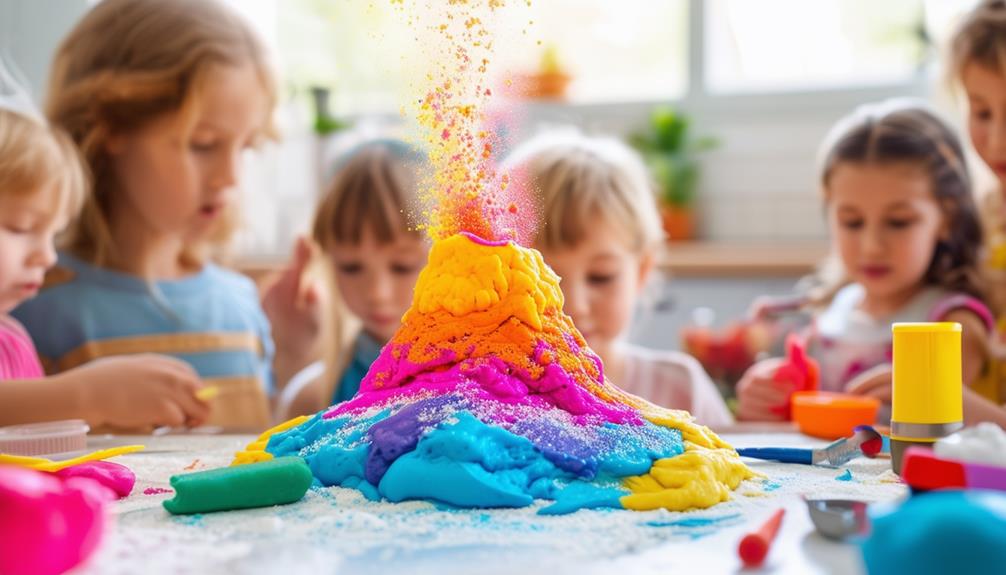
Play Dough Volcano
Ever wondered how to create a miniature erupting volcano using just play dough and common household ingredients? Prepare for an exciting eruption simulation that brings science to life right in your kitchen. You'll witness a chemical reaction between baking soda and vinegar that's both educational and incredibly fun.
Start by molding play dough into a volcano shape on a cake pan or dish. Once your volcano is set, it's time for the real magic. Pour baking soda into the crater of your play dough volcano. Next, add red-dyed vinegar to simulate the fiery lava flow. The moment the vinegar hits the baking soda, you'll see a fizzy eruption that mimics real volcanic activity.
This experiment is a perfect blend of scientific exploration and messy play. Kids will love watching the bubbly lava flow down the sides of their homemade volcano. Plus, it's a great way to learn about the chemical reaction that occurs between an acid (vinegar) and a base (baking soda). You can repeat the experiment as many times as you like for more fun and learning opportunities. For detailed instructions and explanations, check out ScienceLine.
Creating the Volcano
To create your volcano, gather old playdough, a cake pan, and a small disposable cup. Secure the cup in the pan and mold the playdough around it to form the volcano shape. Follow the step-by-step process for an exciting fizzy eruption.
Materials and Setup
To create an exciting and educational volcano experiment, gather the following materials: old play dough, a cake pan, a small disposable cup, baking soda, vinegar, and red food coloring. These components will help simulate a volcanic eruption.
- Prepare the Base: Place the cake pan on a flat, easily cleanable surface. Position the small disposable cup in the center of the pan, securing it to ensure stability during the reaction.
- Shape the Volcano: Mold the play dough around the cup to form a volcano shape, leaving the cup's opening exposed at the top. This will serve as the chamber for your eruption ingredients.
- Gather Reaction Ingredients:
- Baking soda
- Vinegar
- Red food coloring
These ingredients will produce the chemical reaction that mimics a real volcanic eruption. Ensure that the setup is complete and ready for the next steps.
With your volcano model in place, you're prepared for the exciting eruption process.
Step-by-Step Process
Volcano Eruption Science Project
Preparation:
- Gather all necessary materials: baking soda, a disposable cup, old play dough, and red vinegar.
Building the Volcano:
- Step 1: Pour a generous amount of baking soda into the disposable cup.
- Step 2: Secure the cup at the center of your work area to serve as the reaction chamber.
- Step 3: Mold old play dough around the cup to form the shape of a towering volcano, ensuring the play dough is securely attached to the base with no gaps.
Creating the Eruption:
- Step 4: Prepare the red vinegar, which will act as the lava.
- Step 5: Carefully pour the red vinegar into the cup filled with baking soda and observe the fizzy reaction. This demonstrates a classic acid-base reaction, bringing science to life in a visually engaging way.
Materials and Actions Summary:
| Step | Materials Needed | Actions to Take |
|---|---|---|
| 1. Add baking soda | Baking soda, disposable cup | Pour baking soda into the cup |
| 2. Secure the cup | Disposable cup, work area | Place and secure cup at the center |
| 3. Build the volcano | Old play dough | Mold play dough around the cup |
| 4. Prepare vinegar | Red vinegar | Get red vinegar ready for the eruption |
| 5. Create eruption | Red vinegar, cup | Pour vinegar into the cup and observe the reaction |
This hands-on project fosters creativity and provides a thrilling visual display, making the learning of scientific principles both fun and educational.
Home Made Play Dough
Creating homemade playdough with basic kitchen ingredients is both enjoyable and straightforward. You will need flour, salt, water, cream of tartar, and oil. This DIY approach not only saves money but also allows you to customize your dough with food coloring and scents like vanilla or peppermint.
Once your playdough is ready, the opportunities for play and learning are abundant:
- Playdough Sculptures: Encourage sensory exploration by molding various shapes and forms. This activity aids in understanding textures and enhances motor skills.
- Playdough Math: Enhance shape recognition by forming geometric figures. Ask your child to identify circles, squares, and triangles to promote early math skills.
- Playdough Animals: Stimulate imaginative play by crafting animals. Allow your child's creativity to flourish as they create their favorite animals and weave stories around them.
Homemade playdough is versatile, promoting both sensory play and creativity. It's an excellent way to engage children in arts and crafts at any stage. By making your own playdough, you ensure a fresh supply for countless hours of fun and educational activities.
Storage Tips

To keep your homemade playdough fresh and pliable, store it in an airtight plastic container. Airtight storage is essential for playdough longevity because it prevents the dough from drying out and losing its texture. You can use creative containers, like mason jars or small plastic tubs, to add an enjoyable twist to storage while ensuring your playdough stays fresh.
Adding a packet of Kool-Aid to your playdough can create scented and colorful variations, making the storage process even more exciting for kids. Proper storage can help your playdough last for at least three months, maintaining its quality for extended use in various activities and experiments.
Here's a quick reference table to help you with your playdough storage:
| Storage Tips | Benefits | Examples |
|---|---|---|
| Airtight storage | Playdough longevity | Plastic containers |
| Creative containers | Fresh playdough | Mason jars, plastic tubs |
| Scented playdough | Colorful variations | Kool-Aid packets |
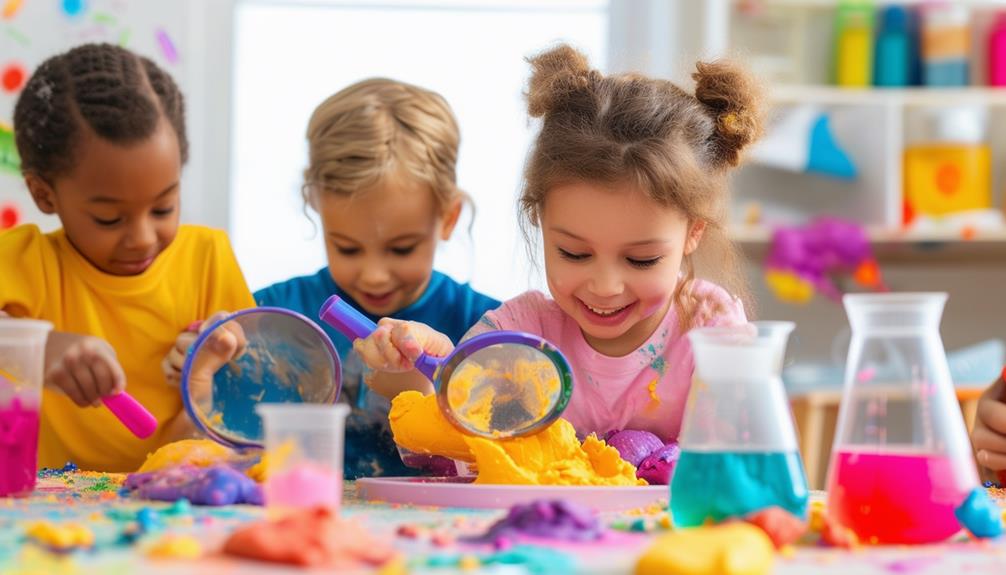
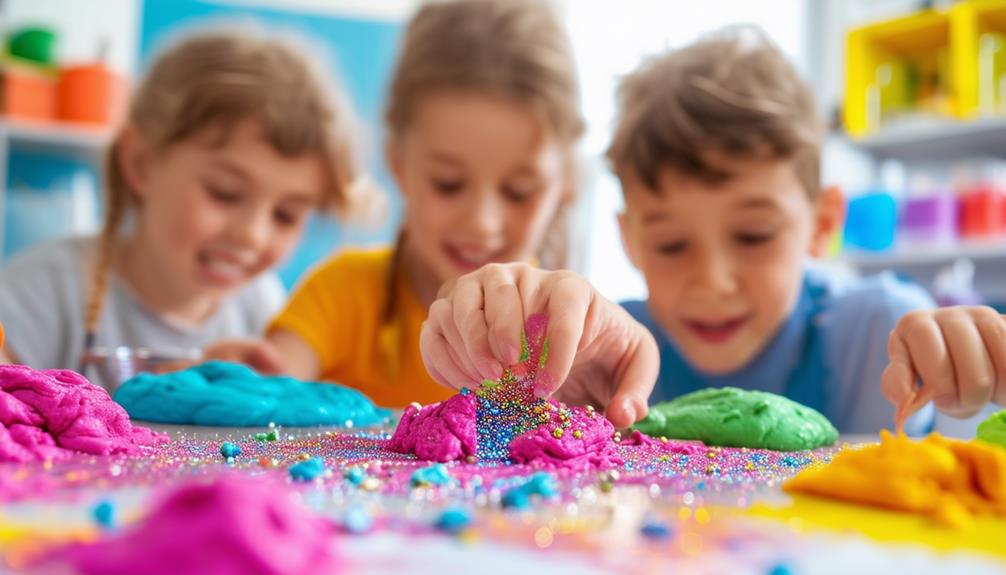
Share Your Experiments
Share photos of your playdough science experiments on social media to inspire and educate others. In your captions, explain your observations to clarify the science behind the activities. Encourage your friends and family to participate and share their own results too!
Share Experiment Photos
Showcase your playdough science experiments by taking photos and sharing them on social media. It's a wonderful way to inspire others and highlight your child's creativity. Capture their unique playdough sculptures, born from imaginative play, and post them on platforms like Instagram or Facebook. Use hashtags like #PlaydoughScience and #KidsScienceExperiments to reach a broader audience and connect with other curious children and parents.
When sharing, focus on the learning experiences your child had. Emphasize how sensory exploration and science learning were integral parts of the fun. Did your child discover something new about textures or colors? Capture those moments and write engaging captions explaining the experiment and the discoveries made.
To add depth to your posts, consider:
- Including close-up shots to show intricate details of the playdough sculptures.
- Adding before-and-after photos to illustrate the sensory exploration process.
- Posting action shots that capture the messy fun of these educational experiences.
Encourage interaction by asking questions or seeking feedback. For example, 'What other materials could we use in our next experiment?' or 'How can we enhance our playdough volcano?' This engagement not only fosters a sense of community but also sparks further educational opportunities.
Describe Your Observations
Texture, Color, and Scientific Principles:
- Observe how different materials interact with playdough.
- Note texture disparities, color differences, and relevant scientific principles.
Sink or Float Experiment:
- Record which playdough shapes float and which sink.
- Relate observations to density and buoyancy principles.
- Note texture changes when playdough is submerged in water.
Squishy Circuits:
- Document how playdough conducts electricity by lighting up LEDs when connected to batteries.
- Record the impact of different playdough textures on the circuit's functionality.
Magnetic Play-Dough:
- Observe how iron filings mix with playdough and how different magnets interact with the material.
- Note texture disparities and changes in magnetic properties with different shapes and sizes.
Color Mixing Experiment:
- Document the process of blending primary colors to form secondary colors.
- Pay attention to gradual color variations and any unexpected outcomes.
Stepping Stones Activity:
- Observe how playdough responds to pressure and maintains or loses its shape.
- Document these observations to understand the material properties under different conditions.