How to Make Homemade Paints Safe for Kids
To create safe homemade paints for kids, prioritize using non-toxic ingredients. Start with basic elements like flour, salt, water, and food coloring, which are both safe and readily available. Mix these in the right proportions for a vibrant and safe painting experience. Ensuring the appropriate texture and proper storage of the paint is also crucial. These steps not only enhance safety but also improve the longevity and enjoyment of the paints. Let's explore how to perfect these details.
Ingredients for Safe Paint
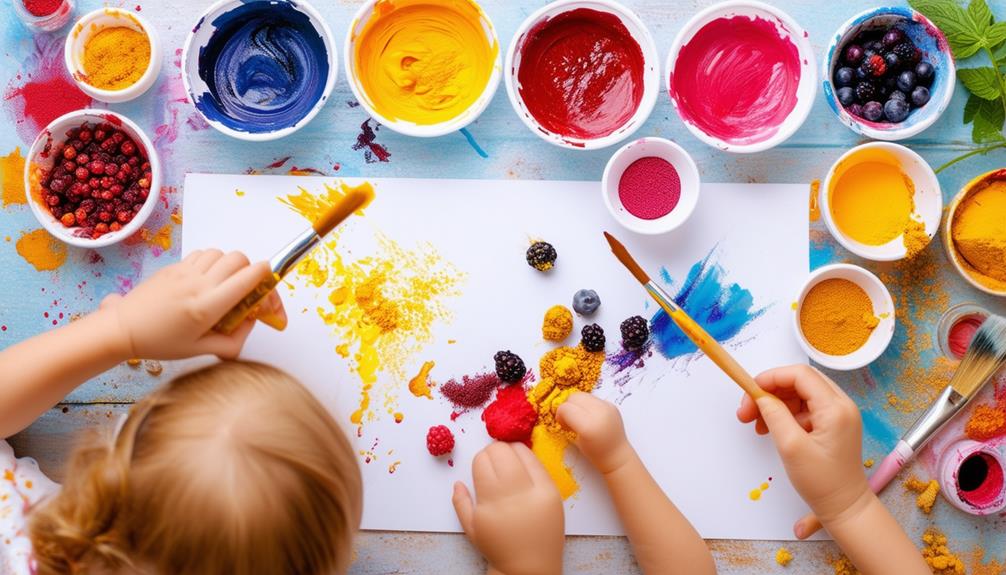
To create safe paint for children, you'll need flour, salt, water, and food coloring. These basic components form a DIY paint that is non-toxic and suitable for kids. By using simple ingredients like flour and water, you ensure that no harmful substances enter your children's art projects.
Making DIY paint is straightforward and a fun activity for kids to participate in. The combination of flour and water creates a smooth, dense texture ideal for painting. Adding salt helps preserve the paint and provides a slight grainy texture. Food coloring brings vibrant hues, allowing children to explore a wide range of colors safely.
Using these ingredients ensures the paint is safe for all ages. This fosters creativity and exploration without any health concerns. Additionally, making your own paint is a cost-effective alternative to store-bought options. So, gather your flour, salt, water, and food coloring, and dive into the fun world of homemade, safe paint for your children!
Step-by-Step Preparation
Begin by combining equal parts flour and salt in a mixing bowl to form the base for your homemade paint. Use a whisk to ensure the mixture is well-blended and free of lumps. Gradually add cold water to the flour and salt mixture, pouring slowly and stirring continuously until you achieve a smooth, paint-like consistency.
Next, add color to your base. Incorporate a few drops of food coloring into the mixture and stir well to distribute the color evenly. You can adjust the amount of food coloring to get the desired color intensity.
Transfer the paint to squeezable bottles for easy and mess-free dispensing, especially for kids. Pour the paint into the bottles, screw on the caps, and you're all set. This homemade paint is non-toxic, making it safe for kids to use during their creative activities. Plus, it's a fun and educational project that teaches them about mixing and measuring ingredients.
Adjusting Color and Texture
Now that you have the basic paint mixture, it's time to explore color and texture adjustments. You can control the color intensity by varying the amount of food coloring, and the texture by adjusting the water content. Encourage your kids to experiment with different ratios to achieve their desired blend.
Color Mixing Techniques
Adjusting the color and texture of homemade paints can be an enjoyable and educational experience for kids. To start, use color blending techniques to create a wide array of shades. Simply adjust the intensity by adding more or less food dye to achieve the desired tones. This allows experimentation with diverse color combinations, making each painting project unique.
To modify the consistency of your paint, add more water for a thinner texture or more flour for a denser one, depending on your needs. A funnel will be useful for transferring the paint mixture into squeezable bottles, ensuring a mess-free painting session.
Encourage children to mix different paint colors together. This not only ignites their creativity but also helps them understand how distinct colors interact to create new tones. By participating in this hands-on activity, kids can learn valuable lessons in both art and science while having fun.
Texture Consistency Tips
To achieve the perfect texture for homemade paints, start by experimenting with different ratios of flour, salt, and water in your base mixture. If your paint feels too thick, gradually add more water to enhance its smoothness. Conversely, if it's too runny, incorporate additional flour to thicken it.
Adjusting the texture consistency is essential for making your homemade paints easy to work with. Use a whisk or blender to mix the ingredients thoroughly, ensuring a lump-free, smooth texture. This step is crucial to prevent clumps that can hinder the paint's application.
Test the texture by painting on a surface. If the paint doesn't spread easily, thin it out with more water. If it's too watery and lacks structure, add more flour until you achieve the desired consistency.
Storage Tips and Shelf Life
For optimal freshness, store your homemade paints in airtight containers in the refrigerator. They can remain usable for up to a week; however, always inspect for mold before use. Proper storage helps maintain the paints' consistency and vibrant colors.
Proper Storage Methods
Proper storage methods are crucial for extending the shelf life of homemade paints and ensuring they remain usable. To keep your homemade paint in top condition, store it in airtight containers. This prevents the paint from drying out and helps maintain its freshness. When stored correctly, these containers can be placed in the fridge. Homemade paints made with flour and salt can last up to a week when refrigerated.
Ensure any leftover homemade paint is tightly sealed to avoid contamination and preserve its quality. The general shelf life of homemade paint can vary depending on the ingredients used, but it's typically recommended to use it within a few days to a week. This ensures the paint remains effective and safe for your kids to use.
Properly stored homemade paint can be reused for future art projects, reducing waste and promoting sustainability. This allows you to make a batch of paint and use it multiple times, which is both convenient and eco-friendly. Always label your containers with the date they were made to keep track of their shelf life.
Extending Paint Longevity
Ensuring the longevity of your homemade paints involves following a few straightforward yet effective storage practices. First, always store your paints in airtight containers to prevent them from drying out and to extend their shelf life. Keep these containers in a cool, dark place, away from direct sunlight and extreme temperatures, as both can degrade the paint quality over time.
Adding a few drops of vinegar to your homemade paints can also help extend their shelf life. Vinegar acts as a natural preservative by inhibiting mold growth. Additionally, always use clean brushes and tools when accessing your paints to avoid contamination, which can lead to spoilage and reduce the effectiveness of your paints.
Here's a quick reference table to help you manage your homemade paints:
| Tip | Benefit | Why It Works |
|---|---|---|
| Store in airtight containers | Extends shelf life | Prevents drying out |
| Keep away from sunlight | Maintains paint quality | UV rays can degrade paint |
| Avoid extreme temperatures | Preserves paint longevity | High/low temps can cause spoilage |
| Add vinegar | Lengthens shelf life | Prevents mold growth |
| Use clean tools | Prevents contamination | Clean tools prevent spoilage |
Cleaning Up After Painting
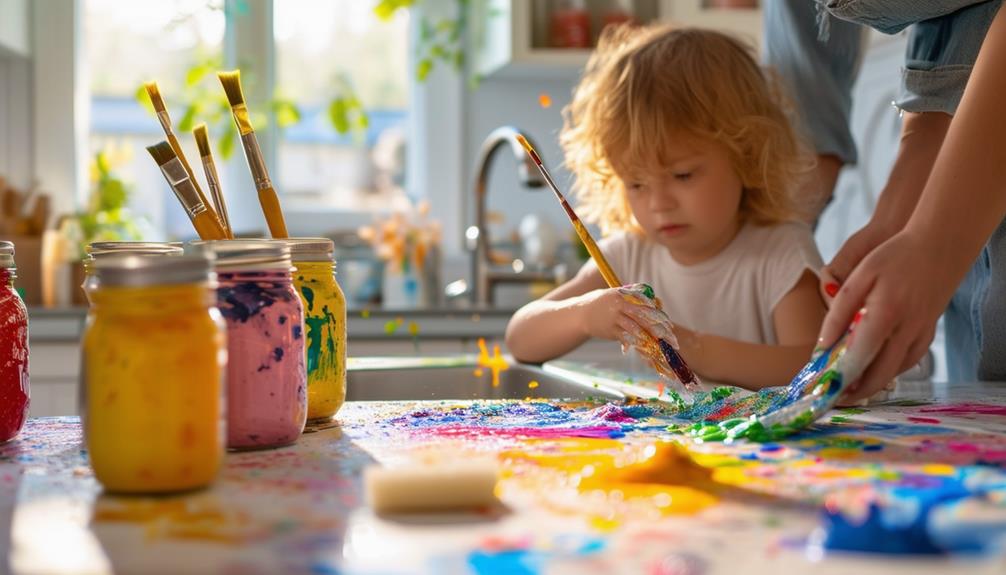
After your kids have enjoyed their painting session, clean up any paint spills on hard surfaces with warm soapy water. Homemade paint can sometimes be tricky to manage, but a little preparation goes a long way. Start by mixing a small amount of mild soap with warm water and use a damp cloth to wipe down paint-covered areas. This simple solution effectively removes the paint without damaging your furniture or floors.
Be sure to wash your kids' hands and skin with mild soap and water to remove any leftover paint residue. If your children often get paint all over their hands, consider using disposable gloves during their painting sessions. These gloves can make the clean-up process much easier and faster.
Avoid using harsh chemicals or solvents to clean up homemade paint, as they can be harmful to both your kids and the surfaces you're cleaning. Stick with the gentle approach of warm soapy water and a damp cloth. This method is both effective and safe, ensuring that your clean-up process remains hassle-free. By following these steps, you'll keep your home tidy and your kids happy after every creative session.
Creative Play Ideas
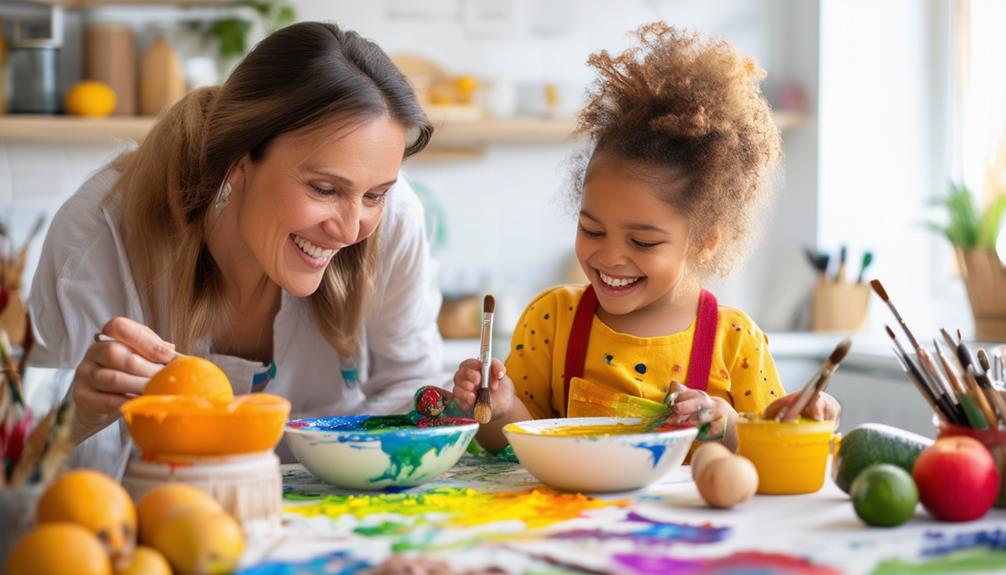
Dive into these engaging play ideas to maximize the fun and learning potential of your homemade paints, keeping your kids both entertained and educationally stimulated. With DIY paint, the opportunities for sensory play and fine motor skills development are limitless.
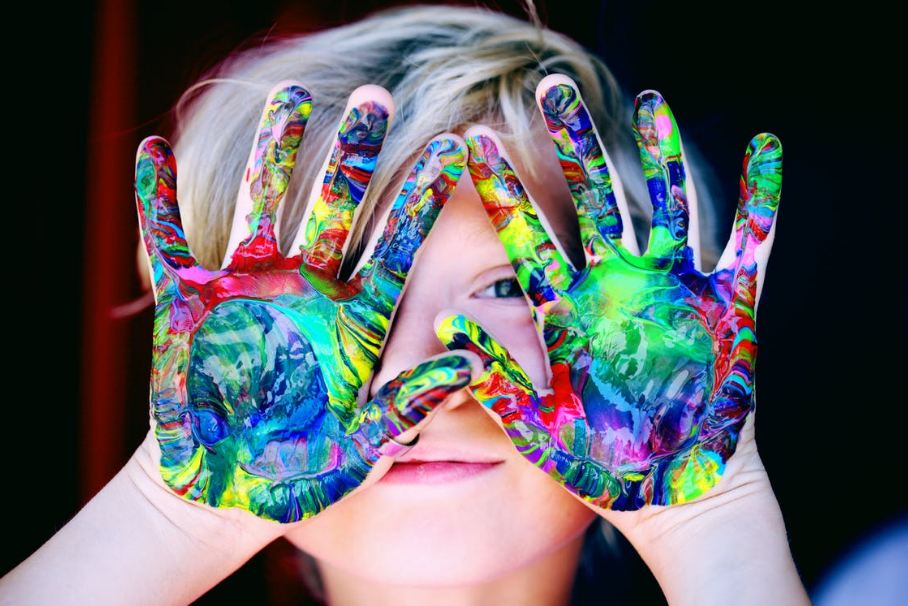
Begin with finger painting and handprint art for a full sensory experience. Kids will enjoy the tactile sensation of paint on their hands and the creative freedom it offers.
Next, introduce tools like shaving brushes, sticks, and sponges to diversify the painting experience and enhance fine motor skills. The varying textures and sizes of these tools make painting more enjoyable and enriching. Color mixing is another fantastic activity that not only entertains but also educates children about color theory and how different hues blend together.
| Activity | Benefits |
|---|---|
| Finger Painting | Sensory experience, creativity |
| Handprint Art | Sensory play, fine motor skills |
| Nature Stamping | Texture exploration, creativity |
| Color Mixing | Educational, sensory play |
Engage children in role-playing activities like pretend cooking or baking with the paint to add another layer of fun. Experiment with techniques such as warm painting or squeezing paint from bottles for added excitement. These creative play ideas will make your homemade paints a favorite, fostering both creativity and learning in a fun and safe manner.
Exploring Different Recipes

Explore the vibrant world of homemade paints with these five unique and easy-to-make recipes. Start with flour and salt-based paints, a classic, non-toxic option. Mix one cup of flour, one cup of salt, and one cup of water, then add food coloring for a spectrum of hues. This recipe is ideal for young children and various art projects.
Next, try egg tempera paints, a technique used since ancient times. Combine egg yolks with a bit of water and natural pigments. This recipe provides vibrant colors and a smooth texture, but it's best suited for older children due to the use of raw eggs. For a fun twist, make sweetened condensed milk paints. Mix the milk with food coloring to create glossy, bright paints that are safe for kids. These paints add a unique sheen to any project.
Bubble paints offer another exciting option. Mix water, dish soap, and food coloring, then blow bubbles onto paper for a marbled effect. Finally, experiment with microwave puffy paints by mixing flour, salt, and water, then microwaving your designs for a fun, textured finish. Each of these recipes fosters creative expression and ensures your homemade paints are safe for children.