How to Create Playdough Sculptures With Kids
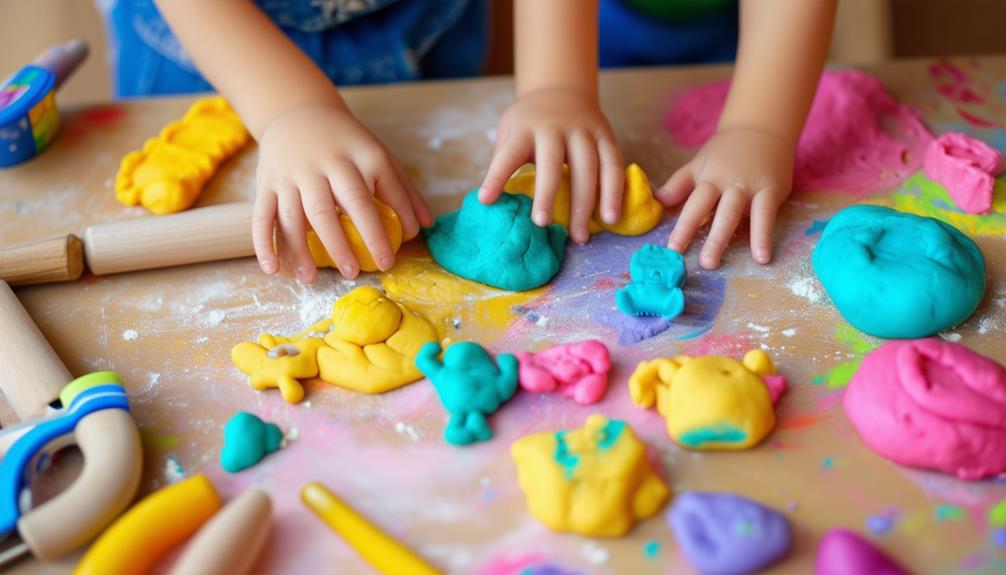
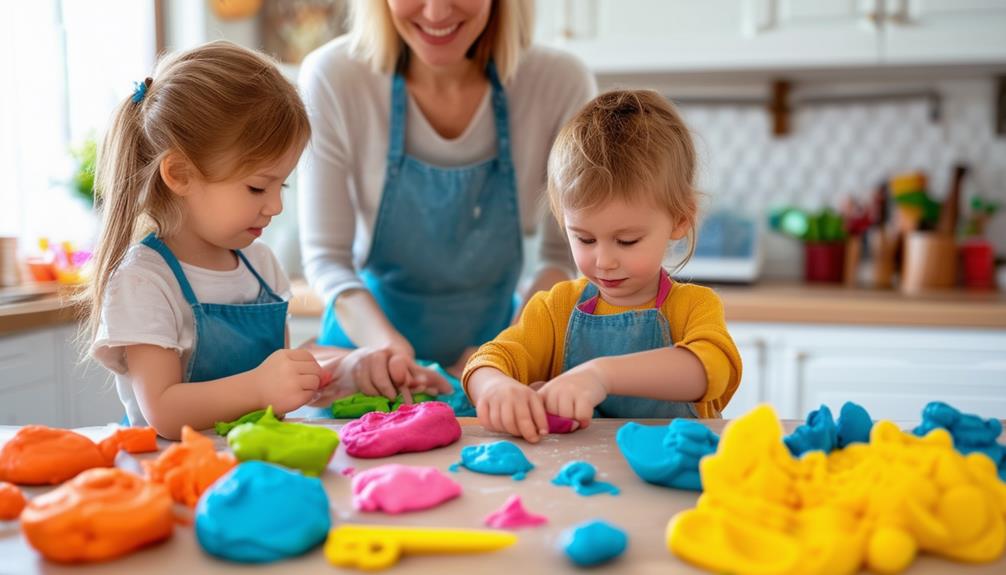
Creating playdough sculptures with kids starts with gathering the right supplies and setting up a clean workspace. You'll need various colors of playdough and basic sculpting tools to enhance the experience. Once everything is ready, demonstrate how to make basic shapes like balls and snakes, which serve as the foundation for more intricate creations. To keep their creativity flowing and ensure they have a great time, explore simple techniques and project ideas that can transform this activity into a memorable experience.
Gather Your Supplies
To start, gather your supplies: sculpting or modeling clay, a paper or plastic plate, and a non-slip surface to place under the plate. These materials are essential for a fun and engaging play dough activity. The non-slip surface ensures the plate stays in place, making it easier for children to focus on their sculpting.
Using play dough is excellent for developing fine motor skills in kids. As they push, pull, and shape the clay, they strengthen the muscles in their hands and fingers, which is important for tasks like writing and buttoning clothes. This activity also improves language skills. Give verbal instructions like "make a smiley face" or "create a simple object" to guide them. This helps children follow directions and enrich their vocabulary.
Additionally, encourage collaboration by having more than one child work together. They can share ideas and describe their creations, further enhancing language skills. For children with sensory or fine motor challenges, offer alternatives like softer clay or larger pieces to make the activity more accessible.
Make Homemade Playdough
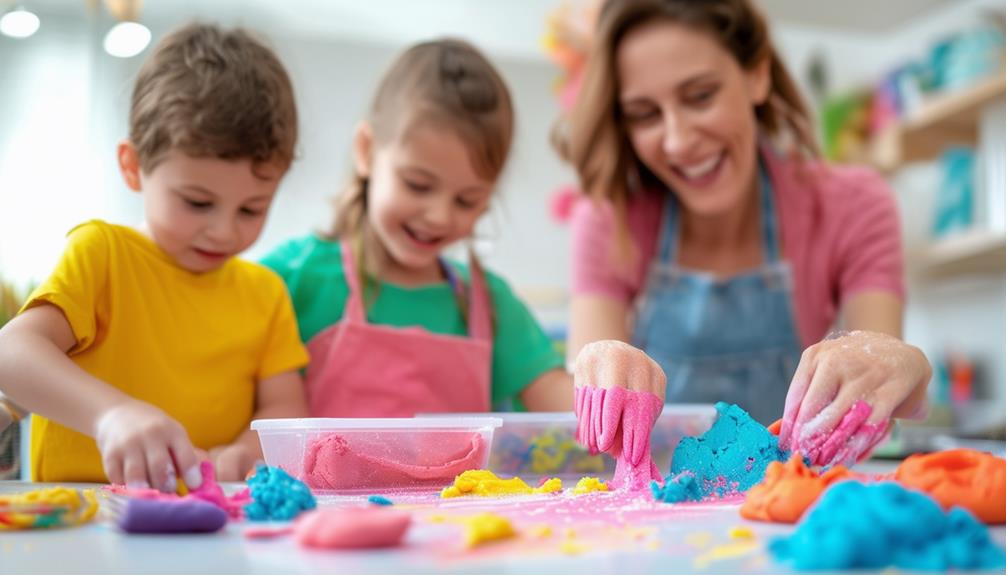
Crafting homemade playdough is a simple and enjoyable project that stimulates creativity and learning in children. To start, gather basic pantry ingredients: flour, salt, water, and oil. This hands-on activity offers a sensory experience that is both educational and entertaining.
Begin by mixing one cup of flour and half a cup of salt in a large bowl. Gradually add half a cup of water and one tablespoon of oil, stirring until the mixture forms a dough. If the dough is too sticky, add more flour. If it's too dry, add a bit more water. Once the dough is smooth, divide it and add food coloring to create different colors.
Kneading the dough is a crucial step that enhances the sensory experience. Involve your child in this process to engage their sense of touch and concentration. Homemade playdough is non-toxic and safe, ensuring peace of mind as your child explores various textures and shapes. Witness their joy as they mold and shape their creations, fostering both creativity and fine motor skills.
Set Up Your Workspace
Now that you've made your homemade playdough, let's create a kid-friendly workspace for sculpting. Follow these steps to ensure an enjoyable and organized experience:
Prepare the Surface:
- Select a clean, flat surface like a table or countertop. Cover it with a plastic tablecloth or newspaper to protect against any mess. This will help maintain a tidy area and simplify cleanup.
Gather Materials:
- Arrange the playdough, sculpting tools, and any optional decorations like beads or glitter in an easily accessible manner. This organization keeps the children engaged and minimizes wandering.
Optimize Lighting and Ventilation:
- Ensure the area is well-illuminated to prevent eye strain and enhance the visibility of the sculptures' details. A well-ventilated room will create a pleasant environment, making the sculpting activity more enjoyable.
Maintain Cleanliness:
- Encourage the kids to wash their hands before and after handling playdough to uphold hygiene.
Quick Setup Guide:
| Task | Description |
|---|---|
| Prepare Surface | Cover table with plastic cloth/newspaper |
| Gather Materials | Arrange playdough, sculpting tools, etc. |
| Optimize Environment | Ensure good lighting and ventilation |
| Maintain Cleanliness | Encourage hand washing before and after use |
Create Basic Shapes
Start by rolling the playdough into basic shapes like balls and snakes. Encourage your kids to combine these forms to create more detailed sculptures. Tools like cookie cutters and plastic knives can make shaping easier and more enjoyable.
Rolling Playdough Balls
Rolling playdough balls is a fun and foundational way to create basic shapes for your sculptures. Start by tearing off a piece of playdough and feeling its texture between your fingers. The playdough should be soft and pliable, making it easy to work with. Next, use your rolling techniques to transform the piece into a ball roughly the size of a quarter. Place the playdough piece between your palms and roll it in circular motions until a smooth, round shape forms.
Once you've mastered the basic rolling technique, you can experiment with color combinations. Try rolling balls of different colors and sizes for added variety. For example, roll a smaller ball and place it on top of your initial ball to create a simple structure. The contrast between colors will make your sculptures more vibrant and engaging.
Continue rolling different-sized balls and stacking them creatively. Varying the sizes and colors can lead to endless possibilities. This process not only fosters creativity but also helps kids develop fine motor skills by manipulating the playdough into different shapes.
Shaping Simple Forms
Transform your playdough into simple forms such as balls, cubes, and cylinders to establish a foundation for more detailed sculptures. Start by rolling small portions of playdough in your hands to create perfect spheres. You can flatten these spheres into discs or shape them into cubes by gently pressing with your fingers. To make cylinders, roll the playdough back and forth on a flat surface using the palm of your hand.
Encourage children to explore different textures and sizes in their sculptures. Tools like cookie cutters, rolling pins, and plastic knives can assist in shaping the playdough. This hands-on activity not only teaches children about shapes and spatial awareness but also prepares them for advanced techniques and complex structures.
Allow children to express their creativity by combining different shapes to create unique sculptures. For example, they can stack cylinders to form towers or combine cubes and spheres to create imaginative creatures. This artistic exploration is vital for developing fine motor skills and fostering a sense of creativity.
Sculpt a Smiley Face
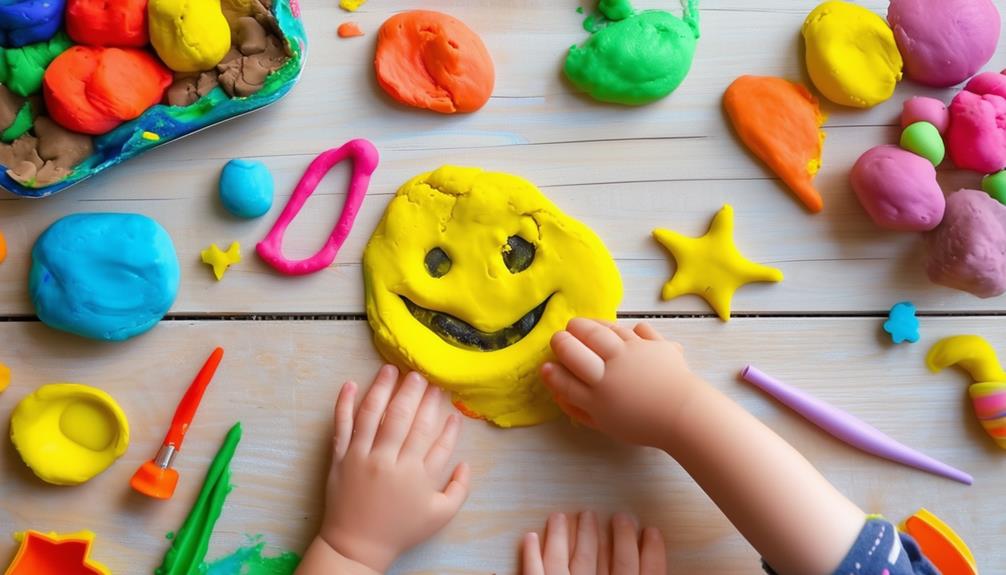
Start by rolling a piece of clay into a ball about the size of a quarter and flattening it slightly to create the face. Next, shape smaller clay balls for the eyes and mouth, placing them carefully. Encourage kids to get creative with different expressions and add simple details to make each face unique.
Basic Clay Rolling Techniques
To sculpt a simple smiley face, begin by tearing off a piece of clay and rolling it into a ball about the size of a quarter. Flatten the ball slightly and place it in the center of a plate to form the base of your smiley face. Next, roll another piece of clay into two small, evenly-sized balls for the eyes. Place these on top of the base. Ensuring consistency in size is crucial, as it helps maintain symmetry and balance.
For the mouth, roll a thin piece of clay into an elongated cylinder. Gently curve it into a smile shape and place it below the eyes. This step introduces kids to fundamental playdough artistry concepts, demonstrating how basic shapes can create expressive features. These foundational skills are vital for more advanced sculpting techniques and serve as essential clay modeling tips for children.
Shaping Facial Features
With your basic clay rolling techniques mastered, it's time to bring your smiley face to life by shaping its facial features. Begin by tearing off a piece of clay and rolling it into a ball about the size of a quarter. Once your ball is formed, flatten it slightly in the center of a plate or tray to serve as the base for your smiley face.
For the eyes and mouth, roll smaller pieces of clay into tiny balls. These will become the expressive features of your smiley face. Carefully place the small balls on the flattened clay to create the eyes and mouth.
Guide the children through this process with clear verbal instructions, ensuring they understand where each piece should go. Encourage them to experiment with different placements and shapes for these features. For example, the eyes can be closer together or further apart, and the mouth can form a wide grin or a subtle smile.
This step allows kids to engage in creative play while developing their fine motor skills. Watching their creations come to life will be a delightful experience for everyone involved.
Enhancing With Simple Details
Add unique touches to your smiley face by sculpting simple details like eyebrows, dimples, and other personalized features. Start by adding texture to your sculpture. Use a toothpick or a small tool to create fine lines for the eyebrows or tiny indentations for dimples. These small details bring your smiley face to life and make it more expressive.
Next, customize the colors. Mixing different colors of clay can help you create vibrant and eye-catching features. For instance, use a different color for the eyebrows or eyes to make them stand out. You can also blend two colors to create a marbled effect for a unique look.
Lastly, incorporate patterns into your smiley face. Use a small rolling pin or a patterned surface to press designs into the clay. Simple patterns like stripes or dots can add an extra layer of detail and make your creation even more special.
Here's a quick reference guide:
| Detail | Technique | Effect |
|---|---|---|
| Eyebrows | Adding texture | Enriched expression |
| Colorful eyes | Customizing colors | More vibrant and lively |
| Dimples | Adding texture | Unique and personalized touch |
| Patterns | Incorporating patterns | Added visual interest |
These simple refinements make your smiley face sculpture a fun and creative project!
Explore Abstract Forms
Immerse yourself in the world of abstract forms by sculpting playdough inspired by the groundbreaking works of Saloua Raouda Choucair. Encourage your kids to experiment with abstract shapes, allowing their creative freedom to flow. This approach fosters imagination and introduces them to the beauty of colorful textures and unique designs. Choucair's art, which blends Islamic art and architectural inspiration, serves as a rich cultural and aesthetic starting point.
Begin by making homemade playdough, then guide your kids to mold large structures resembling columns and walls. These forms can mimic the intricate, abstract patterns found in Islamic art and architecture. As they shape the playdough, they'll learn about various artistic traditions and architectural elements, broadening their understanding of art history in a fun, hands-on way.
Focus on exploring abstract forms without the pressure of creating something specific. This freedom allows children to express themselves while discovering new ways to manipulate the playdough. Encourage them to mix different colors and textures, pushing the boundaries of their creativity. This exercise will not only result in unique designs but also instill a sense of artistic accomplishment.
Encourage Creative Expression
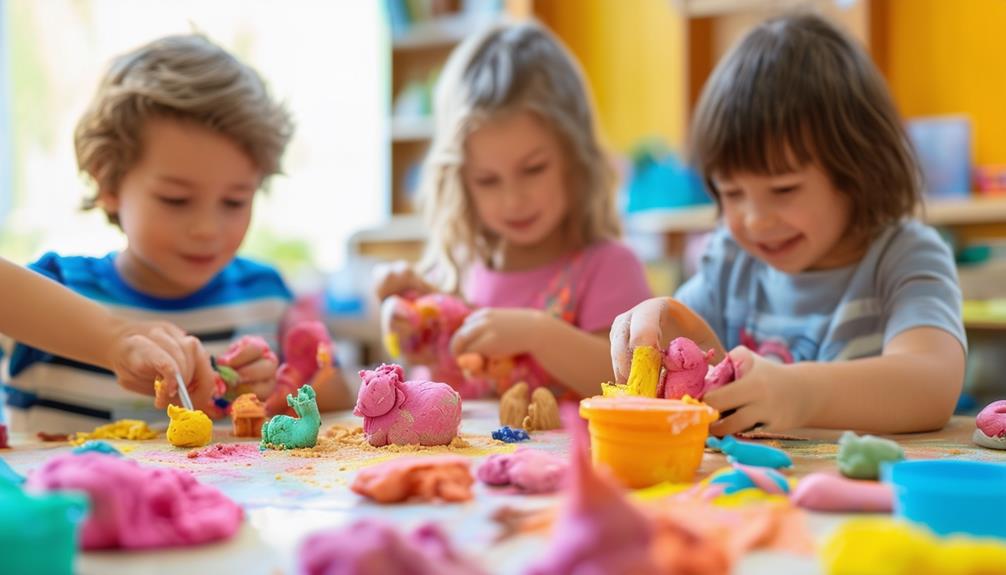
Encouraging creative expression through playdough sculpting allows children to ignite their imagination and develop a unique artistic voice. Playdough serves as an ideal medium for sensory exploration and hands-on engagement, enabling children to experiment with various shapes, textures, and forms. This tactile activity helps children find artistic inspiration and joy in their creations.
To foster creativity, offer your children the freedom to explore and innovate. Here are some effective ways to encourage their artistic expression:
- Artistic Inspiration: Show them pictures or sculptures and let them interpret and recreate these in their own unique way.
- Creative Collaboration: Work together on larger projects, combining ideas and skills to create something truly special.
- Playdough Experimentation: Encourage them to blend colors, textures, and incorporate other materials like beads or sticks.
- Imaginative Creations: Prompt them with themes such as animals, fantasy worlds, or everyday objects, and watch their ideas come to life.
- Hands-On Fun: Allow them to squish, roll, and mold the playdough freely, enhancing their sensory exploration and motor skills.
Share Your Creations
Showcasing your playdough sculptures can inspire others and give your kids a sense of accomplishment. Start by sharing your creations on social media. Snap some photos and include a brief explanation of your creative process. This not only motivates others but also celebrates your child's hard work.
Create a dedicated art gallery at home. Choose a shelf or a corner where your kids' masterpieces can be displayed. Regularly rotating the exhibits keeps the excitement alive and ensures each piece gets its moment in the spotlight.
Take it a step further by hosting an exhibition. Invite friends and family to admire your kids' work. Craft small name tags and descriptions for each sculpture to add a polished touch, making your kids feel like true artists.
Organize a playdough sculpture contest with enjoyable prizes for participants. This encourages your kids to refine their skills and promotes a healthy sense of competition. Lastly, create a digital portfolio to document your artistic journey. Collect photos of each creation and compile them into an online album, allowing you to reflect on your progress.
Clean Up Tips
After celebrating your kids' amazing playdough creations, it's essential to tackle the cleanup to maintain a neat space. Efficient cleanup not only keeps your home organized but also teaches your children responsibility. Here are some practical tips to make the process smooth and stress-free:
- Use a damp cloth: Wipe down surfaces where playdough may have stuck. This removes any residue and keeps your tables and counters clean.
- Encourage hand washing: After playing with playdough, encourage your kids to wash their hands thoroughly. This simple hygiene practice prevents playdough bits from spreading around your home.
- Store playdough properly: To keep playdough fresh and prevent it from drying out, use airtight containers. This ensures your playdough is ready for the next creative session.
- Vacuum or sweep the floor: Pick up any playdough crumbs or pieces that may have fallen. This keeps your floors clean and reduces the risk of stepping on tiny bits of playdough.
- Organize tools: Teach your kids to clean up their playdough tools and accessories after use. This maintains organization and makes it easier to find everything for the next playdough adventure.
Discover More Art Activities
Exploring a variety of art activities can ignite your child's imagination and creativity. Beyond playdough sculptures, there are numerous ways to engage their artistic spirit.
Painted Rocks
A great starting point is painted rocks. Gather some smooth stones and provide your kids with paint and brushes. Let them transform these simple rocks into colorful creatures, patterns, or mini-landscapes. This activity combines nature and art beautifully.
Collage Art
Another exciting avenue is collage art. Supply your kids with magazines, colored paper, scissors, and glue. Encourage them to cut out shapes, images, and letters to create unique and personal collages. This activity not only enriches their creativity but also improves their fine motor skills and understanding of composition.
Paper Mache Sculptures
Paper mache sculptures offer another layer of artistic exploration. Using newspaper strips and a simple flour-water paste, your children can mold and shape sturdy sculptures. Once dry, these creations can be painted and decorated to their hearts' content. This hands-on project is perfect for developing patience and precision.