How Long Does Kids Modeling Clay Take to Dry?
Kids modeling clay can take anywhere from 1 to 72 hours to dry, depending on the type and thickness of your project. Air-dry clay typically dries in 24 to 72 hours, while modeling foam clay sets quickly in just 1 to 3 hours. If you're using polymer clay, baking it at 275°F will harden it in about 15 to 30 minutes. Factors like humidity and airflow can affect drying times too, so it's best to monitor your piece regularly. Stick around, and you'll find more tips on how to optimize your drying process and create amazing projects!
Types of Kids Modeling Clay
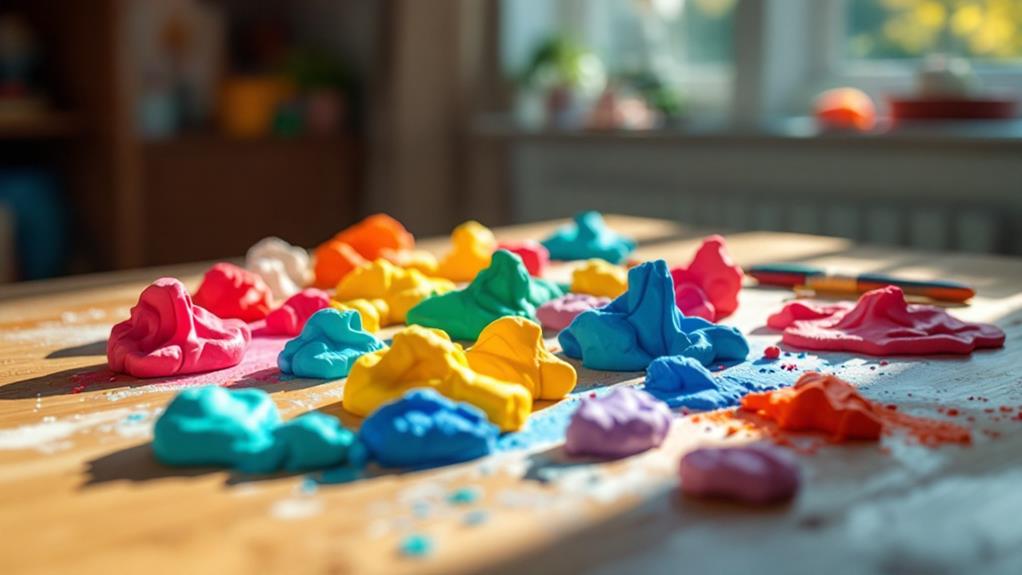
Regarding kids' modeling clay, you've got several options to choose from, each with its own unique characteristics. Air-dry clay is popular for its simplicity, drying completely in about 24 to 72 hours, depending on project thickness and environmental conditions. It's a great choice for kids who enjoy taking their time to create, as it encourages hands-on learning and exploration of different textures and shapes.
If you're looking for something quicker, polymer clay might be your best bet. It stays soft until you bake it in an oven, hardening in just 15 to 30 minutes at 275°F (135°C). This makes it perfect for fast projects.
Dough-based clay is another option, usually drying to a firm texture within 24 hours. The bonus? It can be rehydrated for reuse if stored correctly in an airtight container.
For speedy crafting, consider modeling foam clay, which dries quickly within 1 to 3 hours. This type is easy for young crafters to handle. Finally, modeling putty doesn't dry out, making it ideal for ongoing projects, ensuring endless fun without the rush. All these types are typically non-toxic, making them safe for kids to use.
Factors Affecting Drying Time
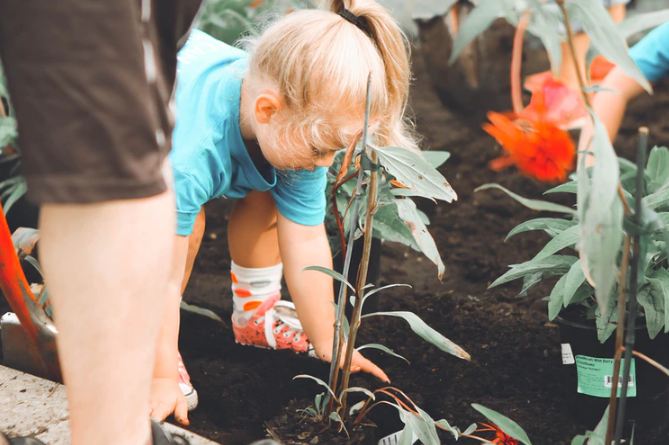
Drying time for kids' modeling clay isn't just a matter of waiting; several factors come into play that can speed up or slow down the process. One considerable factor is the thickness of the piece you're working on. Thicker sections of air drying clay require longer drying times, while thinner pieces can dry more quickly. Moreover, the tactile sensory exploration involved in working with clay can improve fine motor skills, making the crafting experience both enjoyable and educational improves fine motor skills.
Environmental factors also play a vital role in the drying process. For instance, warm and dry conditions typically promote faster drying times. On the other hand, high humidity levels can prolong the drying experience, making it feel even longer.
Airflow is another significant aspect; placing your clay in a well-ventilated area can boost evaporation, considerably reducing the drying time. Conversely, if your piece is in still air or on a surface that traps moisture, expect it to take longer to dry.
Typical Drying Times

When working with kids' modeling clay, you can expect it to harden to a solid consistency in roughly 24 hours. However, drying times can vary based on the thickness of your project. Thicker pieces of air-dry clay may take longer, sometimes requiring up to 72 hours for complete hardening. If you're crafting something large, it could take up to a week for it to be fully dried.
Humidity plays a significant role in how quickly your clay dries. Higher humidity levels can prolong the drying process, so keep that in mind when planning your projects. To achieve the best results, place your modeling clay in a well-ventilated area. Good airflow helps promote faster drying and can reduce the risk of uneven drying.
Tips to Speed Up Drying
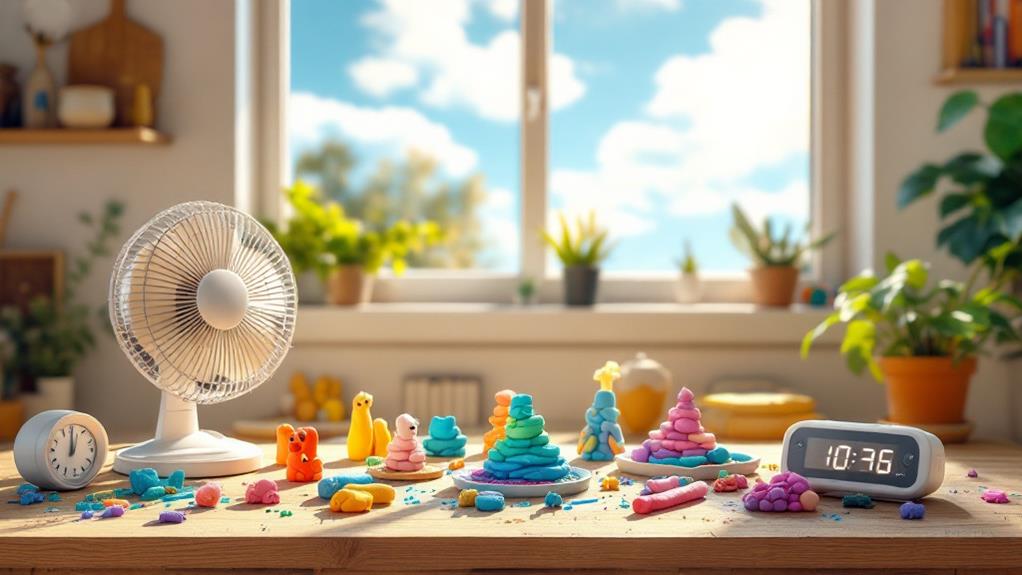
To speed up your kids' modeling clay drying process, create an environment that promotes airflow. Place the clay in a well-ventilated area to improve moisture evaporation. If you want to speed up the process even more, consider using a fan to circulate air around the pieces. This can help them dry faster without applying direct heat.
Another effective tip is to shape your projects using thinner pieces of clay. Thinner pieces will dry much faster than thicker ones, so keep this in mind when crafting. Furthermore, avoid laying the clay on non-porous surfaces, which can trap moisture. Instead, opt for porous surfaces that allow for better drying conditions.
If you're in a hurry, you might also gently bake the clay at a low temperature of around 200°F. However, be cautious to avoid scorching or melting the clay. Following these tips will guarantee your air-dry clay takes less time to fully dry while maintaining the integrity of your creations. With a bit of planning and the right environment, you can greatly reduce the drying time of your kids' modeling clay projects.
Best Practices for Drying
Creating the right environment for your kids' modeling clay can greatly improve the drying process. When using air-dry clay, it's essential to take into account the thickness of the project. Thicker pieces will take longer to dry, sometimes up to a week, while thinner sections can dry faster. To guarantee even drying, place the clay on a non-porous surface, allowing air to circulate freely around the piece. This prevents moisture from getting trapped, which can lead to uneven drying.
For ideal results, think about positioning the clay in a warm, well-ventilated area. This helps speed up the drying time without exposing it to direct sunlight, which can cause cracking and further issues. As the clay dries, regularly check the clay for its texture. A cold or soft feel indicates it's still wet, while a firm dry texture suggests it's ready for painting or further decoration.
Common Issues During Drying
Drying kids' modeling clay can sometimes come with its share of challenges. One common issue you might face is cracking, which often results from moisture loss and shrinkage. If your clay is too thick or dries too quickly, you're likely to see these cracks form. To minimize this, make certain your project has a consistent thickness throughout, allowing for even drying.
Humidity plays a significant role too. In high humidity, drying times can be prolonged, while lower humidity and good airflow can help speed things up. It's crucial to provide adequate airflow around your clay piece to prevent weak spots from forming.
As your clay dries, make it a habit to regularly check progress. This way, you can spot any cracks early on and address them by filling them in with wet clay. Staying vigilant during the drying process will help you maintain the integrity of your sculpture and achieve the best results. Remember, managing these common issues will lead to a more successful drying experience for your kids' modeling clay projects.
Repairing Cracks in Clay
Cracks in your clay project can be frustrating, but they're often fixable. These cracks usually occur due to moisture loss and shrinkage during the drying process. To effectively repair them, you should initially allow your sculpture to dry completely. Once it's dried, take a wet mix of the same clay and fill in the cracks thoroughly. Make certain the wet mix adheres well to the surrounding clay; this is essential for a seamless repair.
If you notice that structural areas are compromised, consider reinforcing them with extra clay. This step helps prevent further damage after your primary repair. During the drying process, it's also a good idea to regularly check for cracks and address them promptly. By monitoring your project, you maintain the integrity of your sculpture and guarantee a successful outcome.
Creative Projects With Modeling Clay
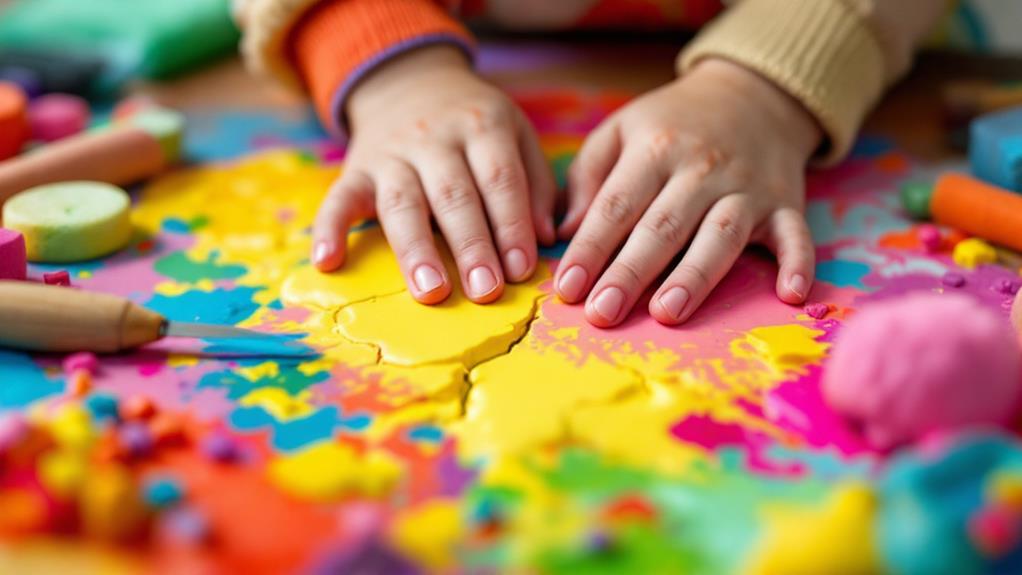
Modeling clay opens up a world of creativity for kids, allowing them to transform their ideas into tangible creations. With air-dry clay, you can immerse yourself in a variety of creative projects, from making decorative ornaments to crafting unique animal shapes. The possibilities are truly endless!
Keep in mind that the thickness of your project and environmental conditions can affect drying times. For smaller creations, expect about 24 hours to dry, but larger or thicker projects may take 48 to 72 hours. Patience is key for achieving the best results.
To improve your projects, you can use tools to imprint textures or mix colors for personalized designs. Once your clay has dried, don't forget to paint and seal it with varnish. This step not only increases durability but also brings your artwork to life with lively colors.
Whether you're creating a gift or a keepsake, these creative projects with modeling clay can foster imagination and skill development. So gather your materials and start shaping your ideas into reality!