Creative Painting Techniques for Preschoolers
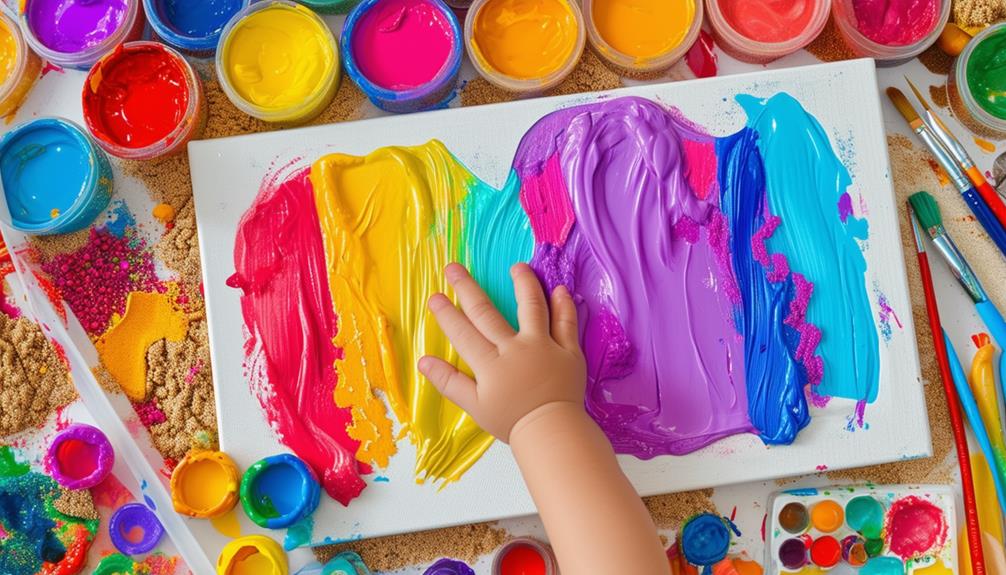
Introducing preschoolers to creative painting techniques opens up a world of fun and learning that extends beyond traditional methods. Techniques like spin painting and marble painting can captivate their imagination, while activities such as splatter painting and body tracing offer unique ways to explore colors and textures. These methods not only enhance fine motor skills and hand-eye coordination but also foster self-expression and sensory exploration. Curious about integrating these activities into your classroom or home routine? There's much to discover about each method's benefits and implementation.
Spin Painting
Spin painting is an engaging technique where you place paper on a rotating surface and apply paint by dripping or splattering it as the paper spins. This process art project is ideal for preschoolers, offering a playful way to explore painting without the pressure of creating a specific image. The centrifugal force generated by the spinning surface creates captivating patterns and designs, making each piece unique.
Various tools such as a salad spinner, lazy susan, or even an old record player can be used to initiate the spinning action. This activity not only fascinates young children but also helps develop their fine motor skills as they control the amount and placement of the paint. Spin painting fosters creativity and experimentation, allowing kids to freely express themselves and explore new color combinations.
As you guide your preschoolers through this art project, you'll observe their excitement as they witness their abstract designs taking form. The hands-on nature of spin painting provides a sensory-rich experience, engaging multiple senses and enhancing the learning process. Dive into this enjoyable and educational activity, and watch as your little ones create vibrant, abstract masterpieces while developing fundamental skills.
Marble Painting
Marble painting, similar to spin painting, provides preschoolers with an enjoyable means to create abstract art while honing their fine motor skills. This process art activity involves rolling marbles dipped in paint across a surface, producing unique patterns and designs. It serves as an engaging way for children to explore colors, textures, and movement.
To begin, gather a tray or shallow box, paper or cardboard, marbles, and various paint colors. Place the paper in the tray, dip the marbles in paint, and let your preschoolers roll them around. They will be fascinated by the trails of paint left by the marbles, resulting in vibrant and unpredictable artwork. This hands-on activity not only entertains but also enhances hand-eye coordination and fine motor skills.
Marble painting is versatile and can be adapted to different surfaces, ensuring that each piece of art is unique. Encourage preschoolers to experiment with various colors and techniques, such as tilting the tray to control the marble's movement. This open-ended activity fosters creativity and allows children to express themselves freely. Furthermore, it's an excellent introduction to the joys of process art activities.
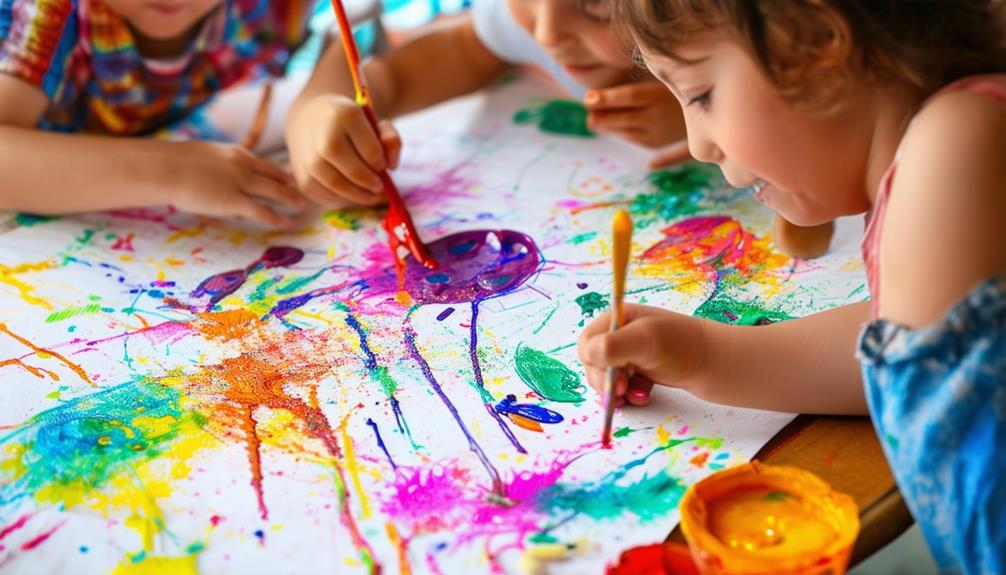
Splatter Painting

Splatter painting offers a delightful way for preschoolers to explore their creativity through dynamic movement and vibrant color mixing. Encourage the use of various tools like brushes or toothbrushes to create unique effects. For added excitement, take the activity outdoors, allowing them to experiment freely without the worry of making a mess.
Creative Splatter Method
Splatter painting allows preschoolers to dive into a world of vibrant colors and boundless creativity. This fun and messy technique helps them explore movement, color mixing, and texture, resulting in unique artworks. Using tools like brushes, straws, or even toothbrushes, children can enjoy the spontaneity of creative expression.
To begin, gather washable paints and a large canvas or paper. Lay down a protective covering to contain the mess, then let your preschooler pick their tools. Whether they prefer the broad strokes of a brush or the fine mist of a toothbrush, each method offers a distinct way to experiment with splattering.
Encourage them to try various motions—quick flicks or slow drips—to observe how the paint behaves. This hands-on approach enhances fine motor skills and allows them to experience the magic of color mixing firsthand. Focus on the process rather than the outcome; the goal is playful discovery. As the paint splatters and drips, your child will enjoy watching their masterpiece come to life, building confidence and artistic expression.
Color Mixing Fun
Engage your preschooler in the excitement of color mixing through splatter painting techniques. This enjoyable activity is an excellent way for children to learn about color blending and interaction. Using tools like brushes, toothbrushes, or even their fingers, preschoolers can create unique and vibrant artwork.
As they splatter paint onto the canvas, children will observe how primary colors mix to form new shades, providing a hands-on introduction to color theory. This activity fosters creativity and spontaneity, allowing them to express themselves freely through the unpredictable patterns of paint splatters.
Splatter painting also aids in developing fine motor skills, as children use precise movements to control the splattering. It offers rich sensory exploration, engaging their sight and touch. The textures and colors of the paint provide a multi-sensory experience that can be both soothing and invigorating. Encouraging your preschooler to participate in splatter painting nurtures their artistic abilities and contributes to their overall development in a fun and stimulating way.
Outdoor Splatter Activities
Taking splatter painting outside turns this engaging activity into a dynamic and liberating experience for your preschooler. Outdoor splatter activities not only reduce indoor mess but also provide your child with the freedom to explore movement and creativity without constraints. Equipped with brushes, sticks, spoons, or even their fingers, your little artist can create unique patterns by flicking paint onto a canvas or surface, making each piece of art truly one-of-a-kind.
These creative painting sessions offer fantastic opportunities for kids to experiment with color mixing. Observe as they discover how different colors blend together, forming new hues and shades, all while enjoying outdoor play. This hands-on approach is more than just making art; it's a rich sensory experience that engages multiple senses. Feeling the texture of the paint, seeing the vibrant colors, and hearing the splash as paint hits the canvas all contribute to their developmental growth.
Outdoor splatter activities also promote self-expression. The open environment and freedom of movement allow your preschooler to express their artistic vision without limitations, fostering confidence and joy in their creative endeavors. So grab some paint and head outside for an unforgettable artistic adventure!
Body Tracing
Body tracing transforms a simple outline into a canvas for your child's creativity and self-expression. Start by having your child lie down on a large sheet of paper and tracing around their body with a marker or crayon. This creates an outline that they can paint and decorate. This activity not only provides entertainment but also promotes creativity and self-expression as your child chooses how to color and decorate their body outline.
Engaging in body tracing helps your child develop fine motor skills and hand-eye coordination. As they carefully paint within the lines, they improve their control over small muscle movements. Decorating their traced outline encourages them to identify different body parts, enhancing their understanding of their own anatomy in a playful way.
To make it even more enjoyable, provide diverse art supplies like paint, markers, glitter, and stickers. Encourage your child to use these materials to create unique patterns, clothing, or imaginary creatures. This freedom allows them to explore their artistic abilities and boosts their confidence in visual self-expression. Body tracing is a fun, educational activity that your preschooler will love.
Shaving Cream Marbling
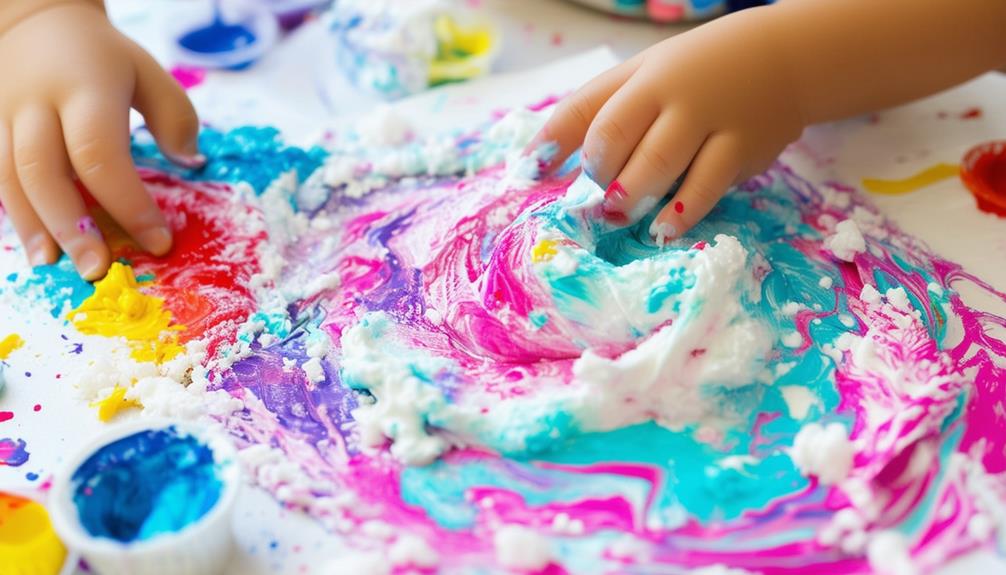
To start with shaving cream marbling, you'll need basic materials: shaving cream, liquid watercolors or food coloring, and a tray. First, spread a layer of shaving cream in the tray. Next, add drops of paint and swirl them using tools like popsicle sticks. Finally, press a piece of paper onto the marbled shaving cream to transfer the design.
Materials and Setup
Gather the necessary materials for shaving foam marbling: shaving foam, liquid watercolors or food dye, and a tray for easy clean-up. This art activity is ideal for preschoolers, combining a sensory-rich experience with the joy of creating colorful, marbled patterns. Shaving foam marbling encourages creativity and experimentation in young children.
To get started, make sure you have the following items:
- Shaving foam: Unscented shaving foam works best.
- Liquid watercolors or food dye: These add vibrant colors to your marbling.
- Tray or baking sheet: This helps contain the mess and makes for easy clean-up.
- Paper: Thick paper like cardstock works best for absorbing the marbled designs.
- Tools for swirling: Items like toothpicks or craft sticks are great for creating patterns.
Setting up this art activity is simple. Spread a layer of shaving foam on the tray, then add drops of liquid watercolors or food dye. Provide preschoolers with tools to swirl the colors, creating fascinating marbled patterns. This hands-on painting helps develop fine motor skills while allowing kids to experiment with their artistic side. With everything ready, you'll be set for a fun and engaging art session!
Step-by-Step Process
- Prepare the Canvas: Spray a generous layer of shaving cream onto a flat surface, such as a baking sheet. Smooth it out evenly with a spatula or a piece of cardboard to create a uniform base.
- Add Colors: Let the preschoolers add drops of liquid watercolor or food coloring onto the shaving cream. Encourage them to use multiple colors for a vibrant effect. Provide tools like popsicle sticks or toothpicks for them to gently swirl the colors, creating unique and mesmerizing patterns.
- Transfer the Design: Once the designs are ready, press a piece of paper onto the marbled shaving cream. Gently lift it off to reveal the transferred pattern. Use a ruler or straight edge to scrape off the excess shaving cream, leaving behind a beautiful, marbled artwork.
This activity not only results in stunning, textured art but also promotes fine motor skills, hand-eye coordination, and a sense of experimentation. It's a delightful way for preschoolers to immerse themselves in creative exploration.
Painting With Cars
Kids often love painting with cars as it transforms a simple art activity into an exciting, hands-on adventure. Utilizing toy vehicles, children can create distinct patterns and designs, making the painting process both enjoyable and educational. An art kit filled with washable paints, paper, and classic toy cars is all you need to get started. Your little one will explore different painting techniques and discover how diverse cars make unique tracks and prints.
Using cars for painting fosters creativity and helps develop fine motor skills. As children maneuver the toy cars, they enhance hand-eye coordination and dexterity. Plus, it's a fantastic way to introduce them to the joy of art, promoting a lifelong love for painting.
Here are some tips to make the activity even more enjoyable:
- Choose toy cars with distinct wheel patterns to see how each creates a unique design.
- Mix different paint colors to encourage experimentation and creativity.
- Lay down a large sheet of paper to give your child ample space to explore.
- Incorporate various types of vehicles like trucks and buses for varied patterns.
- Use washable paints to make cleanup easy and stress-free.
This engaging activity is perfect for any preschool setting, encouraging children to express themselves through unique painting techniques.
Wax Resist Painting
Wax resist painting is an engaging art technique where wax repels water-based paint to create striking designs. It's an excellent way to introduce preschoolers to new textures and effects in their artwork. By using crayons or candles to draw on paper, a wax barrier is created that prevents paint from adhering, revealing unique patterns.
Getting Started:
- Gather Materials: Crayons, candles, paper, water-based paint.
- Draw with Wax: Have the children use crayons or candles to create designs on the paper.
- Prepare Paint: Mix water-based paint in various hues.
- Apply Paint: Let the children paint over the entire sheet.
- Reveal Designs: Observe as the waxed areas resist the paint, forming beautiful contrasts.
This technique not only fosters creativity but also encourages experimentation with different textures and effects. It's adaptable for any preschooler's skill level, making it a must-try activity.
Raised Salt Painting
After exploring the wonders of wax resist painting, you can introduce preschoolers to the captivating technique of raised salt painting. This method, which combines glue, salt, and watercolor paints, creates textured designs that enthrall young artists. The process is simple yet magical: the salt absorbs the liquid paint, resulting in a raised effect as it dries.
To get started, you'll need the following materials:
- White glue: Use this to draw patterns or shapes on the paper.
- Table salt: Sprinkle generously over the wet glue.
- Watercolor paints: Apply these once the salt has dried.
- Thick paper: Watercolor paper is ideal to handle the moisture.
- Paintbrushes: For applying the watercolors.
Preschoolers will enjoy experimenting with various patterns and designs. Raised salt painting is a sensory-rich activity that stimulates creativity and helps develop fine motor skills. As children observe the colors spreading and blending, they'll be fascinated by the evolving textures and hues. Encourage them to explore and be as imaginative as they wish—there's no right or wrong way to engage with this art form.
Bubble Wrap Printing
Introducing bubble wrap printing to preschoolers is an exciting way to engage them in creating textured patterns effortlessly. This unique technique involves using bubble wrap as a stamp, pressing it onto paper to produce fascinating textures. Children particularly enjoy this activity as it allows them to explore different textures and immerse themselves in hands-on art creation.
To begin, cut bubble wrap into pieces that are easy for small hands to handle. Dip the bubble wrap into various colors of paint, then press it onto paper. The resulting prints are vibrant and visually appealing, capturing children's attention and sparking their creativity. This method is also relatively mess-free, simplifying cleanup.
Bubble wrap printing provides a rich sensory experience. The action of pressing the bubble wrap into paint and onto paper engages tactile senses, making the activity both visually and physically enjoyable. Additionally, this technique helps develop fine motor skills as children manipulate the bubble wrap and control their movements. Incorporating bubble wrap printing into your art activities offers a delightful and educational experience that preschoolers will love.