10 Fun Painting Activities for Kids

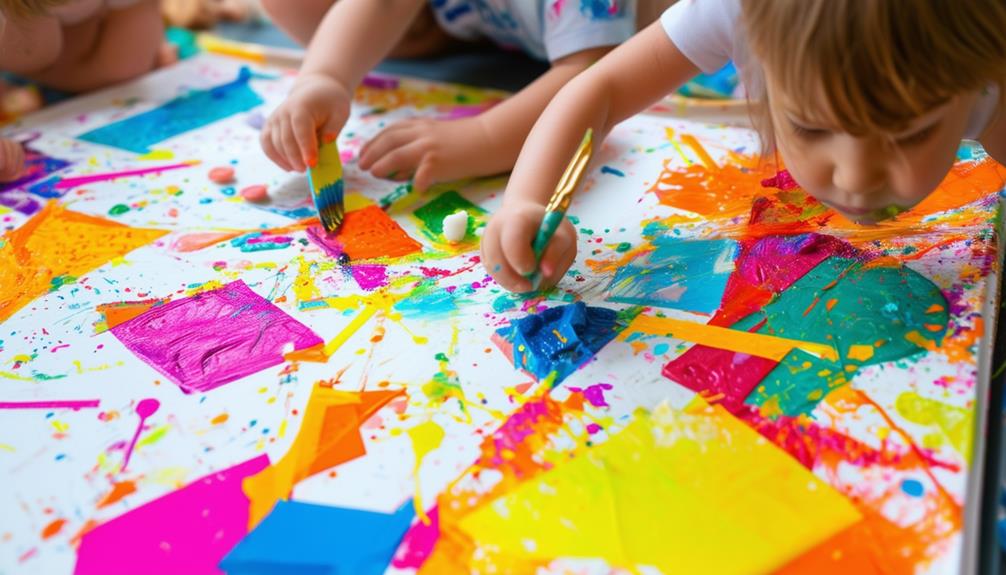
When it comes to sparking creativity in children, few activities are as impactful as painting. With just a few basic materials, you can transform ordinary afternoons into vibrant experiences. From the mesmerizing swirls of spin painting to the structured fun of tape painting, each method offers a unique way to engage young minds. Imagine your kids experimenting with colors and techniques, all while improving their fine motor skills and hand-eye coordination. Ready to discover more ways to keep their creative energies flowing? Let's delve into the details of these 10 interactive painting activities that promise both enjoyment and education.
Spin Painting
Spin painting enables kids to create vibrant, swirling designs using a salad spinner and paint. To begin, place a circular piece of paper inside the salad spinner. Allow your kids to drop various colors of paint onto the paper. Close the lid and spin! The centrifugal force spreads the paint in dynamic, unpredictable patterns, resulting in a mesmerizing piece of art each time.
This activity is not only entertaining but is also an excellent introduction to abstract art. Kids observe how colors blend and move in unexpected ways, fueling their curiosity and creativity. The hands-on nature of spin painting keeps them engaged, making it suitable for children of all ages.
Spin painting encourages exploration. Kids can experiment with different color combinations and see immediate results, which can be highly satisfying. Additionally, it's relatively mess-free since the paint stays contained within the salad spinner. Whether you're looking for a rainy day activity or a way to inspire your child's artistic side, spin painting is a fantastic option. Your kids will love creating their own unique, swirling masterpieces!
Drip Painting
Immerse yourself in the exciting world of drip painting, where kids can unleash their creativity by letting paint flow freely onto their canvas. This dynamic art technique offers a unique blend of fun and discovery, making it one of the most engaging painting activities for children. By experimenting with gravity, kids can create fluid and dynamic artworks that are always full of surprises.
Popularized by artists like Jackson Pollock, drip painting encourages kids to think outside the box. Whether using brushes, sticks, or squeeze bottles, the possibilities are endless. This activity is perfect for letting imaginations run wild and fostering a love for self-expression.
Here's a quick visual guide to get you started:
| Tool | Effect | Fun Factor |
|---|---|---|
| Brushes | Controlled drips and lines | High |
| Sticks | Splatter and random patterns | Very High |
| Squeeze Bottles | Thick, fluid lines and blobs | Super Fun |
Drip painting is more than just a messy activity; it's a gateway for kids to discover new artistic techniques. As they watch the paint transform under the influence of gravity, they'll develop a deeper understanding of movement and composition in art. Give it a try and watch your young artist's creativity soar!
Blot Art
To get started with blot art, gather paper, paint, and a flat surface. Experiment with different techniques, such as varying paint drops and folding patterns, to create unique designs. Simple adjustments can lead to surprising and beautiful results.
Supplies and Setup
Gather your supplies for blot art, including paper, paint, and folded paper towels or sponges. Blot art, also known as blotto painting, squish painting, or smush painting, is a fantastic way for kids to explore color mixing and create symmetrical designs.
To get started, follow these steps:
- Fold a piece of paper in half and place it flat on the table.
- Let your child choose and dab small amounts of paint on one side of the fold.
- Fold the paper back over and press gently with a paper towel or sponge.
- Unfold the paper to reveal a beautiful, symmetrical design.
This activity encourages creativity and experimentation, making it ideal for young artists. You can experiment with different folding techniques and paint placements to create unique patterns and shapes. Blot art is suitable for all stages of development, providing a versatile and fun introduction to the world of art.
Creative Techniques Explained
With your supplies ready, let's explore the creative techniques involved in blot art. Blot art, also known as blotto painting, is a fantastic way for kids to unleash their creativity. This method involves folding a piece of paper with paint inside to create symmetrical and unique designs. It not only makes painting enjoyable and straightforward but also encourages experimentation with color combinations.
To begin, apply blobs of paint on one side of the paper, then fold it in half and press down. Upon unfolding the paper, an abstract and visually appealing artwork will emerge. Here are some techniques to make these creations even more captivating:
- Blow Painting: Use a straw to blow the paint around before folding the paper.
- Sponge Painting: Dab a sponge with paint to add texture and depth.
- Puffy Paint: Mix shaving cream with glue and paint for a 3D effect.
- Color Experimentation: Try different color mixtures and folding techniques.
This process not only yields impressive results but also promotes fine motor skills, hand-eye coordination, and artistic expression. Encourage young artists to delve into blot art and watch their creativity blossom!
Pointillism With Cotton Swabs
Using cotton swabs for pointillism allows children to create vibrant, detailed artworks by dabbing small dots of color onto their canvas. This painting activity not only sparks creativity but also teaches kids about color blending and composition. Pointillism, a technique where small dots are used to form an image, becomes accessible and fun when children use cotton swabs for precision and control.
Provide your child with a variety of paint colors and a few cotton swabs. Encourage them to dip the cotton swabs into the paint and gently press them onto the paper, creating dots. This simple activity helps kids discover how colors interact and mix visually. They can experiment by placing different colors next to each other to see how new shades and tones emerge.
As your child dabs away, they'll notice that the closer the dots are, the more blended the colors appear. This hands-on approach makes learning about color theory engaging and intuitive. Additionally, the unique textured effect of the dots adds depth and intricacy to their artwork. Pointillism with cotton swabs is an excellent way for kids to develop fine motor skills while enjoying colors and creativity.
Blow Painting With Straws

Blow painting with straws is a simple and fun activity that requires only paint, paper, and drinking straws. By experimenting with different blowing techniques, you can create a variety of unique designs and patterns. This activity not only encourages creativity but also enhances fine motor skills and hand-eye coordination.
Materials and Setup
To prepare for blow painting using straws, gather the following materials: sturdy paper, liquid paint, standard drinking straws, and a protective covering for your workspace.
- Paper: Opt for watercolor paper or thick cardstock to ensure it can handle wet paint without tearing.
- Paint: Use liquid paint such as watercolors or diluted acrylics, ensuring it is fluid enough to spread easily with air.
- Straws: Standard drinking straws are ideal. Keep a few extras on hand in case one becomes clogged.
- Covered Workspace: Protect your table with newspaper or a plastic tablecloth to maintain a clean area, as blow painting can be messy.
Blow painting is an engaging way for kids to explore how breath control and air pressure influence paint movement. By gathering the appropriate materials, you set the stage for endless creativity and unique artistic expressions. Get ready to watch your children's artistic spirits soar!
Creative Designs Techniques
For a fun and creative design technique, gather your straws and get ready to blow paint across the paper, creating stunning abstract patterns. Blow painting with straws is an engaging and enjoyable painting activity, especially for kids. This method allows children to explore their creativity while experimenting with various colors and designs.
To begin, place a few drops of paint onto your paper. Then, use a straw to blow the paint in different directions. This process-oriented art activity is perfect for kids because it focuses on the creative journey rather than the final product. By controlling the direction and intensity of their breath, children can create unique designs and observe how the colors blend and spread across the page.
Blow painting also helps develop fine motor skills, as kids must manage their breath and movements to achieve the desired effects. It's an excellent way to foster creativity and imagination, resulting in beautiful, one-of-a-kind artworks that children can be proud of. Suitable for all ages, blow painting with straws is a fantastic addition to any art project, providing hours of fun and artistic exploration.
Puffy Paint
Discover the joy of creating textured artwork with puffy paint, a simple DIY project that brings children's art to life. This fun craft is perfect for adding dimension and flair to any project. Puffy paint is incredibly easy to make with just three ingredients: glue, shaving cream, and food coloring. The result is a vibrant, fluffy paint that dries to a raised texture, making your child's creations truly stand out.
Here's why puffy paint is perfect for your next art project:
- Simple Ingredients: You only need glue, shaving cream, and food coloring—items likely already in your home.
- Sensory Play: The fluffy texture of puffy paint is perfect for tactile exploration, allowing kids to feel their art as much as they see it.
- Vibrant Colors: Food coloring creates bright, eye-catching hues that make every piece of art pop.
- Easy Cleanup: Cleaning up is a breeze, making it stress-free for both parents and kids.
Try puffy paint for a fun, easy, and engaging craft that transforms ordinary art projects into extraordinary textured masterpieces.
Tape Painting
Tape painting offers an exciting and precise way for kids to explore their creativity. Using painter's tape, they can craft unique designs and patterns on a canvas or paper, resulting in crisp lines and shapes once the tape is removed. This method allows children to experiment with different patterns and color combinations without worrying about messy edges.
To begin, children place strips of painter's tape in various shapes and designs on their chosen surface. They can create geometric patterns, abstract art, or anything their imagination conjures. Once the tape is in place, they can paint over the entire canvas using their favorite colors. Encourage them to be bold and use a range of hues to make their artwork vibrant.
After the paint has dried completely, the most satisfying part begins—peeling off the tape. This reveals clean, contrasting lines that make tape painting visually striking. This activity not only combines fun with art education but also introduces kids to masking and resist techniques. Tape painting is an engaging and educational activity that children will thoroughly enjoy.
Salt Painting
Salt painting is a fun and engaging way for kids to create textured artwork. You'll need just a few materials to get started, and the setup is simple. Follow the step-by-step process and explore creative variations to make each piece unique.
Materials and Setup
To begin salt painting, gather your supplies: salt, watercolors, paintbrushes, and paper. This simple and enjoyable activity allows children to explore the world of painting without much difficulty. The preparation is straightforward, making it perfect for young artists who enjoy experimenting.
Here's what you'll need:
- Salt: Regular table salt is ideal and often available in your kitchen.
- Watercolors: A variety of colors will help unleash your child's creativity.
- Paintbrushes: Different sizes can create diverse effects and add dimension to the artwork.
- Paper: Thicker paper, such as watercolor or cardstock, is best to handle the moisture from the paint and salt.
The hygroscopic property of salt makes this activity unique. It absorbs moisture from the watercolors, creating captivating textures and patterns. Encouraging experimentation with various amounts of salt and paint will yield diverse and intriguing results. The process is engaging and will keep children entertained as they explore the textures and effects of salt painting. Prepare for an artistic journey that's easy to set up and incredibly rewarding!
Step-by-Step Process
- Sketch Your Design: Begin by drawing a simple design on your paper with a pencil. Opt for easy shapes or patterns, such as stars, hearts, or even names, which are ideal for kids.
- Apply the Glue: Trace over your pencil lines with a generous amount of white glue, ensuring even coverage of the entire design.
- Add Salt: While the glue is still wet, sprinkle salt over it, making sure every line is well-coated. Shake off any excess salt and let the glue dry completely. This tactile process adds an element of fun to the activity.
- Paint with Watercolors: Once the glue and salt are dry, dip your brush lightly into watercolor paint and gently touch the salted areas. The salt will absorb the paint, creating unique textures and patterns. Experiment with different colors to see how they blend and interact.
- Admire Your Artwork: Watch as your creation transforms into a beautiful, intricate design. This simple technique is not only captivating for kids but also encourages their creative exploration. Display or share your finished masterpiece with pride!
Creative Variations
Explore exciting variations of salt painting by experimenting with different glue patterns, salt types, and watercolor techniques to create unique masterpieces. This engaging activity for kids fosters creativity and adds texture, allowing for truly distinctive artwork.
Start with diverse adhesive patterns. Draw swirls, zigzags, or abstract shapes with glue before sprinkling salt on top. Each pattern will yield different textures for your kids to explore. Next, try various kinds of salt. Fine table salt offers one texture, while coarse sea salt or colored salt provides different effects and appearances.
Experiment with watercolor techniques. Adjust the amount of water you use with the paint to see how it interacts with the salt. More water creates softer, blended effects, while less water results in more defined lines and textures.
Here are some ideas to inspire you:
- Swirly Designs: Create playful swirls with glue and sprinkle salt for an engaging effect.
- Coarse Salt: Use coarse salt to achieve bold, textured artwork.
- Gradient Colors: Experiment with gradient watercolor techniques for dynamic color transitions.
- Colored Salt: Incorporate colored salt for vibrant, eye-catching hues.
These innovative variations will keep your kids excited and engaged in their salt painting projects!
Painting Rocks
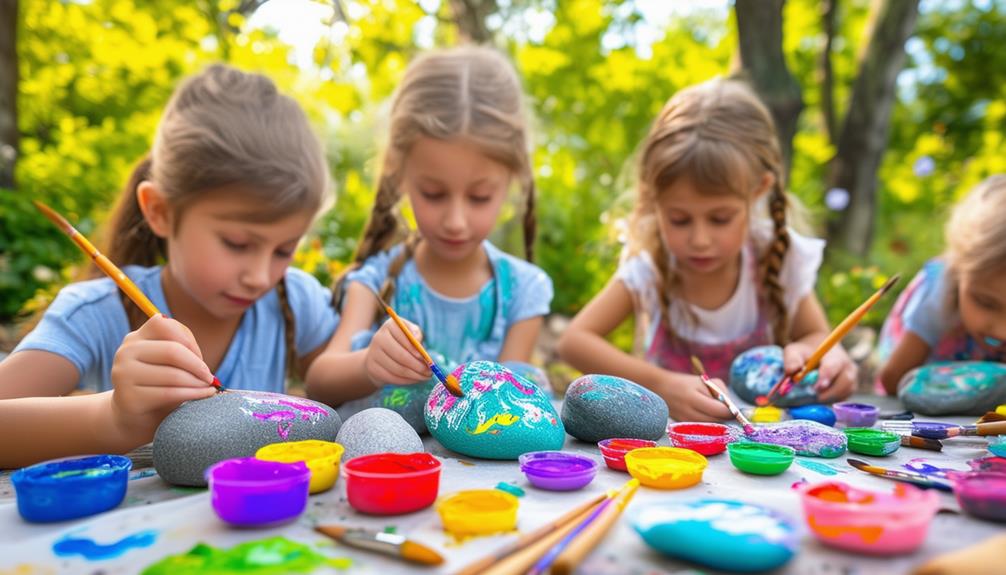
Painting rocks is a wonderful way for kids to express their creativity and engage in a hands-on art project. This activity allows children to explore artistic expression while developing fine motor skills and imagination. Kids can transform ordinary rocks into colorful masterpieces that can serve as decorations, gifts, or even be hidden for others to find as part of a community project.
One of the appealing aspects of rock painting is its blend of outdoor exploration and artistic creation. Kids can search for the perfect rocks outdoors, making this an environmentally conscious and budget-friendly activity. Here's a simple guide to get started with rock painting:
| Step | Description |
|---|---|
| 1 | Collect smooth, clean rocks |
| 2 | Gather painting supplies (paints, brushes) |
| 3 | Plan your creative designs |
| 4 | Paint the rocks with your designs |
| 5 | Let the paint dry and seal with varnish |
Rock painting is a versatile activity that can be adapted to various themes and seasons. Whether painting ladybugs in the summer or snowflakes in the winter, kids are sure to enjoy this engaging and artistic pastime. So, gather some rocks and paints, and let their creativity shine!
Ice Painting
Ice painting offers a refreshing and creative outlet for kids to enjoy art during hot summer days. This engaging activity involves painting on ice cubes or blocks, providing a unique sensory experience as the paint glides over the chilled surface. As the ice melts, kids can explore color mixing and blending, resulting in dynamic and evolving artworks.
Here's why ice painting is an ideal choice for your kids:
- Sensory Delight: The cool ice feels refreshing, making it perfect for hot days.
- Creative Exploration: Observing colors mix and blend as the ice melts stimulates curiosity and creativity.
- Unique Art Creations: Each session produces distinctive and ever-changing artworks.
- Educational Fun: It offers a hands-on way to learn about color theory and the science of melting.
To get started, freeze water in various shapes and sizes, then let your kids use watercolors or food coloring to paint on the ice. As the ice melts, the colors will spread, creating beautiful and unexpected patterns. Ice painting is not just a fun activity; it's an engaging way to beat the heat while fostering artistic expression and learning.