Tips for Making Play Doh at Home
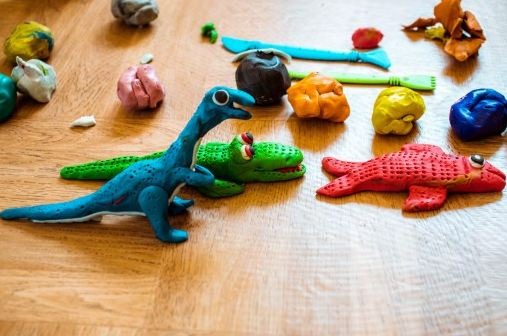
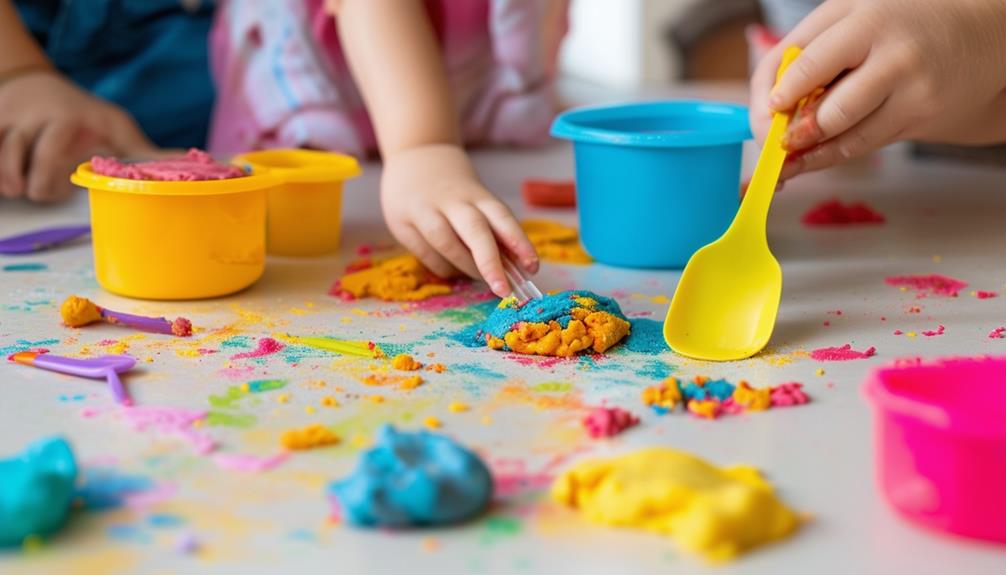
Play-doh might be a messy sort of toy, but it’s a great way for kids to learn about textures and colors among other concepts. They also learn how to use their hands to shape things and get a boost in creativity along the way.
However, there have been many concerns regarding regular store-bought Play-Doh now. The name started out as a brand, but it’s now become an official name for any sort of colorful clay for kids and toddlers. Parents have had issues with toxic ingredients, the overall mess, and the high price of the name-brand stuff.
There are several recipes one can follow for making their own play-doh at home. Getting into his practice can help you save money and have a fresh batch of play-doh ready when your child wants to play with it.
Here are some more points on how play-doh can help children to learn skills. If you’ve already tried making homemade play-doh and aren’t sure how to get the perfect texture, follow these tips to get a great result every time:
1. Use Only Fine Salt
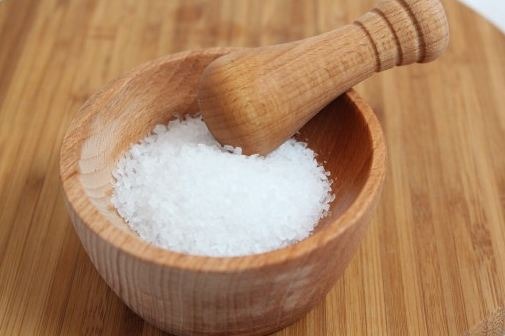
If the recipe calls for salt, and most of them do, make sure to only use the very fine one. Coarse salt will take a much longer time to completely dissolve. Even after you or your kids play with the play-doh a lot, the coarse salt might still remain undissolved over time.
2. Get The Water Boiling
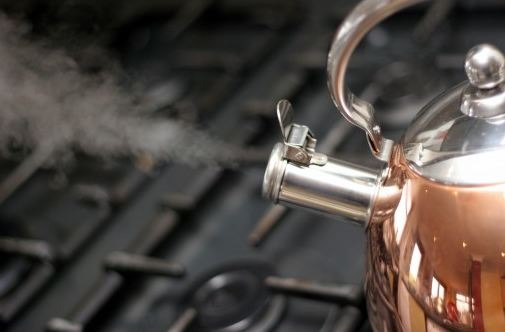
The recipe might call for hot water, but they may not have specified an exact temperature. Play it safe by getting the water to a boil just before pouring into the other ingredients. This will help in dissolving the salt and getting everything to mesh well together. Plus, you also get the bonus of killing off any harmful bacteria.
3. Pour In Small Batches
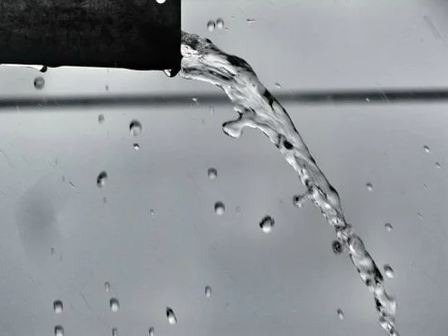
However, pouring boiling water doesn't mean that you splash it all at once. Similar to when you’re baking a cake, add in the liquid a little at a time.
For many recipes, you need a cup of boiling water. Pull up a video tutorial and look at the texture they get. Follow the instructions and pour the water very slowly, in small volumes at a time. If you put in the whole cup at once, the dough might get too sticky and be impossible to save.
4. Spread the Dough Out
After you knead the dough and add the required amount of flour, it might still be a bit too sticky for working as play-doh. If that’s the case, try reading the whole thing out and leave it to air for some hours. It should dry out a bit and be less sticky after this time.
5. Store in an Airtight Container
If you’ve ever seen store bought play doh, you’d also have noticed that it comes packed in airtight containers. Leave the play-doh out for a bit, and it will dry up. Homemade play doh is even more vulnerable to drying up, so you’d want to invest in some airtight containers for its storage.
The good news here is that homemade play doh can last for around six months if you store it properly. In addition to an airtight home, the play doh must also be kept completely dry when stored. This means that it should not be touched by wet hands or have saliva on it.
6. Get the Kids Involved
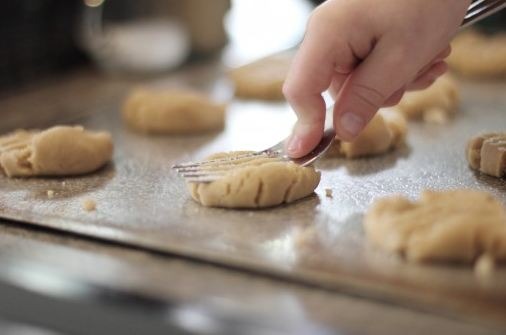
Making playdough at home can be a bit time-consuming, especially if you have to do it after every few months. Young children might try to eat the play dough you make; while this should be safe, it doesn't bode well for the longevity of the dough.
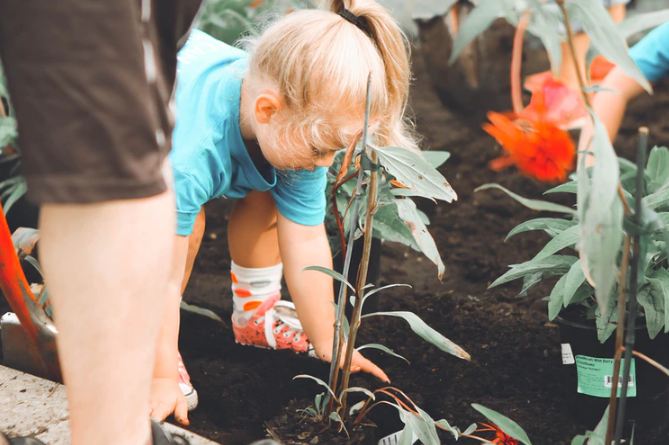
If you have older kids, they might be able to help in making play-doh using a stove (under constant adult supervision). For younger kids, or if you just want to play extra safe, there are several no-cook recipes available online as well. Look them up, these might be just what you need to get the children off video games. The kids will have fun and it can be a nice bonding moment between family members or friends.
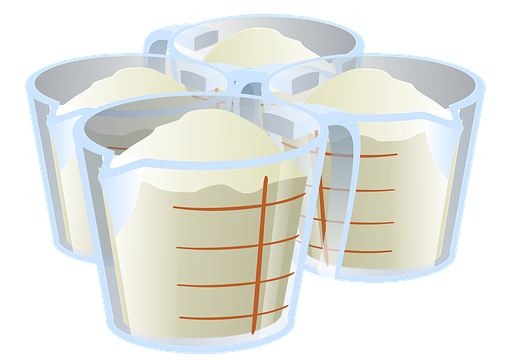
7. Get All the Ingredients Ready
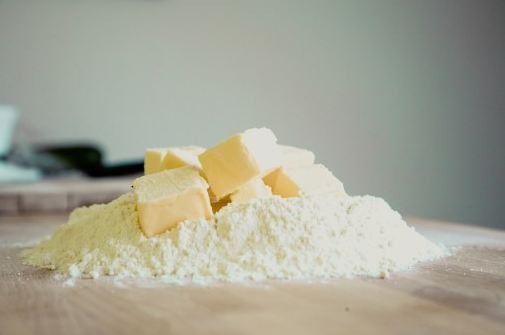
Again, it’s like following a recipe for a dish or dessert. You need to make sure that all the ingredients are available in the amounts you need before telling your kids about making play doh. No one wants that disappointed reaction after you’ve got their hopes up, nor do you want an unplanned trip to the store in the middle of a busy day.
As a rule of thumb, most homemade playdough recipes call for salt, flour, vegetable oil, cream of tartar, etc. You can get these things with your weekly or monthly groceries. Adding in food coloring is also a nice touch (at times necessary), so you might want to pick up a few colors to add to your collection every now and then.
Once you have all the ingredients on hand, making the play doh can be fairly quick. Measure out the ingredients, set them next to the mixing bowl, and you can be done in a few more minutes. If you’re making it with the kids, however, it might be an all-day process. To avoid fights, make sure that every child has enough ingredients to make his or her own playdough.
8. Add the Dye With the Water

Instead, take some more time and make a different batch for every color. Add the dye just after you put it in the water, and everything will automatically blend in while you’re stirring.
9. Soak the Pan

Whether you’re using a saucepan or frying pan to make your play-doh, don’t leave it unwashed for too long. Soak it immediately so that the residue softens. It will be much easier to wash later on and will also make clean-up much easier for the kids.
10. Mix and Measure Dry Ingredients First
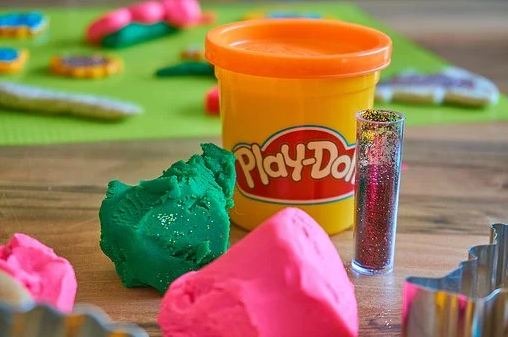
11. Add Some Extras

You can add all sorts of extra things to make your play doh more interesting and attractive. Some people like to add in glitter, while others might want to add scented shampoo for a nice fragrance.
If you do add shampoo or any other liquid, though, make sure to minus an ounce of water for every tablespoon of shampoo. If the mixture still remains too dry, add in a little more water to get the right consistency.
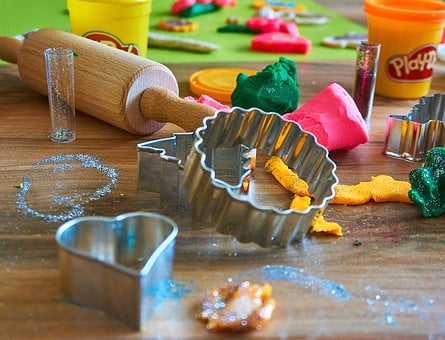
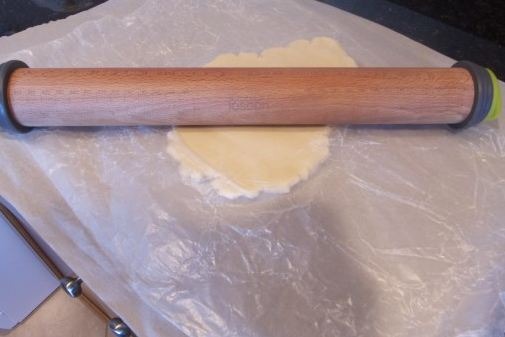
12. Use Mats or Paper Plates for Kneading
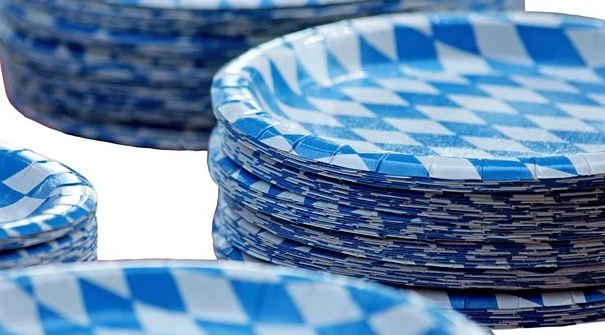
Most recipes for homemade play doh call for wax paper to knead the dough. However, you might not have this item on hand at all times. If that’s the case, try using a paper plate instead. It will work just as well and maybe even better for the kids, as the plate will contain any fallen crumbs.
Another alternative here is to find some templates for cute playdough mats online. Print these out, get them laminated, and pull them out whenever you have a play doh making session.
Conclusion
Along with being a nice alternative to screen time, play-doh is a must have for frustrated parents who just need some time to unwind. You might have been hesitating to try out homemade play-doh, but it’s quite easy when you get the hang of it. As we’ve already suggested, getting the kids involved will lighten your load quite a bit. Try this fun project out this weekend and see how it turns out.