Painting With Different Tools: Sponges, Stamps, and More
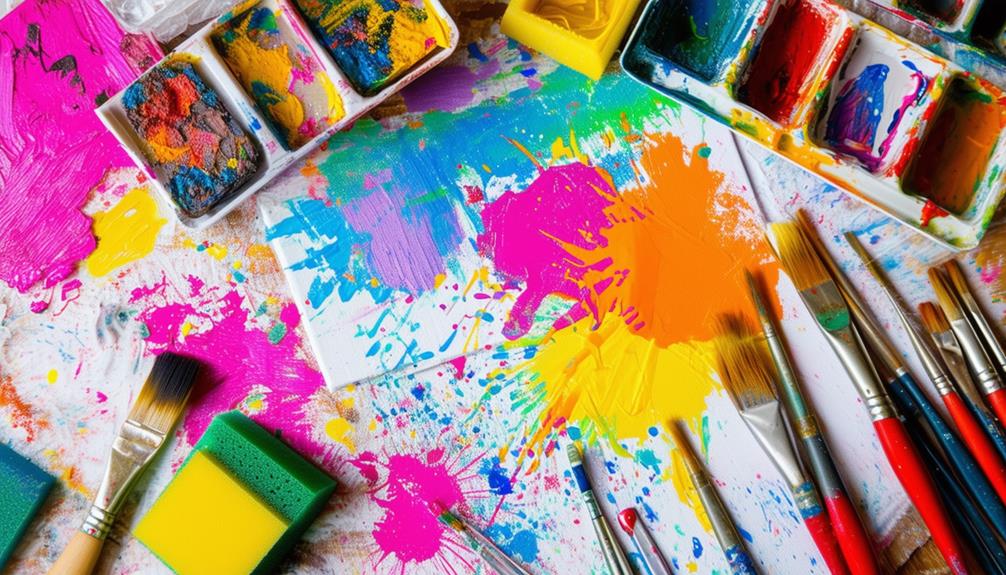
Experimenting with painting using tools such as sponges and stamps opens up a wide array of possibilities for texture and design in your artwork. By altering the shapes of sponges or using stamps with various patterns, you can achieve effects that traditional brushes cannot replicate. Each tool offers unique advantages, and mastering their use can significantly elevate your artistic endeavors. Imagine creating gradual color transitions and intricate patterns with just a few fundamental techniques. Interested in maximizing the potential of these tools and boosting your creativity further? Let's explore the techniques and tips to help you get started.
Sponge Stamping Techniques
Exploring sponge stamping techniques opens up a realm of texture, depth, and distinctive patterns to enhance your paintings. Sponge stamps are an excellent tool for adding interest and versatility to your artwork. They enable the creation of various shapes and effects that might be difficult to achieve with traditional brushes. This technique is particularly useful for beginners, as it fosters a hands-on, experimental approach that encourages creativity and exploration.
To begin, cut your sponges into diverse shapes and sizes. This variety will provide you with a range of tools, each producing a unique pattern. Dip your sponge stamps into paint and press them gently onto your canvas. By varying the pressure, you can create different levels of intensity and texture.
Experiment with overlapping stamps and altering their orientation. This can result in dynamic, layered effects that add depth to your composition. Pay attention to stamp placement and the overall harmony of your design. Sponge stamping encourages experimentation, so don't hesitate to try new techniques and discover what best suits your artistic vision.
Preparing for Sponge Stamping
Before you start sponge stamping, gather all necessary materials to ensure a smooth and enjoyable painting process. You'll need sponges, paints, a palette, water containers, and a suitable painting surface. Choose sponges of various shapes and sizes for different effects. You can purchase pre-cut sponges or cut them yourself to match your artistic vision.
Set up your workspace in a well-ventilated area to avoid fumes and potential spills, ensuring enough space to move around comfortably. Select colors that align with your artwork's mood and theme for a cohesive final piece. It's beneficial to practice on a separate piece of paper or canvas initially. This helps you gauge the amount of paint needed and understand how the colors blend.
When ready, place a small amount of paint onto your palette. This allows for easy sponge dipping and paint control. Experiment with different colors to see how they interact and which combinations work best for your design. By thoroughly preparing, you'll set the stage for a successful sponge stamping experience.
Loading the Sponge
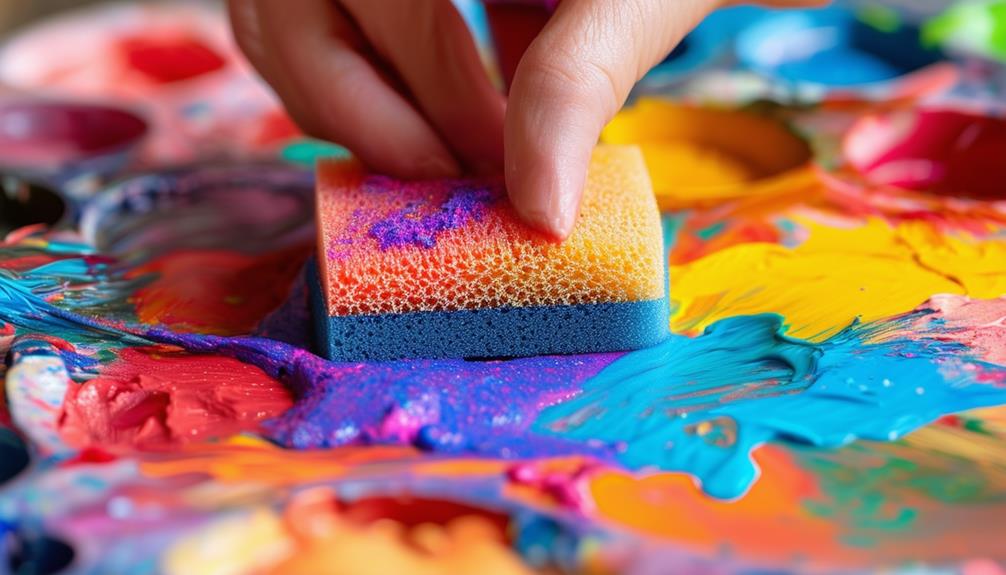
When loading the sponge, ensure to apply paint evenly from the palette to achieve consistent coverage. Avoid oversaturating the sponge to prevent dripping or smudging. Begin with a moderate amount of paint and gradually add more to reach the desired effect.
Even Paint Distribution
To ensure even paint distribution, start by loading a moderate amount of paint onto the sponge. Dab the sponge lightly and evenly with paint, similar to teaching a child to paint; too much paint or water can create a mess. Begin with a small amount and add more gradually to maintain control and avoid oversaturating the sponge, which can cause dripping or smudging.
Ensure the sponge absorbs the paint uniformly. Press it gently into the paint and move it around to cover all areas evenly. When you lift the sponge, check that the paint is distributed across the surface without clumps or dry spots.
Maintaining control over the paint amount is essential. Too much paint can lead to uneven application, while too little may not achieve the desired effect. Adjust as necessary, dabbing off excess paint on a paper towel if needed.
Controlled Paint Application
After securing an even paint spread, focus on controlled paint application by carefully loading the sponge. Begin by dabbing the sponge evenly with paint to ensure consistent coverage. This step is crucial for achieving precise sponge applications and controlled paint blending. Start with a moderate amount of paint, adding more only as necessary to reach the desired intensity and effect.
Maintaining an even coating of paint on the sponge is key to perfecting your precision stamping techniques. This approach helps create uniform stamps and avoids patchy or streaky results. Control is essential—excessive paint can lead to smudging or dripping, while too little can result in a weak impression.
To achieve the best results, keep the following tips in mind:
| Tip | Description |
|---|---|
| Even Paint Spread | Dab the sponge evenly to cover the surface uniformly. |
| Moderate Paint Quantity | Start with a small amount and increase as necessary. |
| Avoid Oversaturation | Prevent excess paint to avoid smudging and dripping. |
| Consistent Coverage | Ensure a steady coat for uniform stamping results. |
Avoiding Oversaturation
Why is it so important to avoid oversaturation when loading your sponge with paint? First and foremost, oversaturation can sabotage your paint blending and color mixing efforts. A soaked sponge lacks the precision needed for fine detailing, resulting in a muddy and unappealing finish.
To achieve the best results with your sponge, follow these guidelines:
- Dab evenly: Ensure the sponge is uniformly coated with paint to create consistent surface effects.
- Moderate paint: Start with a moderate amount of paint to prevent the sponge from becoming too wet.
- Balanced application: Focus on maintaining control over paint amounts to achieve desired outcomes.
Maintaining the right amount of paint on your sponge is crucial for achieving the desired texture and surface effects. By dabbing the sponge evenly, you prevent it from becoming overly saturated, which helps in producing consistent stamping results. This control is essential not just for the overall intensity of your colors but also for the precision required in fine detailing.
Avoiding oversaturation allows you to manipulate the paint effectively, achieving harmonious paint blending and nuanced color mixing. Remember, the goal is to create art that captures your vision, and that begins with mastering the basics of loading your sponge correctly.
Practicing Sponge Stamping
With your sponge now loaded, it's time to practice sponge stamping. Experiment with different pressures and angles to observe their impact on your prints. Try various paint combinations to discover your preferred effects. Overlap stamps and vary orientations to create distinctive patterns.
Testing Pressure and Angle
Mastering the sponge stamping technique involves practicing with different pressures and angles to control the final design's strength and texture. By experimenting with these variations, you can achieve desired depth and coverage effects in your artwork. Here's how to fine-tune your technique:
- Pressure experimentation: Varying the pressure on the sponge significantly alters the intensity of the stamped image. Light pressure yields a subtle effect, while heavier pressure produces a bold, saturated look.
- Angle variations: Changing the angle at which you press the sponge can create unique textures and patterns. Tilting the sponge slightly or using different parts of its surface can yield diverse results.
- Depth control and coverage effects: By combining different pressures and angles, you can manage the depth and coverage of your design, making it more dynamic and interesting.
Consistent practice of these techniques will enhance your control and precision in sponge stamping. You'll be able to create unique textures and intricate patterns that add a distinctive touch to your artwork. Keep experimenting, and soon you'll master this versatile and enjoyable painting method.
Exploring Paint Combinations
To enhance your sponge stamping artwork, experiment with various paint combinations to achieve vibrant and dynamic results. Start by selecting a mix of contrasting or complementary colors, as these combinations can create visually striking effects that make your designs stand out.
Next, try blending colors directly on the sponge. Dabbing two or more colors together allows you to achieve unique gradients and shading in your stamped designs. For example, blending blue and yellow can produce a beautiful green gradient that adds depth to your artwork.
Paint layering is another technique worth exploring. Apply a base color and let it dry before adding another layer on top. This method creates depth and texture, making your patterns and shapes more prominent. You can even use a slightly damp sponge for softer, more blended layers.
Incorporating metallic accents can also elevate your designs. Mix metallic or iridescent paints with your regular colors to add shimmer and dimension. A touch of gold or silver can transform a simple design into something extraordinary, catching the light and drawing attention.
Applying Sponge Stamps
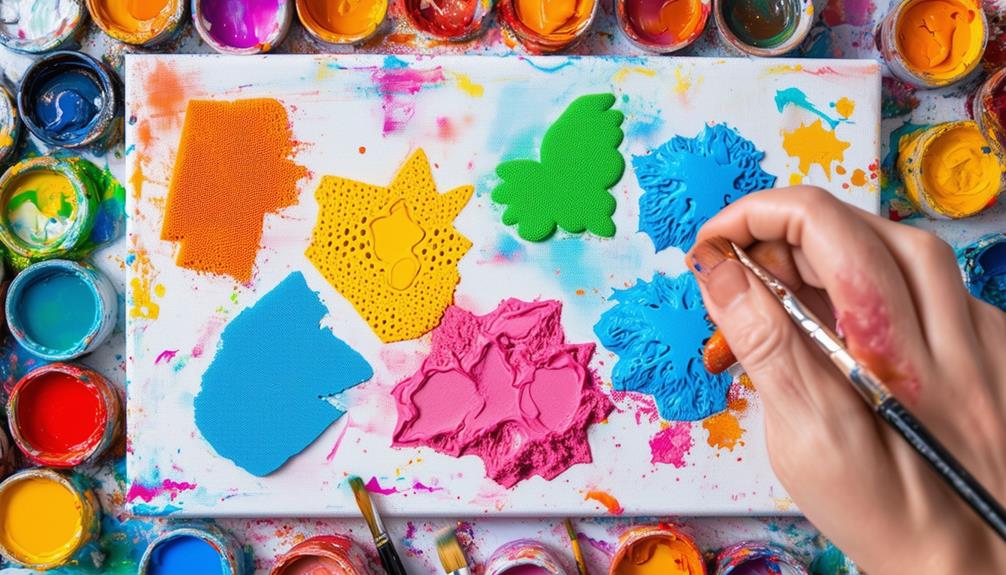
Sponge stamping is a versatile technique that adds texture, depth, and unique patterns to your paintings, enhancing their visual appeal. This method enables you to explore new creative avenues and enrich your artistic process. Here are some ways to effectively apply sponge stamps:
- Blending Colors: Use multiple shades on your sponge to create a gradient effect. Gently press the sponge onto your canvas to seamlessly merge the colors, adding a dynamic visual transition.
- Creating Patterns: Dip your sponge in paint and stamp it repeatedly to form intricate designs. You can create a range of patterns, from simple dots to elaborate arrangements.
- Experimenting with Textures: Experiment with different sponge shapes and sizes to produce varied textures. Each type of sponge will leave a distinct impression, adding layers of interest to your artwork.
Creating Sponge Stamps
Creating your own sponge stamps provides a versatile method to personalize your artwork, adding texture and depth with unique patterns and shapes. To maximize creative potential, select sponges of various shapes and sizes, enabling the discovery of diverse effects and artistic results.
Experimenting with different sponge stamping techniques can be highly inspirational. You can cut sponges into custom shapes or use natural sponges for unpredictable, organic patterns. When applying paint to the sponge, ensure an even coat by dabbing it onto a palette to prevent oversaturation and unwanted smudges.
While sponge stamping can be rewarding, challenges such as controlling paint application and achieving consistent results may arise. Practicing on a separate surface helps hone your technique and improve control over the pressure applied. Use gentle yet firm pressure when stamping, and try overlapping stamps to create intricate patterns. If issues occur, adjust your approach and continue practicing. With patience and perseverance, you'll develop effective techniques that enhance your sponge stamping skills and enrich your artwork.
Using Stamps in Art
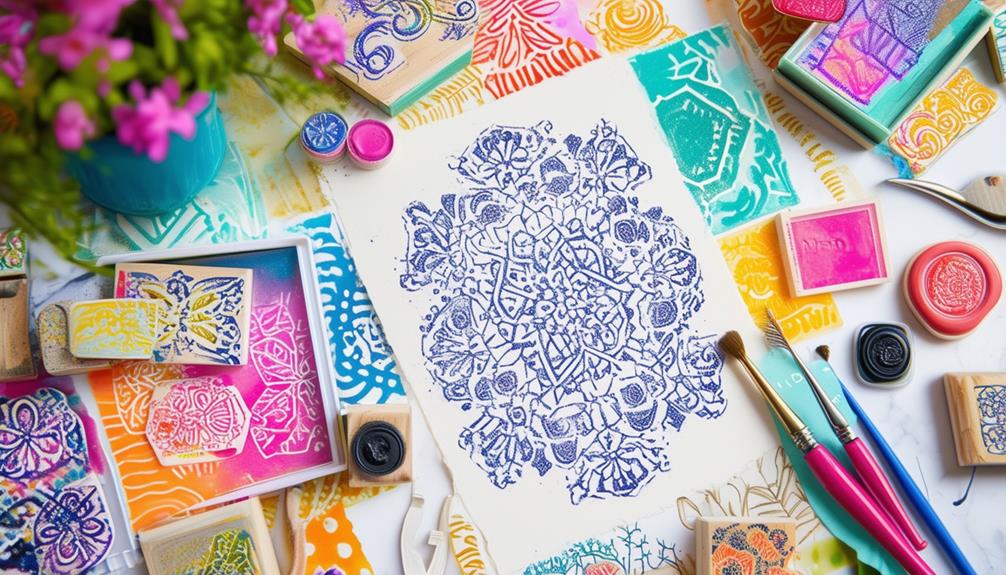
Using stamps in art offers a reliable way to introduce consistent and intricate patterns into your work. Whether you're a seasoned artist or just starting, stamps can significantly enhance your creations. They come in various materials like rubber, foam, or even vegetables, each providing unique textures and designs.
Consider these aspects to enrich your stamping experience:
- Ink selection: Choose the right ink to ensure your patterns are vibrant and durable.
- Stamp maintenance: Regularly clean your stamps to preserve their detail and longevity.
- Layering effects: Experiment with layering different stamps to achieve a more intricate and textured appearance.
Creative stamping isn't limited to traditional applications. Integrate it into mixed media projects for dynamic and captivating results. For instance, combine stamps with paint, collage elements, and drawings to create multifaceted pieces.
If you're seeking stamping tips, start by practicing with different types of stamps—background, focal point, and texture stamps. This will help you understand how each type can contribute to your artwork. Remember, the key to mastering stamping is experimenting and finding what works best for your style. So, grab your stamps and start creating!
Pottery Painting Techniques
After mastering the art of stamping, you can explore various pottery painting techniques to enhance your creative expression. Wheel-thrown mugs offer an excellent canvas due to their shape and ample surface area. Begin by using brush techniques to apply your base colors, which allows for precise color blending and the creation of intricate surface textures.
For a more hands-on approach, try finger painting. This method can produce unique, tactile designs and seamlessly blend colors. For structured patterns, consider doodling designs directly onto bisqueware. The smooth surface ensures that your colors will pop and your designs will be clear and precise.
Transfer methods are another excellent way to add complex images to your pottery. Trace your design onto transfer paper and apply it to your mug. Once the outline is in place, you can fill in the details using either brush techniques or finger painting.
Experiment with combining these methods to create dynamic, layered artwork. Use doodling to add fine lines over blended backgrounds or incorporate transfer methods for a professional touch. Once your masterpiece is complete, fire your pottery at Cone 04 in an electric kiln to set the paint and secure a durable finish.
Tips for Sponge Stamps
To achieve the best results with sponge stamps, start by cutting your sponges into various shapes. This simple step can open up a world of creative possibilities and unique designs. Whether you're working on canvas, paper, or fabric, the shapes you create will add incredible texture and depth to your art.
When applying paint, less is more. Use a moderate amount of paint on your sponge to maintain better control and avoid a messy outcome. Experimenting with different pressures and angles can produce diverse results, so test your technique on a separate surface before diving into your main project.
Here's how you can expand your sponge stamping horizons:
- Fabric and Textile Art: Customize clothing, tote bags, or home décor items with unique patterns.
- Mixed Media and Art Journaling: Add texture and layers to art journals or mixed media pieces.
- Creating Unique Designs: Combine different sponge shapes and colors to make your artwork stand out.