How to Make Gluten-Free Playdough at Home
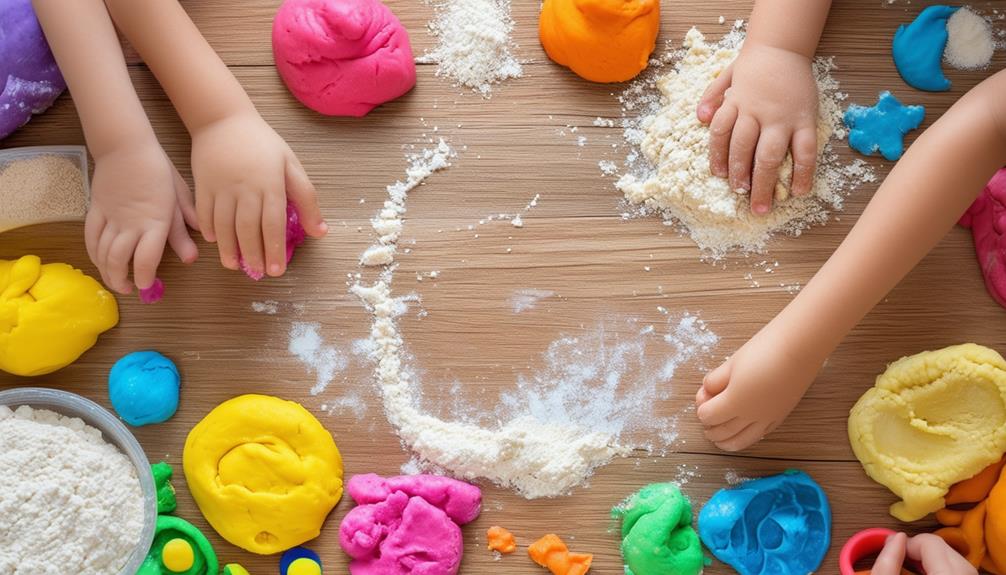
Making gluten-free playdough at home is straightforward and beneficial, especially if you have children with gluten sensitivities. You'll need basic ingredients like multipurpose gluten-free flour, salt, cream of tartar, boiling water, and oil. This recipe helps you create a soft, pliable dough that is safe for everyone to use. To enhance the play experience, you can add colors or scented oils. But how do you achieve the perfect texture and ensure the playdough stays fresh for months? Follow these steps and tips to get it just right.
Ingredients and Tools
To craft gluten-free playdough at home, you'll need all-purpose gluten-free flour, salt, cream of tartar, boiling water, oil, and a few essential tools. These ingredients work together to create a playdough that's safe for individuals with gluten sensitivities and fun to use.
Begin with all-purpose gluten-free flour as the base of your playdough. Mix it with salt to give it structure. The cream of tartar is essential for maintaining the softness and consistency of the playdough, ensuring it's easy to mold. Boiling water is necessary to achieve the right texture, while oil adds a smooth, non-stick quality to the dough.
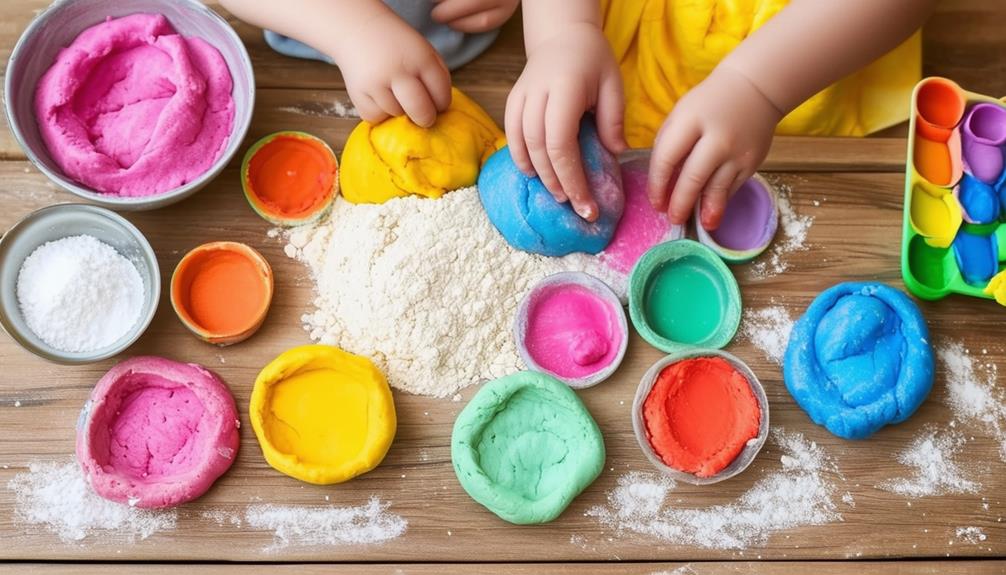
You'll also need a mixing bowl and a spoon for combining your ingredients. Measuring cups and spoons will ensure you use the correct amounts. For added fun, incorporate food coloring. A few drops can transform your playdough into vibrant colors, enhancing the sensory experience.
Step-by-Step Instructions
Start by gathering all your ingredients and tools, ensuring everything is measured and ready to go. You'll need gluten-free flour, salt, cream of tartar, boiling water, and oil. This simple recipe requires no heating beyond boiling water and can be completed in just 15 minutes, making it perfect for kids' sensory play.
- Combine Dry Ingredients: In a large bowl, mix 2 cups of gluten-free flour, 3/4 cup of salt, and 2 tablespoons of cream of tartar.
- Add Wet Ingredients: Carefully pour 2 cups of boiling water into the dry mixture, followed by 2 tablespoons of oil.
- Mix Thoroughly: Stir the mixture until it forms a dough. If it's too sticky, add more flour. If it's too dry, add a little more water.
- Knead: Once it's cool enough to handle, knead the dough until smooth.
| Step | Ingredient/Tool | Emotion |
|---|---|---|
| Combine Dry Ingredients | Flour, Salt, Cream of Tartar | Excitement |
| Add Wet Ingredients | Boiling Water, Oil | Anticipation |
| Mix Thoroughly | Spoon, Bowl | Curiosity |
| Knead | Hands | Joy |
This homemade gluten-free playdough can be stored in an airtight container for up to 3 months, ensuring endless fun without gluten worries. Enjoy crafting your own playdough and watching your kids' faces light up with joy!
Tips and Tricks
Enhancing your gluten-free playdough is straightforward with a few simple adjustments and creative touches. Modify the texture by adding more flour if it's too sticky or more water if it's too dry, ensuring the ideal consistency for shaping and molding.
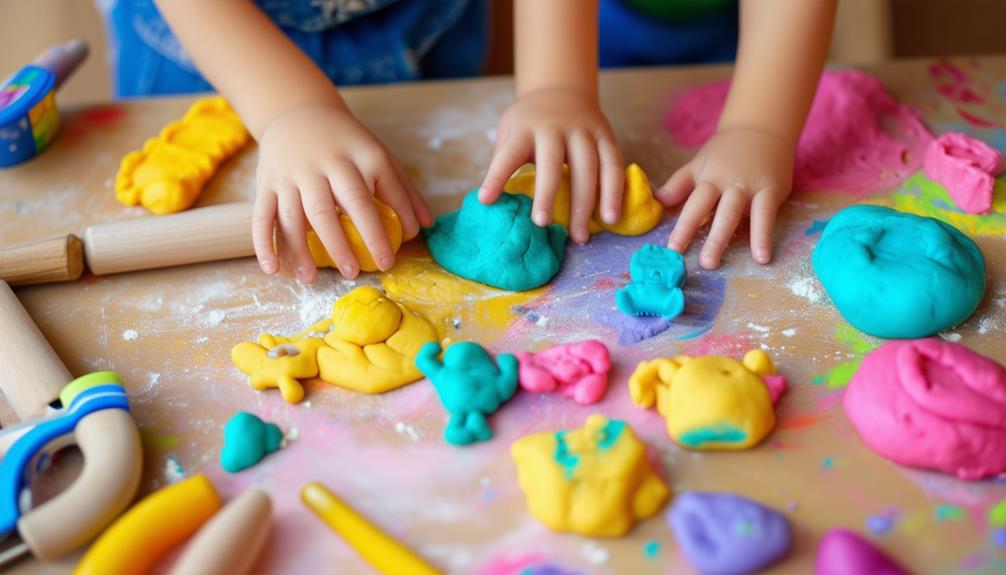
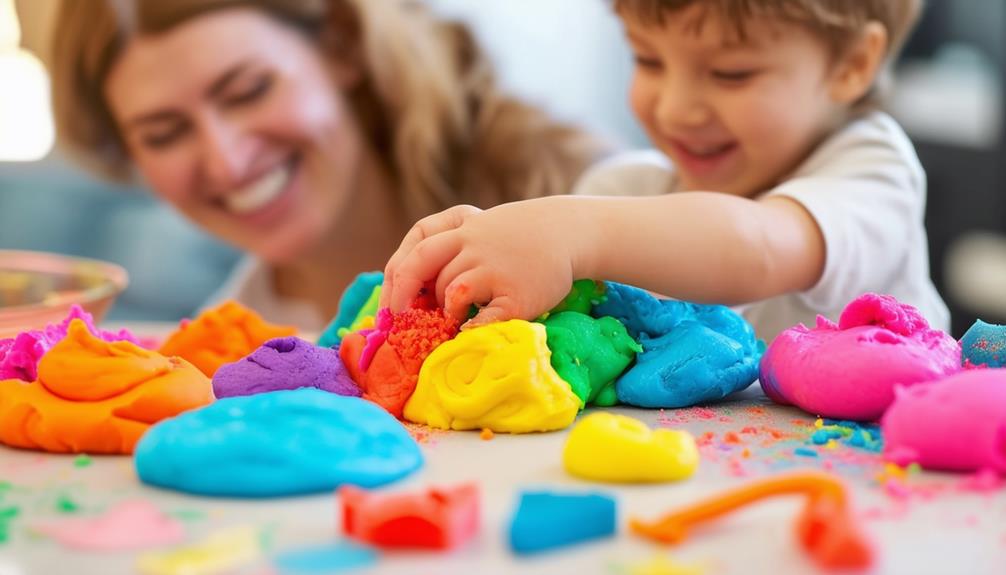
Experiment with primary colors by mixing red, blue, and yellow to create a variety of vibrant shades, adding excitement to playtime. For a sensory boost, incorporate a few drops of aromatic oils like lavender or peppermint. This not only makes the playdough smell delightful but also enhances the sensory experience for kids.
Add cream of tartar to your recipe for a softer, more malleable consistency, making the playdough easier to work with. Ensure airtight storage to maintain the freshness of your gluten-free playdough, keeping it usable for up to three months. These tips will help you create the perfect batch of gluten-free playdough, providing countless hours of enjoyment and creativity for you and your children.
Storage and Longevity
Proper storage ensures that your gluten-free playdough remains fresh and usable for weeks. Start by placing it in an airtight container to maintain its softness and prevent it from drying out. Interestingly, the texture of gluten-free playdough often improves after a day or two, making it advantageous to prepare it in advance.
For even longer preservation, consider using a sealable plastic bag, which minimizes air exposure and further extends the playdough's longevity. Additionally, freezing is an excellent option for large batches. Just ensure the playdough is fully thawed before use to restore its ideal texture.
Monitor the playdough for signs of aging, such as drying out, cracking, or crumbling. These indicators suggest it may be time to make a new batch. By following these storage tips, you can keep your gluten-free playdough fresh and reusable for an extended period.
Benefits for Kids
Gluten-free playdough offers a safe and enriching play experience for children with celiac disease or gluten sensitivities, ensuring they can enjoy their playtime without health risks. Making gluten-free playdough at home provides numerous benefits beyond safety.
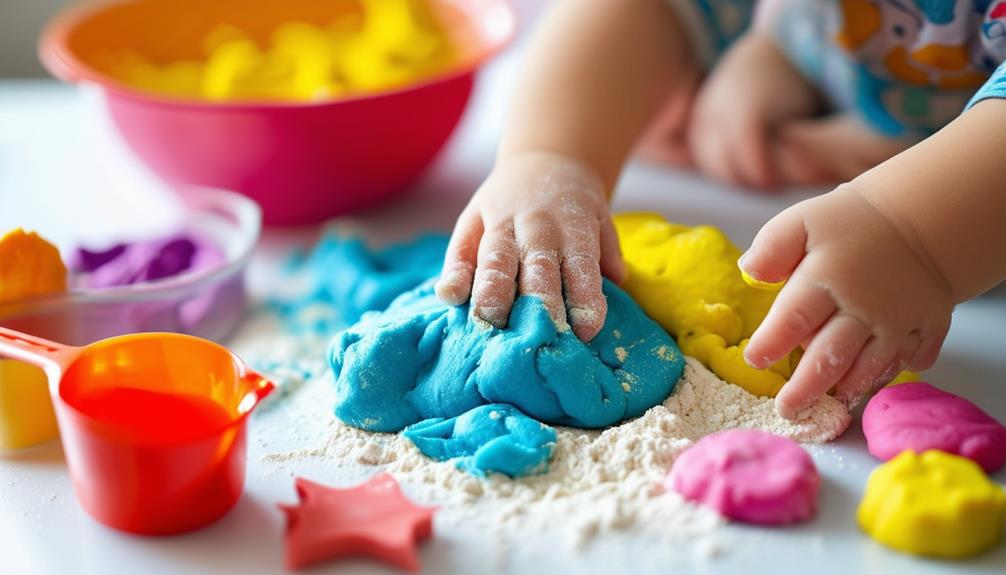
Firstly, it promotes sensory play, which is crucial for developing fine motor skills and creativity. Kids love squishing, rolling, and shaping the dough, enhancing their hand-eye coordination and imagination.
Secondly, homemade gluten-free playdough is cost-effective and customizable. Using ingredients you already have at home makes it a budget-friendly option. Plus, you can add colors, scents, and textures to suit your child's preferences, turning it into a unique and engaging play material.
Thirdly, it's environmentally friendly and non-toxic. Using natural ingredients ensures that the playdough is safe for your kids and the planet. You won't have to worry about harmful chemicals or waste.
Here are the key benefits of making gluten-free playdough at home:
- Safe alternative for kids with gluten sensitivities.
- Family activity that brings everyone together.
- Non-toxic and environmentally friendly play option.