How to Make Clean Mud for Kids?
Making clean mud for kids is simple and offers a delightful sensory play experience. You'll need just a few basic ingredients and tools that are likely already at home. Here's how to do it:
Ingredients:
- Baking soda
- Water
- Optional: Food coloring or non-toxic paint for color
- Alternative Recipe: Grated Ivory soap, torn toilet paper, and warm water
Instructions:
- Standard Recipe:
- In a large bowl, mix baking soda and water until you achieve a thick, mud-like consistency.
- If desired, add a few drops of food coloring or non-toxic paint to make the mud more visually appealing.
- Alternative Recipe:
- Grate a bar of Ivory soap into a bowl.
- Tear several sheets of toilet paper into small pieces and add them to the bowl.
- Gradually add warm water while mixing until you reach a mushy, mud-like texture.
Tips and Tricks:
- Consistency Control: Adjust the amount of water to get the desired consistency. More water will make it runnier, while less will make it thicker.
- Storage: Store any leftover clean mud in an airtight container to keep it moist and ready for future play.
- Safety: Ensure all ingredients used are non-toxic, especially if younger children are involved.
With these simple steps, you can create a fun and safe sensory play material that kids will love. Enjoy the process and watch as their creativity comes to life!
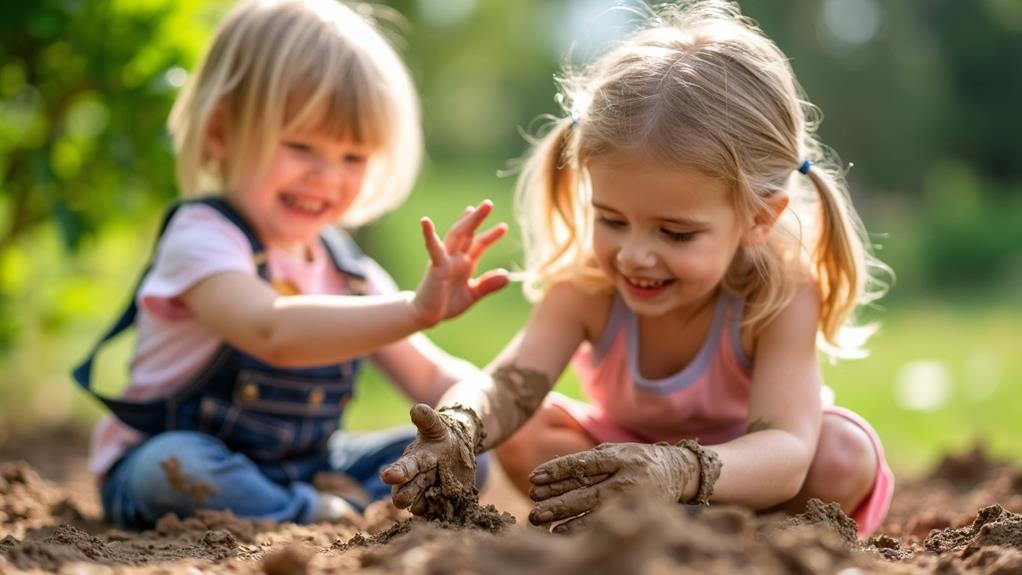
What Is Clean Mud?
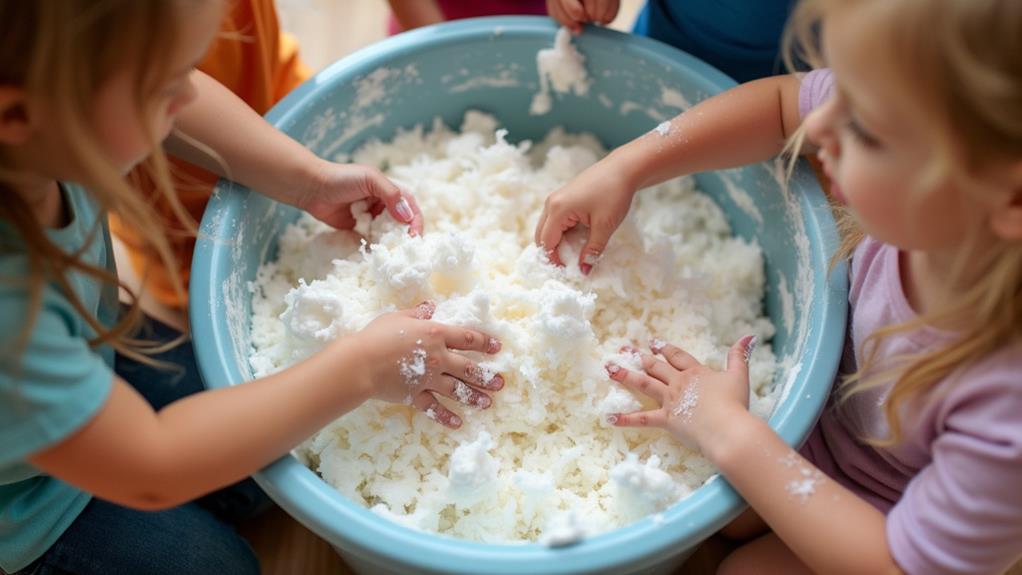
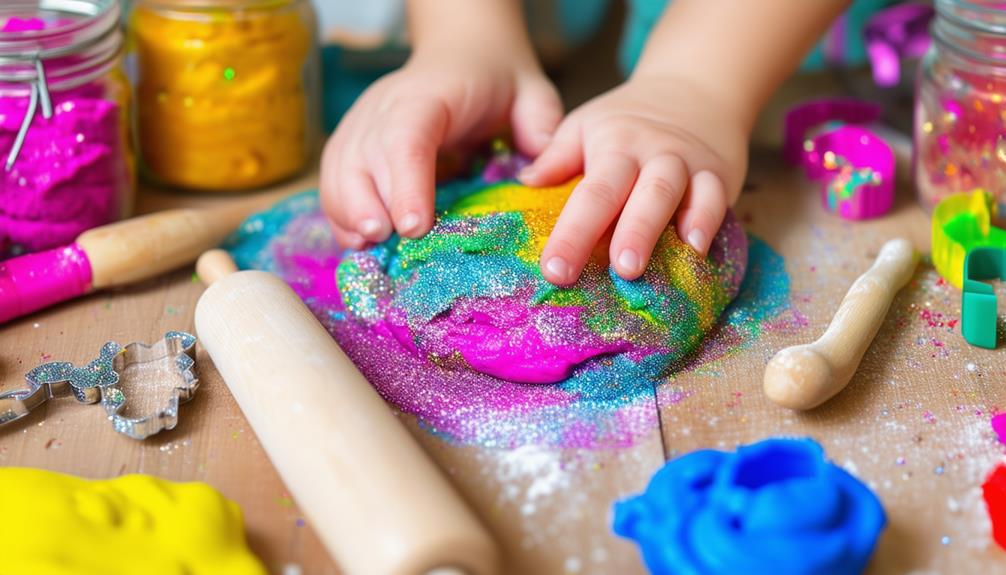
Clean mud is a sensory play material crafted from common household items like toilet paper, soap flakes (preferably Ivory soap), and warm water. This unique mixture offers a soft, moldable texture that mimics real mud, making it ideal for indoor play without the mess associated with outdoor dirt. It provides an excellent opportunity for children to explore textures and develop fine motor skills.
Suitable for kids aged 3 and up, clean mud also adds an olfactory element to the sensory experience with its fresh soap scent. You can customize the texture by adjusting the water amount, achieving either a clay-like or sticky consistency based on your preference.
Beyond being fun, clean mud offers educational benefits. Kids can squish, mold, and shape it, enhancing their hand-eye coordination. For a creative, mess-free activity, clean mud is a fantastic choice. It's simple to make, enjoyable to play with, and offers numerous developmental benefits for young children.
Ingredients Needed
To create your own batch of clean mud, you'll need just a few simple ingredients. The clean mud recipe can vary depending on the texture and sensory experience you want to achieve.
One popular version requires 3 cups of baking soda and up to 1 cup of water. You can also add optional colorants like brown or black liquid watercolors or food coloring to make the experience even more enjoyable for kids.
Another version involves using 3 bars of Ivory soap, finely grated. Additionally, tear 1 roll of toilet paper into small strips. This combination provides a unique texture that children love. To soften the mixture, you'll need about 2 cups of warm water. Start with less water and gradually add more to achieve a softer, more pliable consistency.
Tools Required
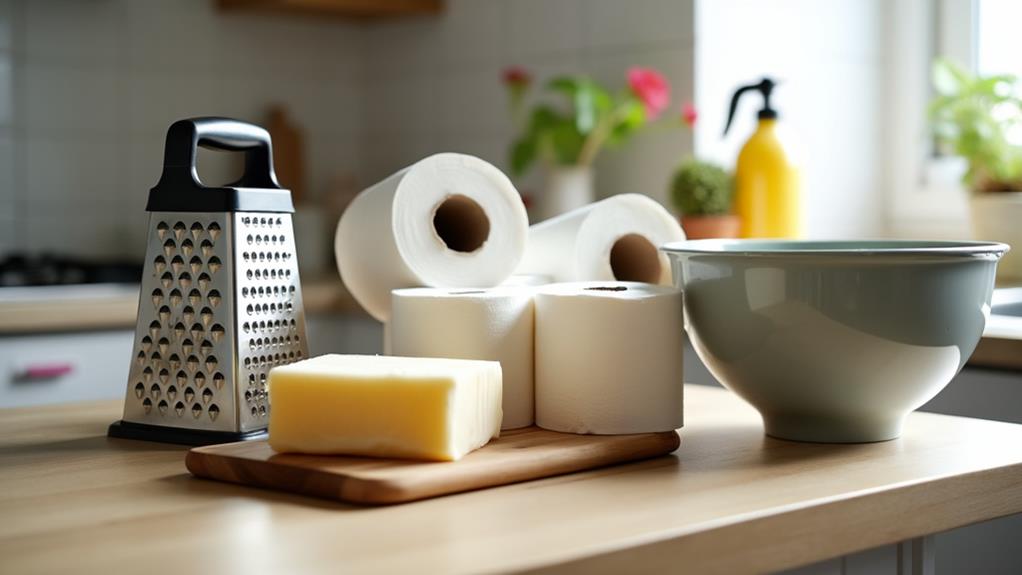
To make clean mud, you'll need essential kitchen tools like measuring cups, spoons, and a cheese grater. Ensure you have a large storage container for mixing and storing, and consider using a colander to manage excess water. Always prioritize safety by supervising children during the process, and store the clean mud in an airtight container to maintain its freshness.
Essential Kitchen Tools
Getting ready to make clean mud is easy with the right kitchen tools. First, you'll need measuring cups and spoons to accurately measure the toilet paper, soap, and water. Precise measurements ensure the perfect consistency for your clean mud, making playtime more enjoyable for the kids.
Next, grab a cheese grater to grate Ivory soap, if you choose not to use the microwave method. Grated soap mixes easily with water and toilet paper, creating a smooth, moldable texture.
You'll also need a large storage container. This is where all the ingredients will come together. The container should be big enough for thorough mixing without spilling and will also serve as storage for your clean mud, keeping it fresh for future play sessions.
While not strictly necessary, a microwave can simplify the soap-melting process, achieving a fluffier texture by puffing the soap. A colander might also be useful if you plan to compost the clean mud, making cleanup eco-friendly.
Safety Precautions
Safety is paramount when making clean mud, especially with children involved. Always supervise them when using tools like cheese graters or microwaves to ensure their safety. These tools can be hazardous if not handled correctly, so your constant vigilance is essential.
Using measuring cups and spoons for precise ingredient measurement helps achieve the desired texture of clean mud and keeps the process safe and organized. Children can easily assist with these tools under your watchful eye, making the activity both fun and educational.
Prepare a large storage container for mixing and storing the clean mud to keep the play area tidy and minimize mess, reducing the risk of slipping on spilled materials. Additionally, have a colander ready for water removal if you plan to compost the clean mud after play, promoting eco-friendly disposal and teaching kids about sustainability.
Keep kitchen tools like spoons and tongs accessible for mixing and serving the clean mud. These tools facilitate easier cleanup and play, ensuring a safer experience for everyone involved. Following these safety precautions guarantees a fun and secure experience for you and your children.
Recommended Storage
Proper storage is crucial for maintaining the quality of clean mud for your kids' playtime. Here are the key steps to keep it fresh and ready for use:
- Airtight Storage Container: Use a large, airtight container to prevent air exposure and moisture loss, maintaining the mud's texture and quality. A plastic bin with a secure lid is ideal for keeping contaminants at bay.
- Labeling: Label the container with the preparation date. Clean mud is best used within one week, so knowing when it was made helps monitor its freshness.
- Storage Conditions: Store the container in a cool, dry place to prolong the lifespan of the clean mud and prevent mold growth, ensuring it's safe for play.
- Playtime Setup: For easy access during playtime, consider using a shallow tray or sensory bin. This allows children to explore the clean mud without exposing the main storage container to air and potential contaminants.
Quick Checklist for Storing Clean Mud:
- Use a large, airtight storage container.
- Label the container with the preparation date.
- Store it in a cool, dry place.
- Use a shallow tray or sensory bin for play.
Step-by-Step Instructions
Gather your essential materials: toilet paper, a bar of Ivory soap, and warm water. Tear a basketball-sized amount of toilet paper into small pieces and place them in a large container. Prepare the soap by either grating it or microwaving it until it puffs up, then crumble it into the container with the toilet paper.
Gather Essential Materials
Start by collecting all the necessary materials to make clean mud for kids. This step is crucial for ensuring a smooth and enjoyable creation process. Here's a concise list of what you'll need:
- 1 roll of toilet paper: Tear it into small strips, approximately 1 to 2 inches in size. This will be the main component of your clean mud.
- 1 bar of Ivory soap: Grate it using a cheese grater or microwave it for 1 minute to create soap flakes.
- 2 cups of warm water: This will help soften the mixture and achieve the perfect consistency.
- A large mixing container: To combine the shredded toilet paper, grated soap, and warm water.
Additionally, have measuring cups and spoons on hand for accurate mixing. Prepare a sensory bin for the final play setup. By being well-prepared with these materials, you'll ensure the clean mud-making process is smooth and that the kids have a fantastic sensory experience.
Prepare Soap and Paper
To prepare the soap and paper for your clean mud, start by tearing a basketball-sized amount of toilet paper into small strips, approximately 1 to 2 inches long. This will create the base for your clean mud. Continue tearing the toilet paper until you have the desired amount.
Next, if you're using a bar of Ivory soap, you'll need to grate it. You can either grate 1 cup of the soap using a cheese grater or microwave it for 1 minute until it puffs up. Once puffed, crumble the soap into smaller pieces to ensure it mixes well with the toilet paper.
Place the shredded toilet paper and the grated soap into a large mixing container. Gradually add 2 cups of warm water to the mixture. Stir slowly and carefully to integrate the soap and paper. The warm water helps dissolve the soap, making it easier to mix.
Combine and Mix Ingredients
Start by placing the shredded toilet paper and crumbled soap into a large mixing container. This step is crucial for creating a uniform base for your clean mud. Whether you've microwaved the soap to puff it up or grated it for easier mixing, ensure the soap flakes are evenly distributed throughout the paper strips.
Next, gradually add 4 cups of warm water to the mixture. Don't pour it all in at once; instead, add the water slowly while mixing continuously. This helps to combine the ingredients more effectively and achieve a squishy, moldable texture. If the mixture seems too dry, add a bit more water until you reach the desired consistency.
Follow these steps:
- Tear toilet paper into small strips (1-2 inches).
- Microwave or grate the soap for easy mixing.
- Combine shredded toilet paper and crumbled soap in a large container.
- Gradually add warm water, mixing until moldable.
After combining the ingredients, knead the mixture thoroughly with your hands. This improves the texture and makes it perfect for sensory play. Your clean mud is now ready for your kids to enjoy, offering a fun and mess-free way to play!
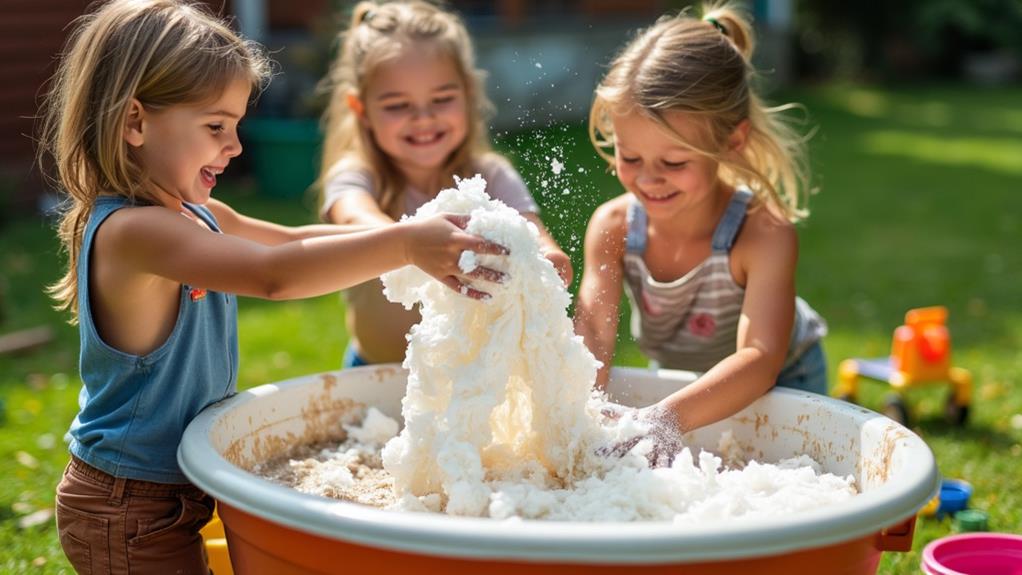
Sensory Play Benefits
Sensory play offers numerous developmental benefits for children, making it an essential activity in their daily routine. When children engage with clean mud, they're not just having fun; they're also building significant skills. For instance, squeezing, shaping, and molding clean mud improves their fine motor skills. This sensory activity strengthens their hand muscles and enhances dexterity, which is fundamental for tasks like writing and buttoning clothes.
Sensory play also supports emotional development by providing an outlet for expressing feelings and promoting self-calming through tactile exploration. Playing with clean mud can make children feel more relaxed and focused.
Moreover, sensory play fosters social skills. Kids learn to share tools and space, cooperate, and engage in collaborative play, improving their ability to interact with peers. Additionally, this kind of play boosts language development as children describe textures, actions, and emotions, expanding their vocabulary.
Here's a quick look at the benefits:
| Benefit | Description | Examples |
|---|---|---|
| Fine Motor Skills | Enhances hand strength and dexterity | Squeezing, shaping |
| Emotional Growth | Aids in expressing and managing feelings | Calming effect |
| Social Interaction | Encourages sharing, cooperation, and teamwork | Collaborative play |
| Language Skills | Expands vocabulary through descriptive language | Describing textures |
Incorporate clean mud into your child's playtime to reap these sensory benefits!
Tips and Tricks
Sensory play with clean mud offers numerous benefits, and following some practical tips can enhance the experience for you and your child. When making clean mud with baking soda and water, use a ratio of 3 cups of baking soda to up to 1 cup of water for a moldable texture. If using toilet paper and Ivory soap, grate or microwave the soap to facilitate easier mixing and achieve a sticky, cohesive texture.
To ensure easy cleanup and preserve the clean mud, store it in a covered bin to maintain freshness and prevent contamination. Use it within a week to avoid mold growth. Here are additional tips:
- Consistency Adjustments: Add water or baking soda gradually to achieve the desired softness or firmness.
- Incorporate Toys: Enhance sensory and imaginative play with shovels, cookie cutters, or other tools.
- Freshness: Keep the clean mud covered when not in use to maintain texture and cleanliness.
- Safety: Always supervise young children to prevent ingestion of materials.
These tips will help you maximize the benefits of your clean mud sensory play sessions.
Additional Activities
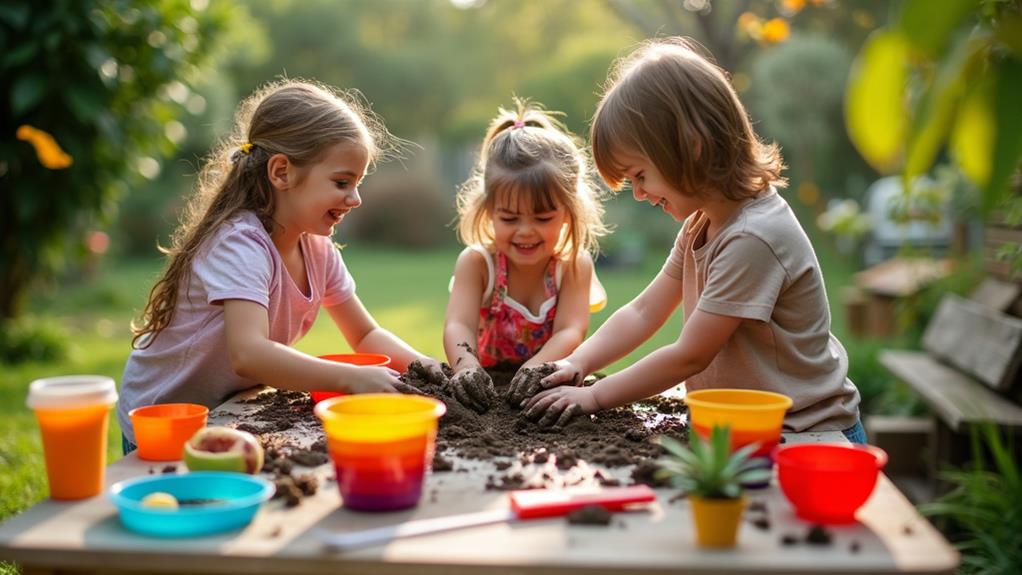
Enhance the fun and learning opportunities by incorporating additional activities into your clean mud play. These supplementary activities will not only enrich sensory exploration but also foster creativity and fine motor skills in young children.
One exciting idea is to bury small toys in the clean mud for a gem hunt. This transforms clean mud play into an adventurous treasure hunt, encouraging exploration and problem-solving. You can also use cookie cutters or molds to create various shapes, promoting creativity and dexterity. Adding natural materials like leaves or twigs can simulate outdoor experiences, providing additional textures and interest.
Another fantastic activity is hosting a "mud painting" session. Let children use clean mud as paint on butcher paper. This activity promotes artistic expression while engaging their senses.
Moreover, create a sensory bin where kids can scoop, pour, and manipulate clean mud with tools like cups and shovels. This type of imaginative play encourages cooperative interaction and enhances their sensory experience.
| Activity | Benefits |
|---|---|
| Gem Hunt | Problem-solving, exploration |
| Cookie Cutter Shapes | Creativity, fine motor skills |
| Natural Materials Mix-In | Texture, outdoor simulation |
| Mud Painting | Artistic expression, sensory |
Incorporating these activities ensures that young children enjoy a rich, engaging, and educational clean mud sensory experience.