How Do You Make Slime?
Have you ever wondered how to make your own slime at home? It's surprisingly simple with a few basic ingredients you probably already have. All you need is Elmer's white school glue, food coloring, baking soda, and contact saline solution. Mixing these together in the right proportions creates that perfect stretchy, gooey texture. Want to add your personal touch with colors and glitter? There are alternative recipes and tips to ensure your slime turns out just right. Let's explore how to make it truly unique.
What Is Slime?
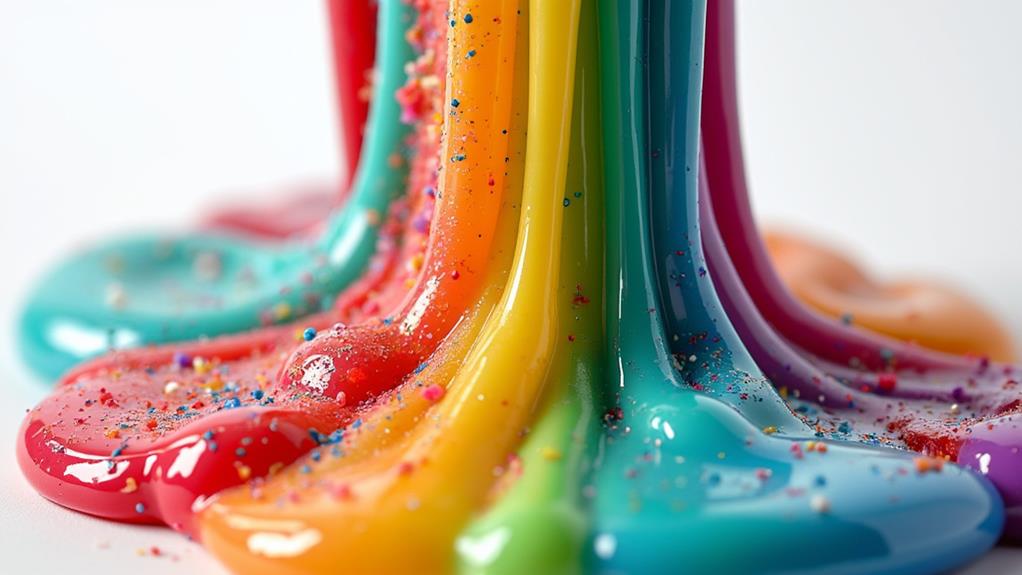
Slime is a fascinating non-Newtonian fluid that has become a staple in children's playrooms and classrooms. Unlike typical liquids, it doesn't have a constant viscosity but behaves differently depending on the force applied. The magic of slime starts with a polymer, usually polyvinyl alcohol (PVA) glue, which contains long, flexible molecules that move past each other easily.
When an activator like borax or saline solution is added, a chemical reaction occurs that links the glue molecules together. This transforms the runny glue into a stretchy, oozy substance known as slime. Its unique properties make it both fun and educational.
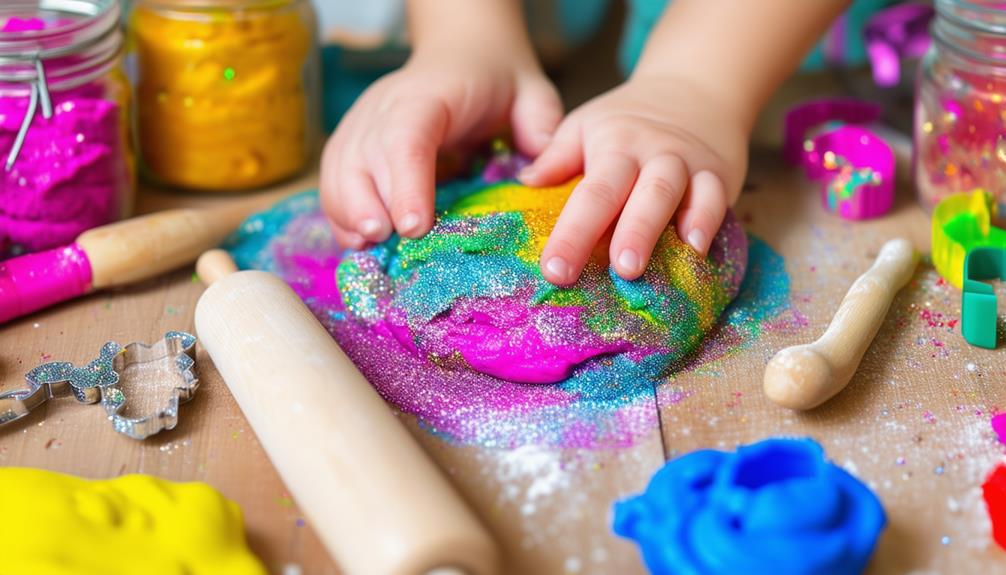
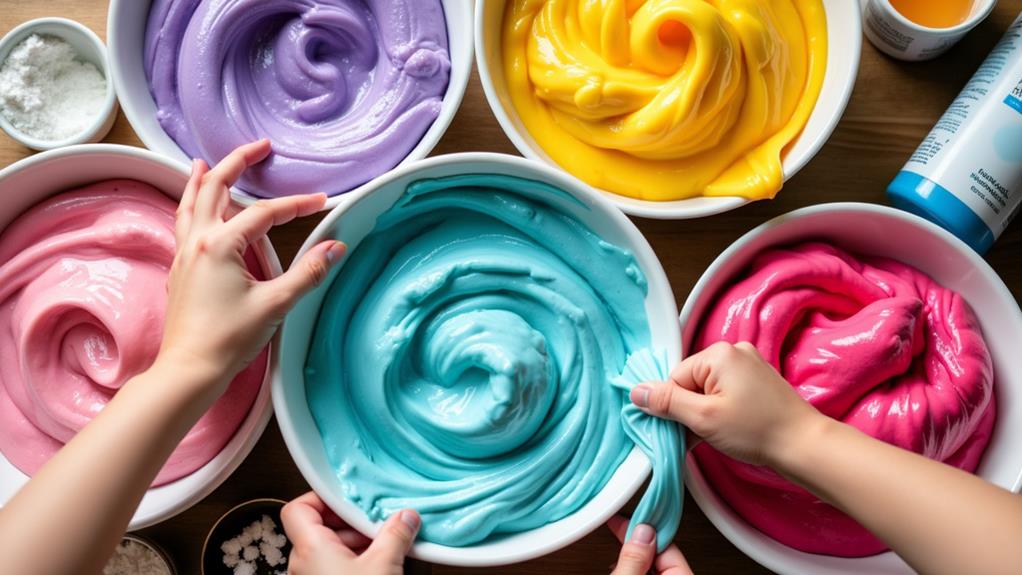
One of the best aspects of homemade slime is its customizability. You can add food coloring, glitter, or scented oils to create different textures and appearances, allowing for endless creativity.
Slime is not just a playful activity; it also serves as a fantastic sensory experience. The tactile nature of slime appeals to children's senses, encouraging them to explore different textures. It's an inexpensive, engaging craft perfect for indoor play or educational projects.
Ingredients Needed
To start making slime, you'll need basic ingredients like Elmer's white school glue, baking soda, and contact saline solution. For a creative touch, you can add food coloring, glitter, or even scented oils. If you prefer a Borax-free version, simply use baking soda and contact saline solution as a safe alternative activator.
Essential Slime Ingredients
For a fun and straightforward slime-making experience, you'll need a few key ingredients. This simple recipe is perfect for kids who love to make their own slime. Here's what you need:
- Elmer's White School Glue: Use 8 ounces of this glue as the base for your slime. It's safe and non-toxic, making it ideal for children.
- Contact Saline Solution: Add 1.5 to 2 tablespoons of this solution. It acts as an activator and transforms the glue into slime.
- Baking Soda: Incorporate 1 tablespoon of baking soda. This ingredient enhances the slime's texture and reduces stickiness.
Optionally, you can add food coloring for extra fun. A few drops can turn your slime into a vibrant plaything. While all ingredients are non-toxic, adult supervision is recommended to ensure children don't ingest any materials.
You can also experiment with the consistency of your slime by adjusting the amount of contact solution used. For fluffy slime, add 3-4 cups of shaving cream and a bit more baking soda. Have fun creating your perfect slime!
Customization and Variations
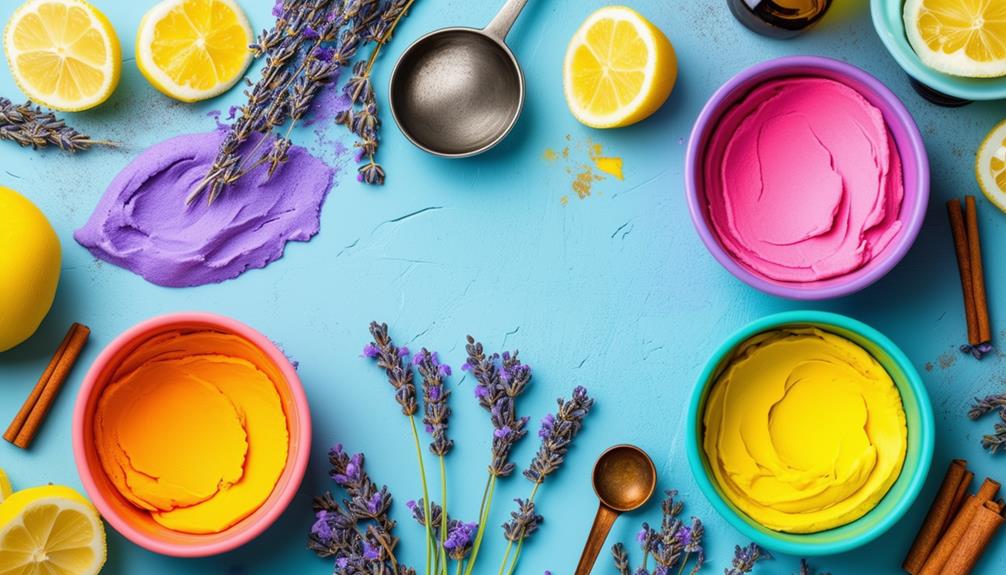
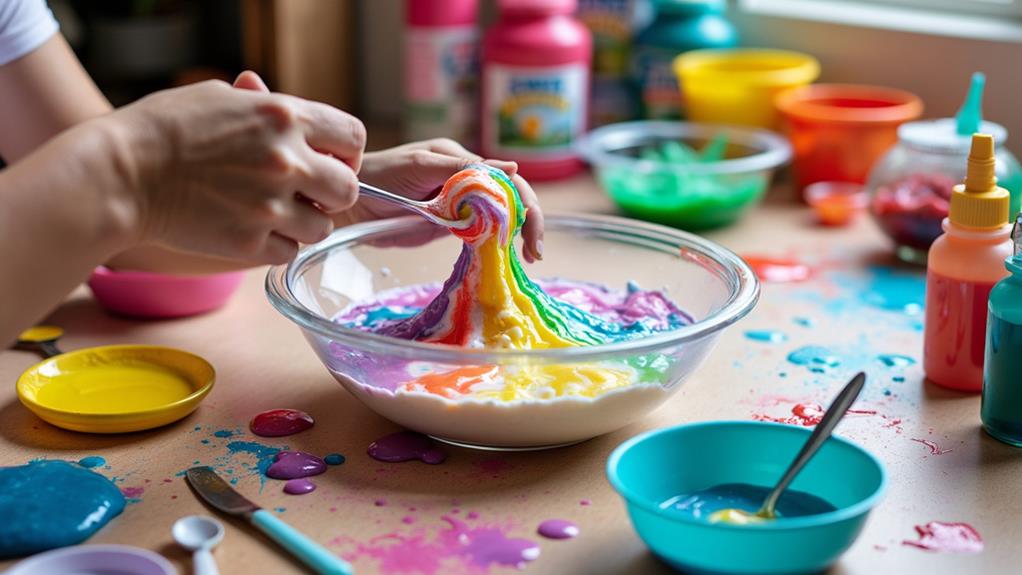
Creating unique slime is simple with a few tweaks. Start by adding 1 tablespoon of food coloring to the glue mixture before activating it for lively hues. For sparkle, incorporate glitter or glitter glue, enhancing both visual appeal and texture.
To make fluffy slime, mix in 3-4 cups of shaving cream with the other ingredients for a light, airy consistency. Add a sensory twist with a few drops of scented oils, making your slime fragrant and enjoyable to mold.
Experimenting with household ingredients like baking soda or cornstarch can alter your slime's properties. Baking soda makes it thicker, while cornstarch improves stretchiness. Use this quick reference to guide your customization:
| Customization Type | Ingredient Needed | Effect |
|---|---|---|
| Color | 1 tbsp food coloring | Lively hues |
| Sparkle | Glitter or glitter glue | Enhanced visual appeal & texture |
| Fluffy Texture | 3-4 cups shaving cream | Light, airy consistency |
Try these variations to make your slime uniquely yours!
Safe Ingredient Alternatives
Creating slime with safer ingredient alternatives can be both enjoyable and reassuring. Instead of using borax, which can pose health risks, consider using baking soda combined with saline solution as a safer activator. This combination is effective and minimizes potential harm. Here's a quick guide to safer slime ingredients:
- Clear School Glue: Opt for clear school glue instead of traditional white glue. It provides a different visual effect while maintaining ideal slime consistency. Ensure it's PVA-based for the best results.
- Shaving Cream: For fluffy slime, use shaving cream. It adds volume and enhances the sensory experience. Plus, it's safe and non-toxic.
- Food Coloring: Customize your slime with food coloring. Gel colors are recommended as they offer vibrant results and are less likely to stain surfaces. Always ensure the food coloring is non-toxic.
Always supervise children during slime-making activities to prevent ingestion of any ingredients. Using these safe alternatives, you can create delightful and worry-free slime every time.
Basic Slime Recipe
Now that you have your ingredients ready, let's start making your slime. First, mix 100ml of PVA white glue with ½ teaspoon of bicarbonate of soda in a bowl. Next, add your chosen food coloring. Gradually stir in 1-3 teaspoons of contact lens solution until the slime reaches the desired consistency. Knead the mixture and let it rest before playing.
Essential Ingredients Needed
Gathering the essential ingredients for your basic slime recipe is simple and straightforward. You'll start with an 8-ounce bottle of Elmer's white school glue, preferred for its ideal consistency. Next, you'll need 1 tablespoon of baking soda, which acts as a thickening agent to give your slime the perfect stretchy texture.
To activate your slime, add 1.5 to 2 tablespoons of contact lens solution containing boric acid. This is fundamental for the slime to form properly; without boric acid, your slime won't reach the desired consistency.
For a personal touch, you can include optional ingredients like food coloring and glitter to customize the look and feel of your slime, enhancing the sensory experience.
Here's what you need:
- Elmer's white school glue: 8 ounces
- Baking soda: 1 tablespoon
- Contact lens solution: 1.5 to 2 tablespoons (must contain boric acid)
With these ingredients, you're all set to create a fun and stretchy slime.
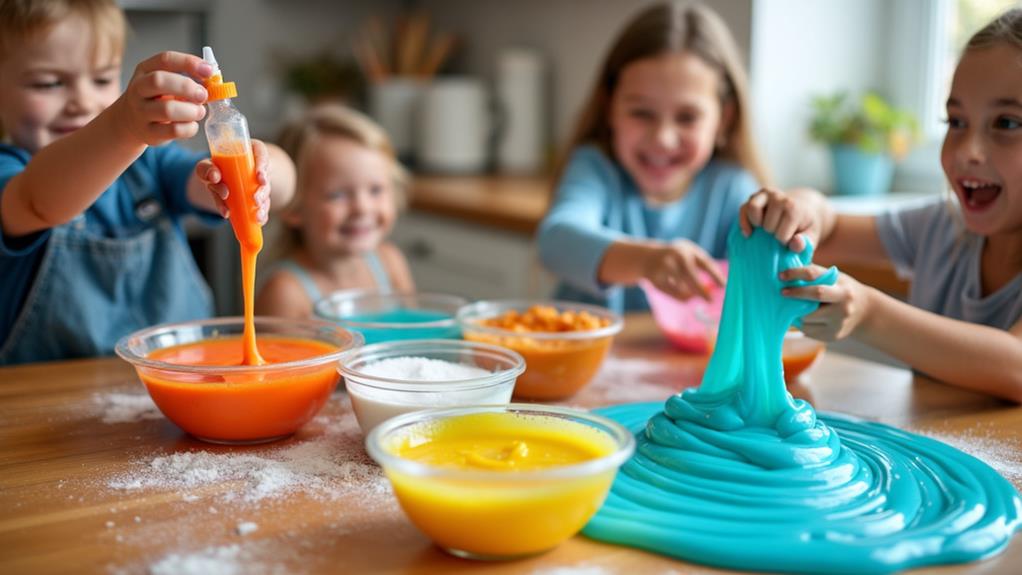
Step-by-Step Instructions
To make basic slime, begin by mixing 4 ounces (½ cup) of Elmer's white school glue with 1 teaspoon of food coloring in a mixing bowl until you achieve your desired color. This mixture forms the base of your slime.
In a separate bowl, dissolve 1 teaspoon of borax powder into 1 cup of warm water to create a borax solution, which will serve as the activator for your slime.
Gradually pour the borax solution into the glue mixture while stirring continuously. You'll notice the slime starting to form. Continue to mix until the slime pulls away from the sides of the bowl.
Next, knead the slime with your hands until it becomes smooth and stretchy. If there is any excess liquid, discard it. Kneading ensures the slime reaches the right consistency.
Store the finished slime in an airtight container to keep it fresh for 2-3 weeks at room temperature.
| Step | Ingredient/Action | Purpose |
|---|---|---|
| 1 | Elmer's white school glue | Base material |
| 2 | Food coloring | Adds color |
| 3 | Borax solution | Activates slime |
| 4 | Knead the slime | Achieves texture |
Adding Colors and Glitter
Enhancing your slime with colors and glitter transforms it from simple to extraordinary. Start by blending food coloring into the glue mixture before adding the activator to ensure even color distribution. Gel food coloring is ideal for vibrant hues, whether you prefer pastel or bright shades. Clear glue works best as it allows the colors to stand out.
To incorporate glitter, mix it with the glue and food coloring to ensure even sparkle distribution. Follow these steps:
- Mix Food Coloring: Add a few drops of gel food coloring to the glue mixture and stir until you achieve the desired color.
- Add Glitter: Sprinkle in your chosen glitter and mix thoroughly.
- Keep Kneading: After adding the activator, knead the slime until it reaches the perfect consistency.
For themed slime, use different colors and matching glitter to create effects like mermaid or alien slime. Always wear gloves when handling food coloring or glitter to avoid stains, and work over a flat surface to keep your workspace clean and organized.
Alternative Recipes
While adding colors and glitter to your slime can add a fun touch, you might be interested in exploring diverse recipes to create different textures and experiences. A basic slime recipe involves mixing 100ml of PVA white glue with ½ teaspoon of baking soda, then adding 1-3 teaspoons of contact solution containing boric acid for activation. This creates a classic, stretchy slime that's enjoyable to make and play with.
For a fluffy version, combine ½ cup of warm water with 1 cup of white glue. Then, add 3-4 cups of shaving cream and ½ teaspoon of baking soda. Mix in 2 tablespoons of saline solution to achieve a light, airy texture. To add color, incorporate gel food coloring before adding the activator.
You can also create themed slime by mixing different colors with glitter, producing marbled or unicorn slime. This turns your science experiment into a creative project that kids will love.
If you're looking for an edible alternative, mix cornstarch and yogurt. This combination is safe and non-toxic, making it perfect for younger children who might be tempted to taste their creations. These alternative recipes offer a variety of textures and fun experiences.
Tips and Tricks
Creating the perfect slime is both an art and a science. Here are some practical tips to ensure success:
- Use Elmer's white school glue: This brand provides the best consistency for stretchy, smooth slime. Other brands may not yield the same results.
- Gradually add contact lens solution: Adding the solution slowly while mixing helps achieve the desired texture without making the slime too firm.
- Incorporate shaving cream: Adding shaving cream to the mixture results in fluffier, more sensory-pleasing slime.
- Knead by hand: After mixing, knead the slime to improve stretchiness and reduce stickiness.
- Add food coloring: For a visually appealing slime, mix in a few drops of food coloring. Kids enjoy customizing their slime with different colors.
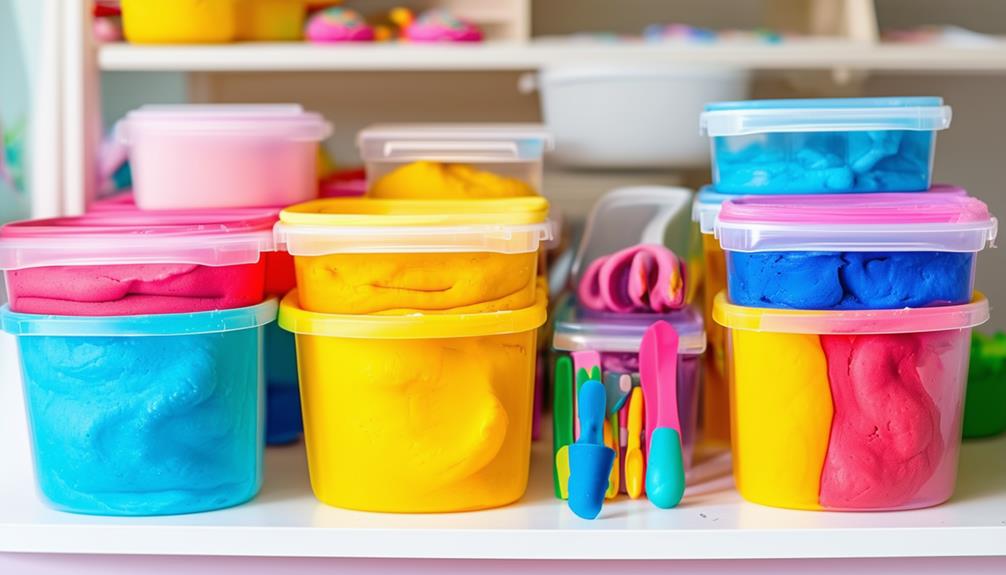
Storing Your Slime
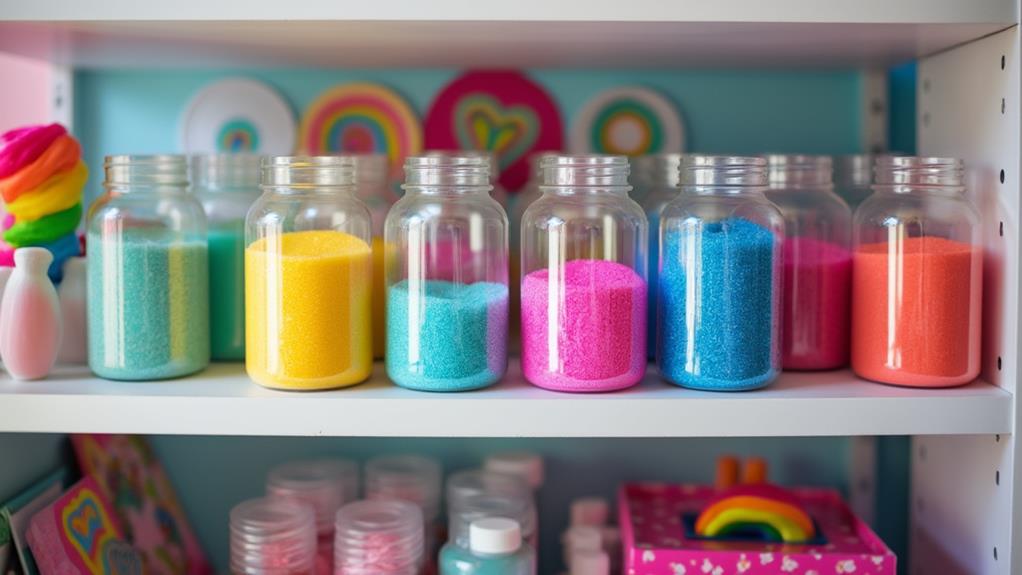
After perfecting your slime with the right ingredients and techniques, proper storage is crucial to maintain its quality and longevity. Always use an airtight container to store your slime. This will help it last up to 2-3 weeks at room temperature. Avoid exposing the slime to direct sunlight, as this can degrade its quality and alter its texture.
Moisture control is essential. If your slime appears too wet, blot the excess moisture before sealing it in the container to prevent spoilage. Regularly check for signs of spoilage, such as changes in texture, color, or odor. If any of these changes occur, discard the slime.
For safety, keep your slime out of reach of young children and pets, as some ingredients may be harmful if ingested. Store it in a safe location to ensure it remains fun and safe to play with.
Following these guidelines will help you enjoy your homemade slime to the fullest. Proper storage is key to ensuring its longevity and safety.
Safety and Clean-Up
Ensuring safety and efficient cleanup during slime-making is crucial for a fun and hassle-free experience. Always have adult supervision, especially when using potentially hazardous ingredients like borax. If you have sensitive skin, wear gloves to prevent irritation or allergic reactions, and avoid contact with your eyes, especially if using shaving foam.
To set up your slime-making station:
- Use a flat, easy-to-clean surface - This minimizes the risk of slime getting onto carpets or furniture.
- Use plastic utensils - These are easier to clean and less likely to stain.
- Prepare a cleanup kit - A vinegar and warm water solution is effective for slime stains on fabrics, while acetone nail polish remover works well on carpets.
After making slime, store any leftovers in an airtight container at room temperature to prevent it from drying out and to keep it free from contaminants. Avoid direct sunlight, as it can degrade the slime's quality. Following these steps ensures a safe and clean slime-making experience for everyone involved.