How Do You Make Modeling Wax at Home?

Creating your own modeling wax at home is both rewarding and practical, especially if you're interested in a non-toxic, customizable option. By using simple ingredients like beeswax or soy wax, olive oil, and lanolin, you can craft a product tailored to your needs. Before you get started, it's important to understand the benefits of natural waxes and follow some safety tips to ensure a smooth process. Wondering how to achieve the perfect consistency or incorporate your favorite scents? Let's explore each step and troubleshoot common issues you might encounter.
Benefits of Natural Wax
Natural modeling wax, particularly when crafted from beeswax, offers numerous benefits for both children and adults. Its non-toxic ingredients ensure safety and skin-friendliness, making it an ideal choice for kids. The inclusion of natural elements like olive oil and lanolin not only enhances the texture but also provides moisturizing properties, leaving hands soft after use.
Children gain more than just enjoyment from working with natural modeling wax; they also develop essential fine motor skills. The tactile activity of molding and shaping the wax aids in improving dexterity and hand-eye coordination, making it an excellent tool for early childhood development.
The creative possibilities with natural modeling wax are vast. Children can explore their imagination, creating various shapes and figures, which promotes artistic expression and creativity.
For adults, natural modeling wax serves as an effective stress-relief tool. Whether used to fidget during a meeting or to alleviate anxiety, manipulating the wax can enhance focus and reduce tension. This versatile medium offers benefits for all ages.
Ingredients and Safety Tips
Creating your own modeling wax at home is simple and safe with just a few key ingredients. You'll start with beeswax, the primary ingredient, known for being non-toxic and safe for children. Olive oil is added to reduce stickiness and act as a natural moisturizer for the skin.
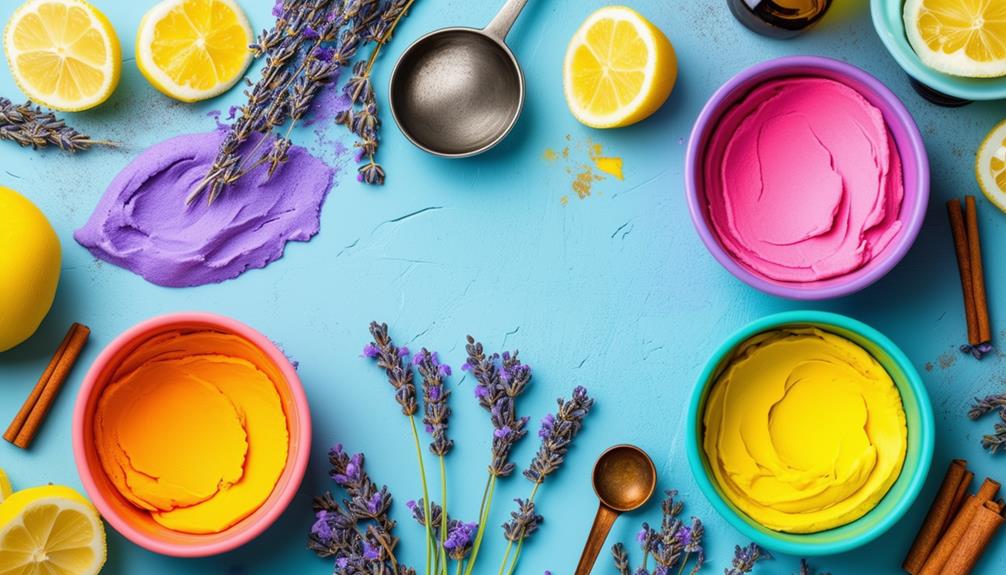
Lanolin is included to keep the wax skin-friendly, helping to treat dry skin and irritations. Essential oils can be added for a calming aromatherapy experience, enhancing the enjoyment of your homemade wax. For color, use natural colorants, which are free from harmful chemicals and petroleum by-products.
Here's a quick overview of the ingredients and their benefits:
| Ingredient | Benefit |
|---|---|
| Beeswax | Non-toxic, safe for children |
| Olive oil | Natural moisturizer, reduces stickiness |
| Lanolin | Emollient, treats dry skin and irritations |
| Essential oils | Adds calming aromatherapy benefits |
| Natural colorants | Provides color without harmful chemicals |
Beeswax Recipe Instructions

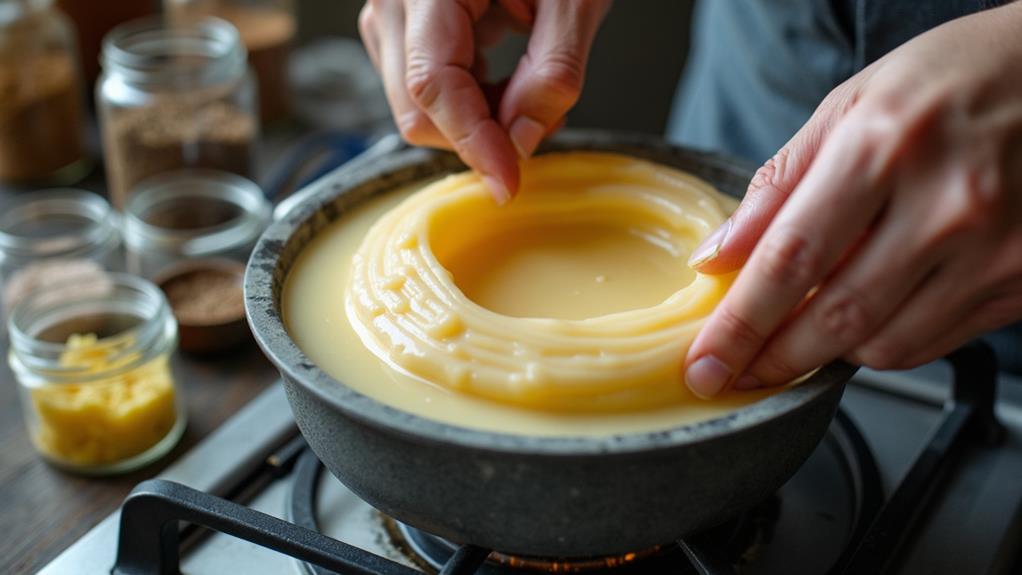
Now that you have gathered all your ingredients, let's get started with making your modeling wax. Begin by melting 450g of pure, filtered beeswax from a reliable supplier using a double boiler or microwave. Ensure the beeswax is fully melted, which should take about 4 minutes on high heat.
Once the beeswax is liquefied, add 5 tablespoons of olive oil and 4 tablespoons of lanolin. Stir thoroughly to achieve a smooth consistency. If the mixture feels too dry or crumbly, add more olive oil, one tablespoon at a time, until you reach your desired pliability.
If you wish to add color to your modeling wax, incorporate a few drops of food coloring at this stage, adjusting the amount based on your preference. You can also add essential oils for additional fragrance and soothing effects.
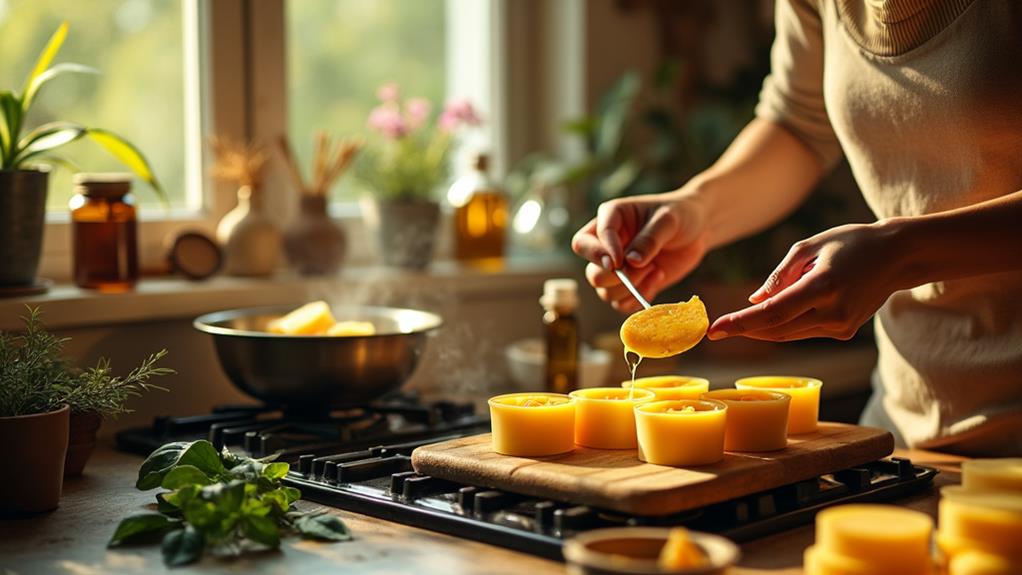
Pour the blended mixture into muffin cups or silicone molds. Let the wax cool completely before removing it from the molds. Your homemade modeling wax is now ready for various crafting projects. Enjoy creating and molding your designs!
Soy Wax Recipe Steps
For a softer alternative to beeswax modeling wax, consider making soy wax modeling wax. Begin by measuring 450 grams of soy wax. Melt the soy wax in a double boiler or crockpot, monitoring the temperature to prevent overheating. Once fully melted, stir in 5 tablespoons of olive oil and 4 tablespoons of lanolin. These additives will make your modeling wax more pliable and easier to work with, similar to play dough.
Before committing to the full batch, test the consistency by letting a small amount solidify and checking its texture. If it's too firm, add a bit more olive oil or lanolin to achieve the desired softness. Once you achieve the preferred consistency, you can add natural colorants and essential oils for added creativity and aromatherapy benefits.
When the mixture is ready and the temperature is stable, pour the wax into molds or containers and let it cool. You now have homemade soy modeling wax, perfect for crafting and play.
Troubleshooting Common Issues
Even with the best preparation, you might encounter some common issues when making modeling wax at home. If your wax feels too sticky, try gradually incorporating more olive oil or lanolin to improve its consistency. Conversely, if the wax crumbles in your hands, you may have added too much oil. Ensure the balance of beeswax and oil is correct to achieve ideal pliability.
If your modeling wax remains too soft after it has completely cooled, increase the amount of beeswax in your mixture to give it better structure and firmness. Another common issue is having your tools stick to the wax. To prevent this, use a parchment or waxed paper surface while crafting.
If you notice the ingredients are separating while you mix, further stirring is necessary. Thoroughly stir to achieve a uniform consistency. By following these troubleshooting tips, you can create modeling wax that's just right for your creative projects. Remember, a bit of adjustment can go a long way in perfecting your homemade modeling wax.