How Do You Harden Children's Modeling Clay?
To harden children's modeling clay, choose the right method based on the clay type. If you have self-hardening clay, let it dry in a dry, ventilated area for 24-48 hours. For polymer clay, bake it at 265-275°F for about 30 minutes, following the package instructions. Guarantee proper ventilation during baking and allow it to cool gradually to prevent cracking. If you're using traditional modeling clay, consider sealing it with a clear spray after it dries to protect your creation. There's even more to investigate about each method and tips for best results, so keep going!
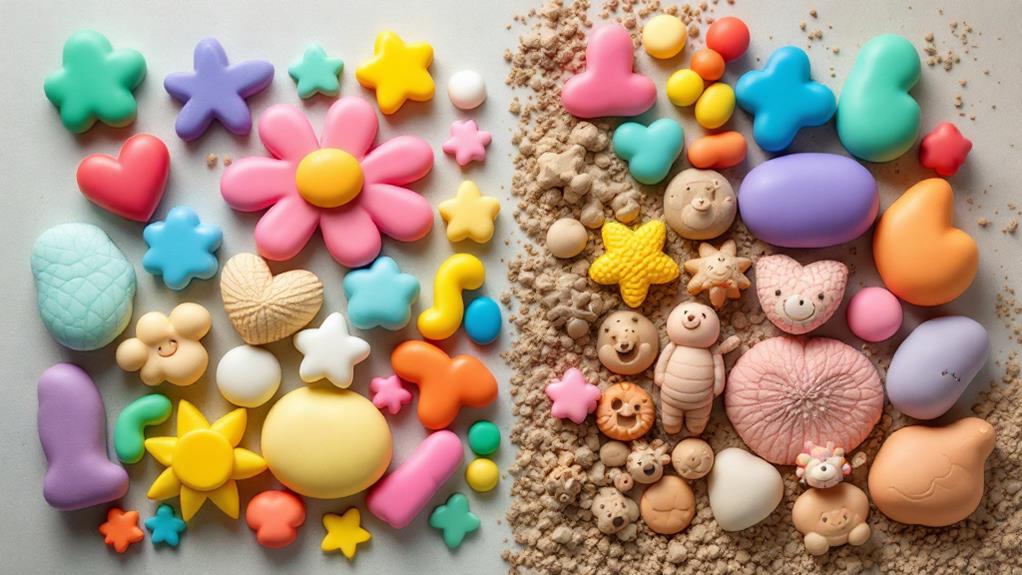
Understanding Modeling Clay Types
With regard to modeling clay, you'll find several types, each suited for different projects and purposes. Children's modeling clay, like Crayola's, is primarily non-drying. It stays soft and pliable indefinitely, making it perfect for temporary creations and easy cleanup. For a longer-lasting experience, consider alternatives like homemade playdough that can improve creativity and fine motor skills. If you're looking for something that hardens, earthen clay naturally dries when left out, but you might need kiln firing for added durability.
For more permanent projects, consider polymer clay. It requires baking to harden, with a baking time of about 30 minutes at temperatures ranging from 265-275°F (129-135°C). This type of clay is great for crafts that need to last. Alternatively, self-hardening clay dries without the need for baking, typically taking 24-48 hours to set in a dry, ventilated area.
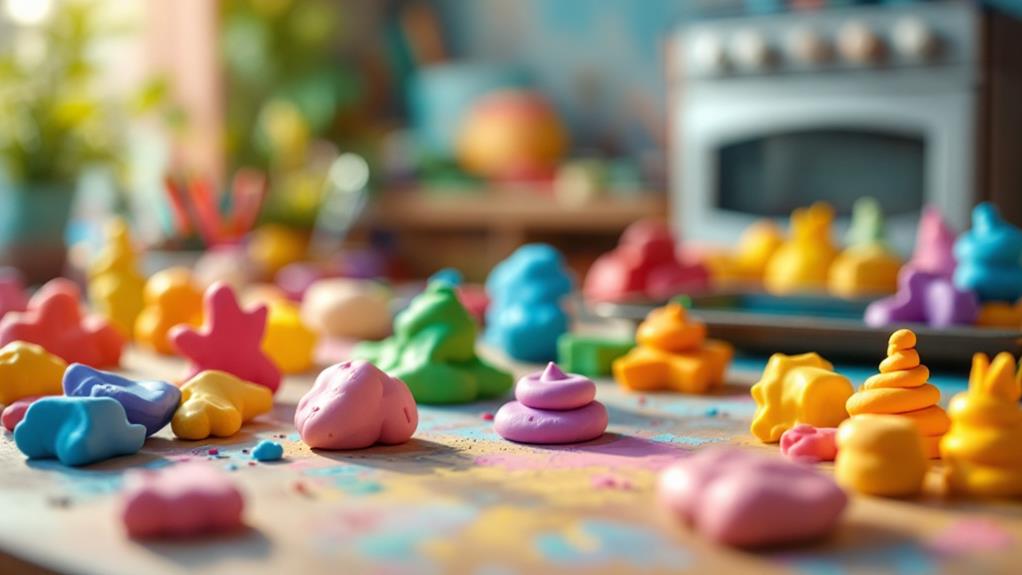
Baking Polymer Clay Methods
When you decide to work with polymer clay for your projects, understanding the proper baking methods is essential to achieving durable and lasting results. To guarantee your polymer clay hardens correctly, follow the directions on the package closely. Typically, you should bake your creations at temperatures between 265°F and 275°F (129°C to 135°C) for 15-30 minutes, depending on the thickness—about 1/4 inch is ideal. Engaging in this process not only fosters creativity and imagination through free expression, but also improves fine motor skills as you manipulate the clay, making it a valuable supplement to your crafting routine developmental benefits.
Before you start baking, it's vital to create vent holes in the clay. This allows air pockets to escape, preventing any bubbling during the process. Use oven-safe ceramic surfaces, like pie dishes or tiles, to bake your clay. Avoid metal or glass, as they can cause uneven heat distribution that might affect the curing process.
During baking, keep a close eye on the time and use a thermometer to verify the oven temperature for best results. Once the baking is complete, let the polymer clay cool gradually at room temperature. Removing it immediately from the oven can lead to cracking, ruining your hard work. Following these guidelines will help you achieve beautiful, lasting polymer clay projects.
Drying Self-Hardening Clay Techniques
Achieving a solid finish with self-hardening clay requires patience and careful monitoring. To guarantee your creations dry properly, follow these techniques:
- Drying Location: Place your clay in a dry, ventilated area at room temperature. Let it sit undisturbed for 24-48 hours. This amount of time is essential for thorough drying.
- Regular Checks: Monitor the drying process by checking for cracks or chips every 4-6 hours. If you notice that it isn't hardening after 12 hours, consider using a hair dryer on low or placing it in a low oven to speed up the process.
- Even Drying: After 12-24 hours, turn your multidimensional models to promote even drying on all sides. This helps prevent warping and guarantees a solid structure.
If you see any cracks developing, don't worry! Simply moisten your fingers and gently rub over the imperfections to blend them. Remember, make certain the clay is completely dry before proceeding to paint or seal it, as applying anything too early can hinder the hardening process.
Tips for Painting and Sealing
Once your modeling clay is fully dried, it's time to improve and protect your creation with paint and sealant. Initially, verify the clay is completely dry to guarantee proper adhesion. Use non-toxic acrylic or tempera paints for coloring. After applying the paint, let it dry for at least 24 hours to achieve the best results.
For intricate designs, grab fine brushes to carefully apply your paint. This'll help you cover every detail without smudging. Once the paint is fully dry, it's crucial to seal the surface to boost durability. You can use a clear spray-on or brush-on sealant, which protects against chipping and fading.
Don't forget to store any unused paint in airtight containers to keep it fresh and prevent it from drying out between uses. Following these tips will not only improve the look of your creations but also guarantee they last longer. By paying attention to the drying times and using the right materials, you'll create stunning pieces that can be admired for years to come. Enjoy the process—it's all about bringing your imagination to life!
Community Resources and Support
Numerous community resources are available to help you improve your skills in hardening children's modeling clay. By tapping into these sources, you can elevate your knowledge of hardening techniques and connect with fellow enthusiasts. Here are three valuable resources to contemplate:
- Local Art Supply Stores: Many offer workshops that teach you effective methods for using and hardening modeling clay. Participating in these classes can provide hands-on experience and personalized guidance.
- Online Forums and Social Media Groups: Joining these platforms allows you to engage with a community of crafters who share their personal experiences and solutions. You'll find a wealth of tips and tricks for hardening different clay types and can ask questions to clarify any doubts.
- WikiHow Articles: This site features extensive articles on a variety of crafting topics, including hardening techniques specifically for children's modeling clay. The step-by-step guides can be incredibly beneficial for beginners and seasoned crafters alike.